Für eine deutsche Version dieses Artikels bitte hier klicken
Do you still remember your first? Your first embossing folder, that’s what I mean! … This was mine:
Great, you got an embossing folder, but that’s actually not a reason to start searching for storage ideas for embossing folders yet, is it?
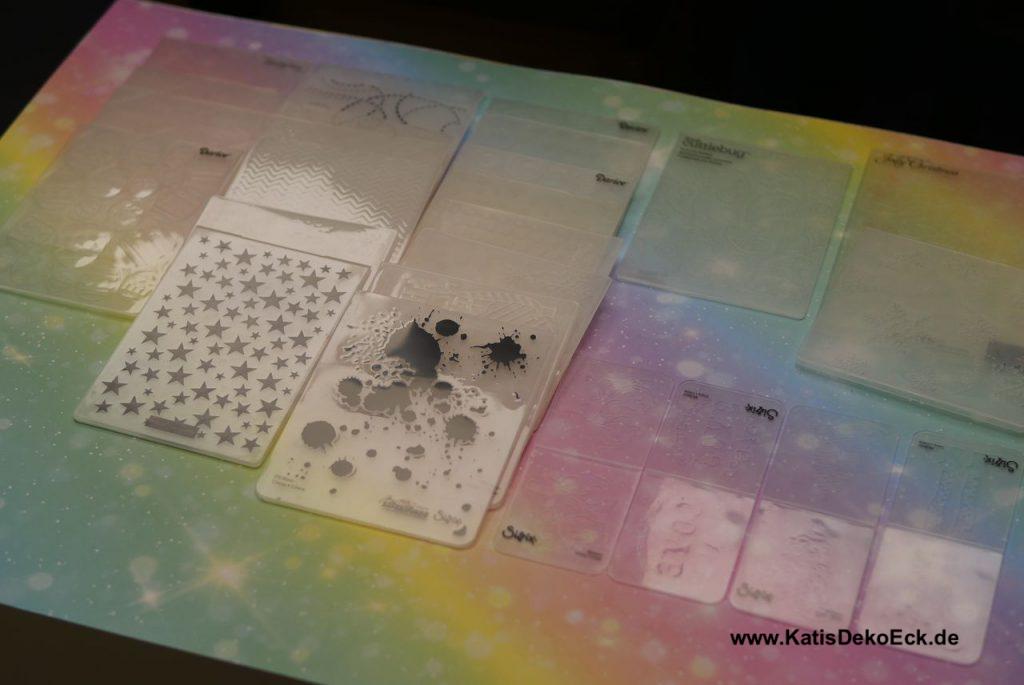
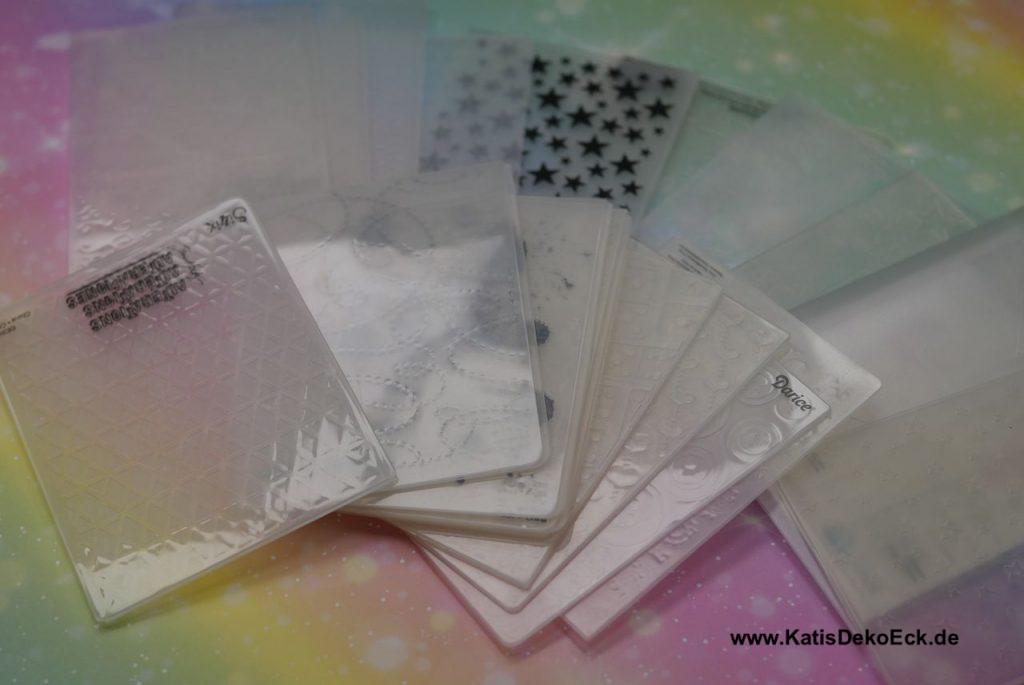
No, for sure not. But I wouldn’t be me, if I had stopped after getting one. Or two. Or three…. So rather soon my desk looked like this:
And what was the obvious result? All my beautiful embossing folders were all neatly stacked in a box and in the box they were. Rarely used – totally neglected and not deserving this destiny. I couldn’t let that happen. And so I started my journey to find the perfect-for-me storage for my embossing folders.
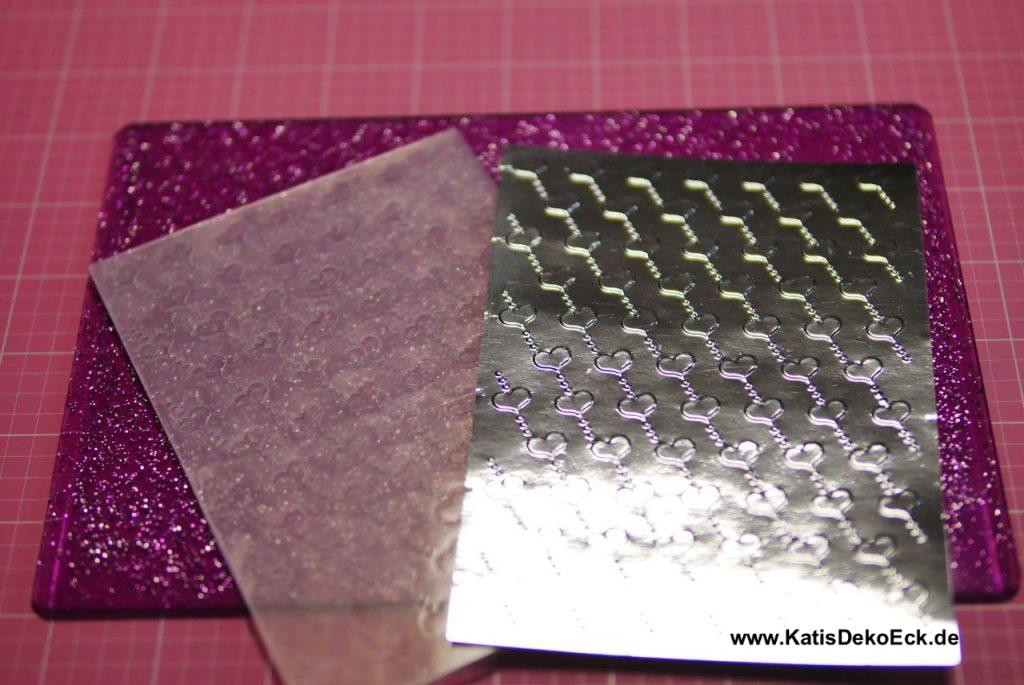
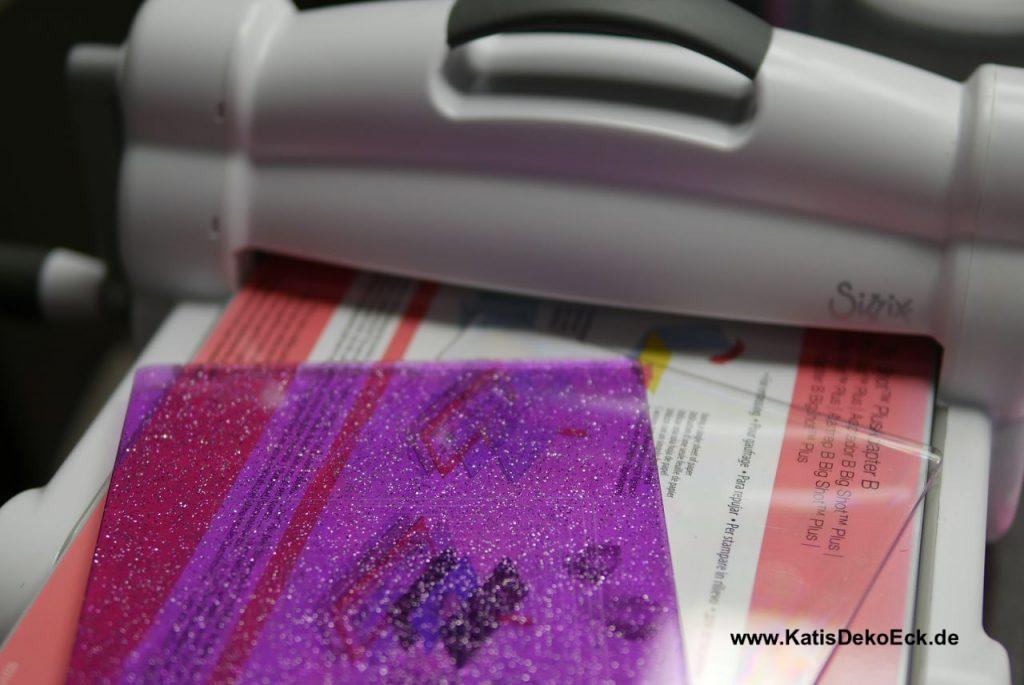
Recently it happened. I had worked for a long time on a background using my stencils and Distress Inks (you can find here everything I wrote about them) and it had taken me a long time. Finally done, I proudly called Mother KatisDekoEck and showed her the result. And then she was like: „Don’t you have an embossing folder with that pattern anyways?“…hm…mumbling… Sure, and I had completely forgotten about it, hadn’t even considered looking for it for a second. All because of the one-box-stack issue…
It was way past time to tackle this problem and I started to browse my favorite online shops in eaernest. And I rather quickly found something:
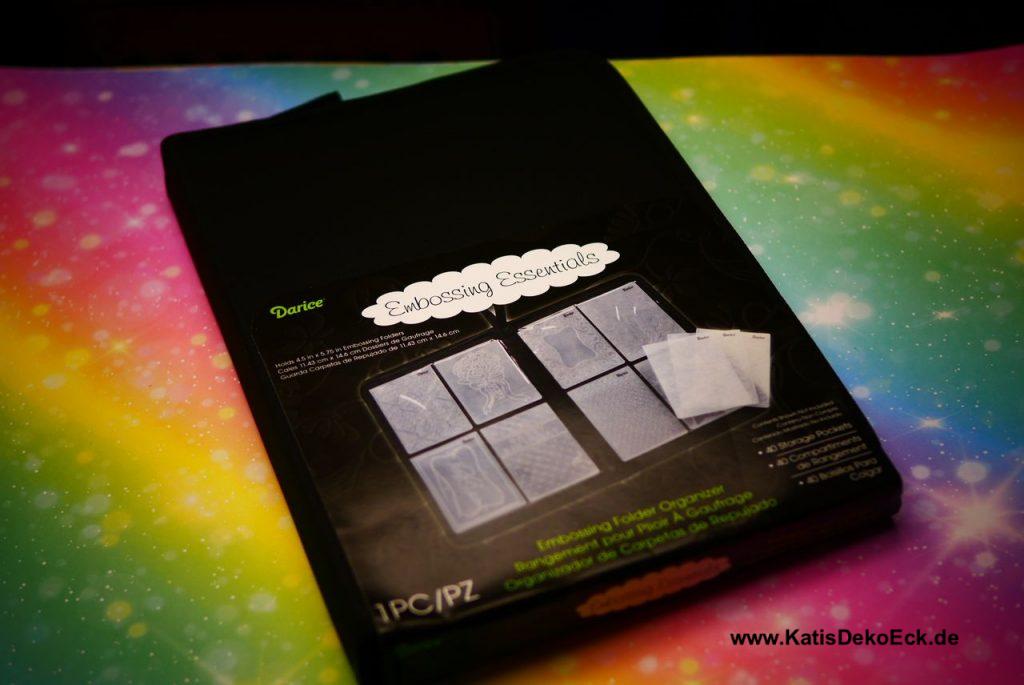
The description stated: for storage of up to fourty embossing folders. Quick check:
And ordered. Time to finally take care of a decent storage for my embossing folders
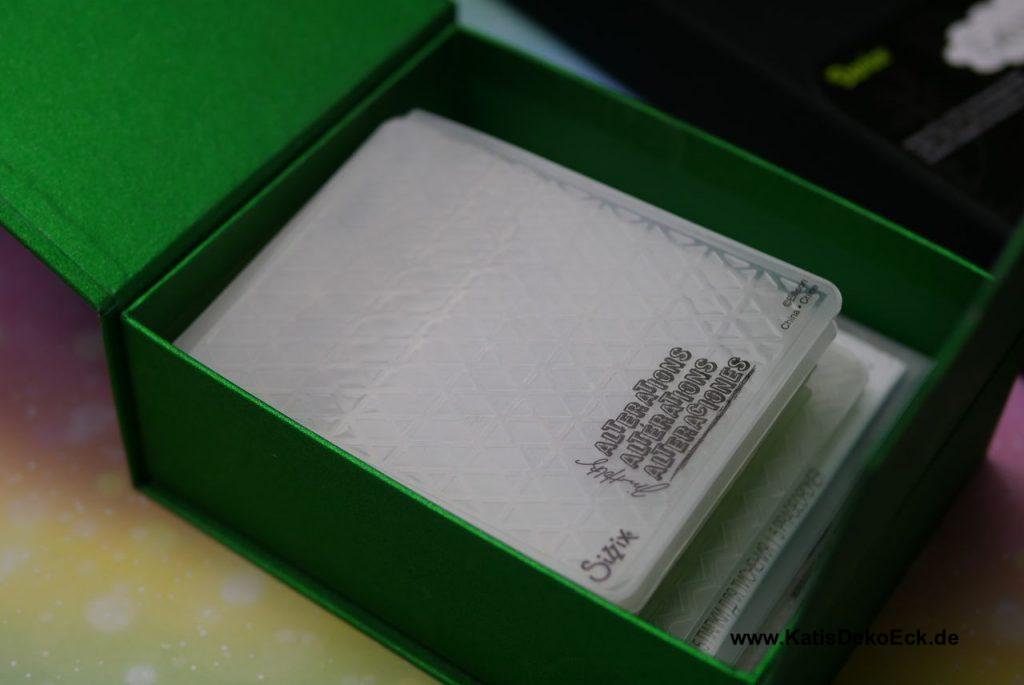
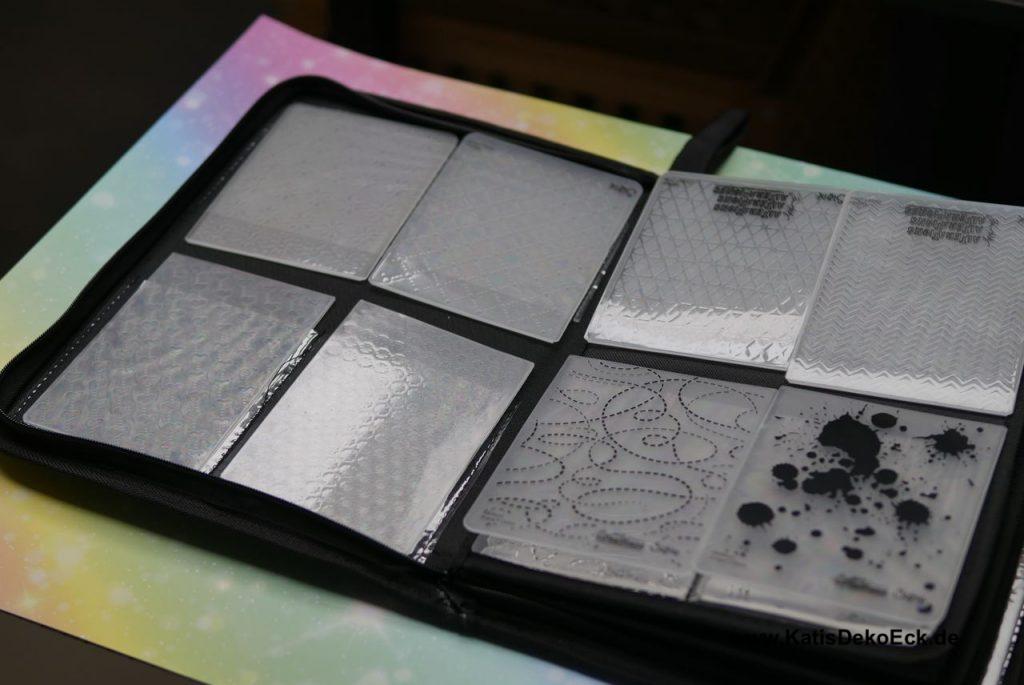
So, here it was, my package in pizza delivery box shape and in it were … stamps… (sure, one needs to shop enough for free delivery, right…) and of course, this organizer, Ok, opening up immediately:

Let’s see, fill it!
No! slowly and in order! I am still me… And for me there is no new storage solution without a good oldfashioned catalogue to go through. Thats what I did with my stamps (you can see it here again) and that’s what I will do here again. So, four easy steps to go!
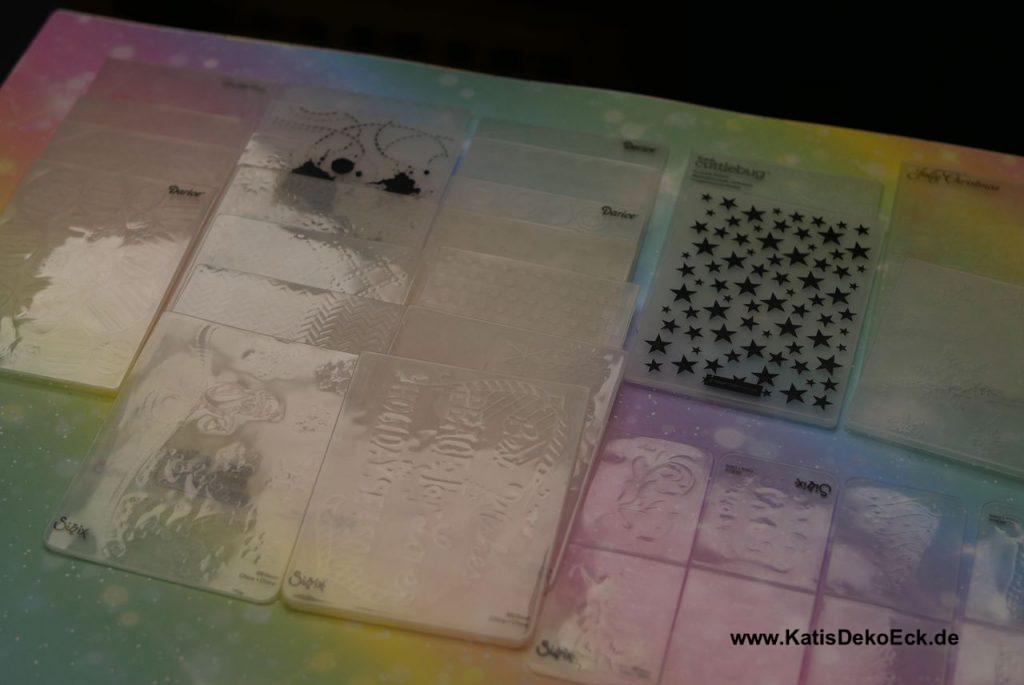
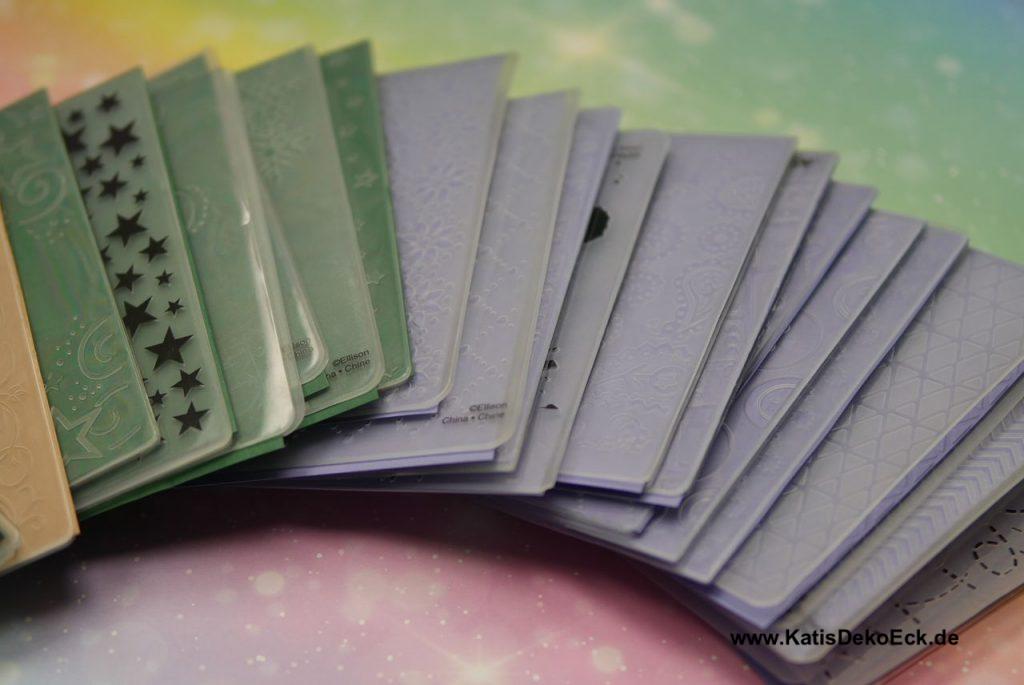
But now, sorting!
oh yes, I admit, I had a tremendous fun… But well, I was also one of the kids that sorted beads by colors in butter boxes …
Very unfortunately not all embossing folder sizes fit into the organizer. And especially some of the sizzix folders were a bit wide. But for these I only put the smaller (back?) side into the holder flaps. And one folder didn’t fit at all. Well this is the only one laying separately at the back of the folder…But the rest looks so neat and orderly, it makes my heart jump a bit.
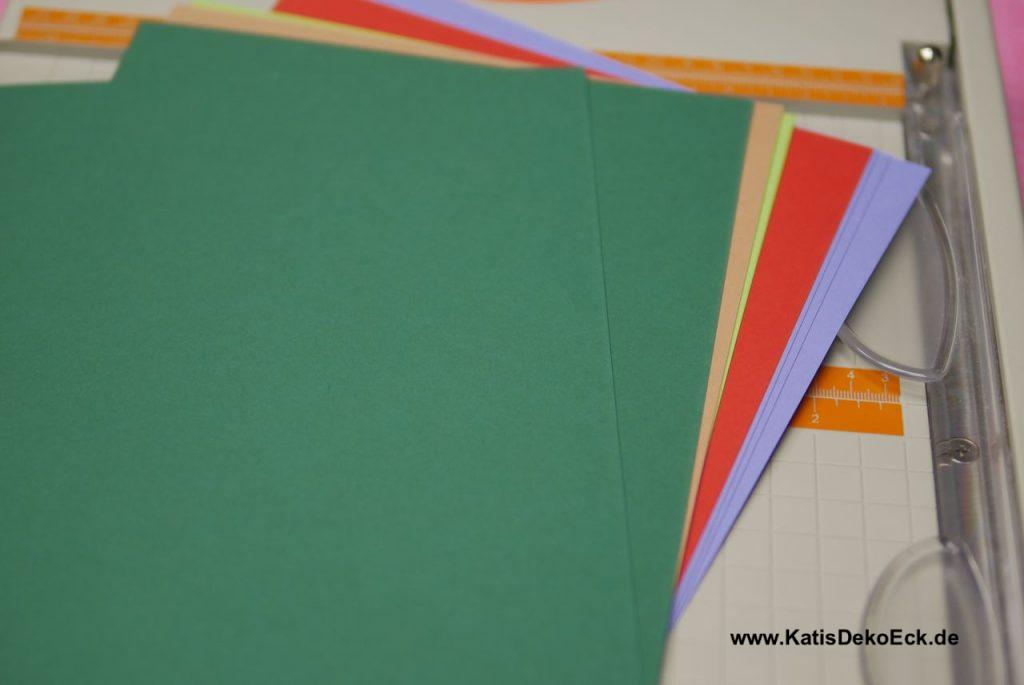
Great, neatly stored embossing folders. But what about all these colorful sheets of paper?
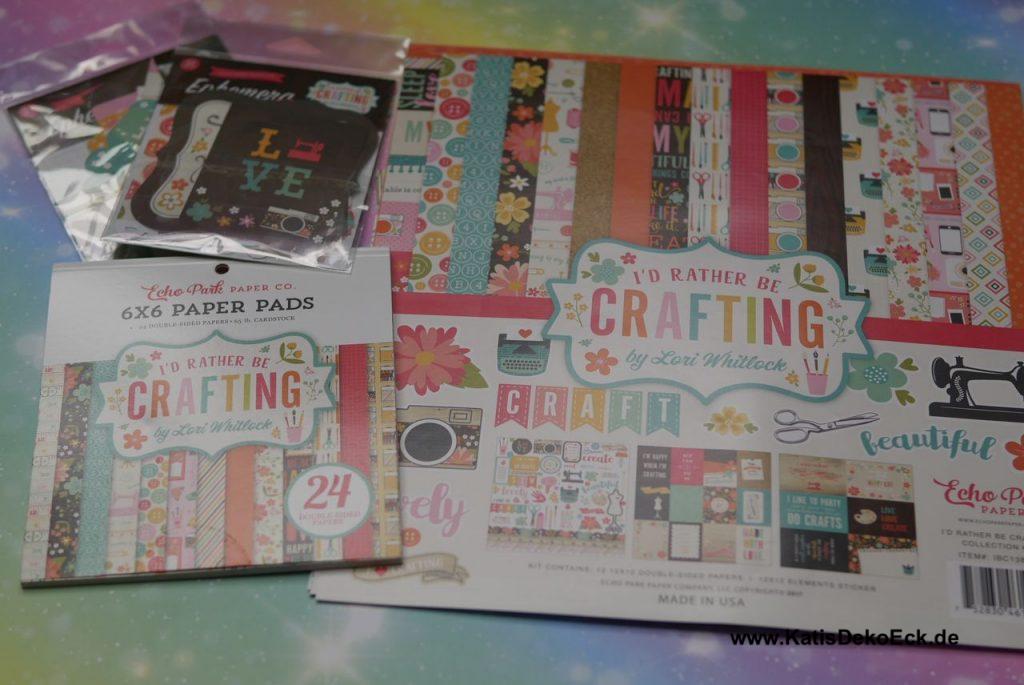
Time to real for one of my favorite paper collections again. If you have been following me for a while you already know it… I used it for the stamp catalogue and slowly but steadily I am getting to the point where my stash gets panic-causingly low… Not this time, though:
The creation of the catalogue…
But how to make it? Happy Planner ring binding? Did that for the stamp catalogue already, so I want to try something new. And also, I do not intend to get too many new embossing Folders (I got enough for a life-time…) so the catalogue doesn’t need to hold as much paper as the stamp one (or four, as of translating this article…)
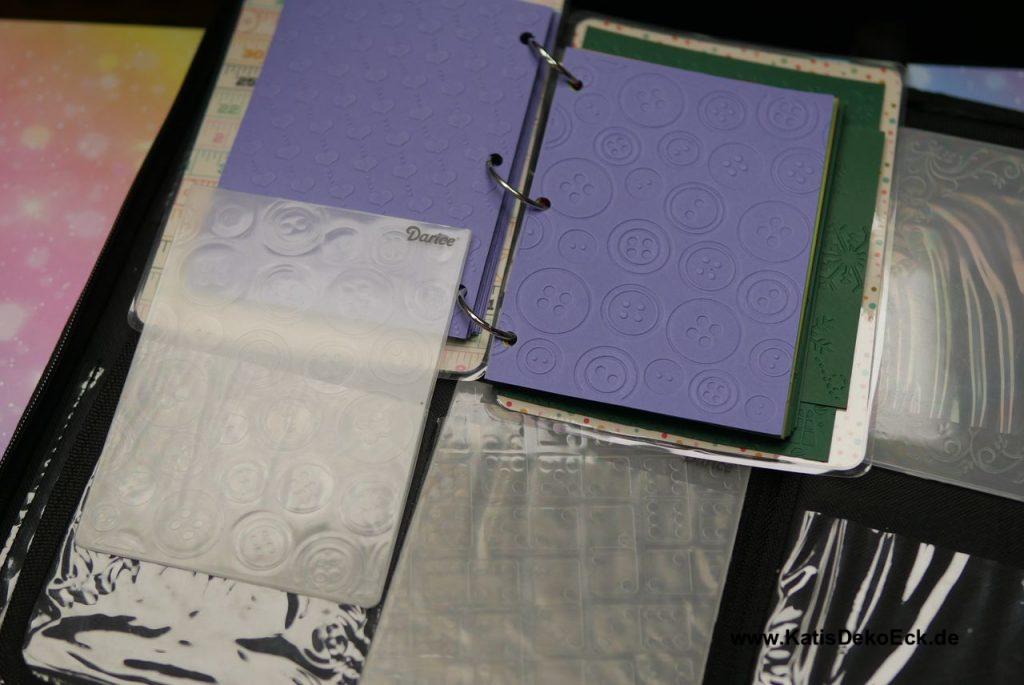
Recently I had discovered book binding rings for me and so these will be the method of choice. Here the path to the catalogue in quick steps:
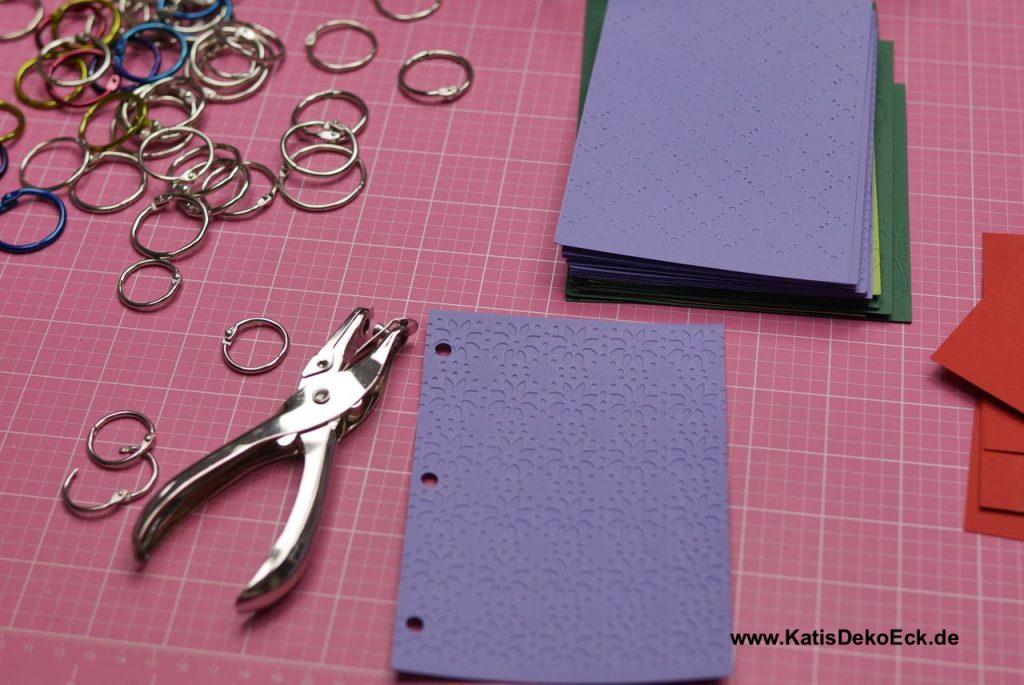
- Punch a hole in all paper sheets – at the same spot
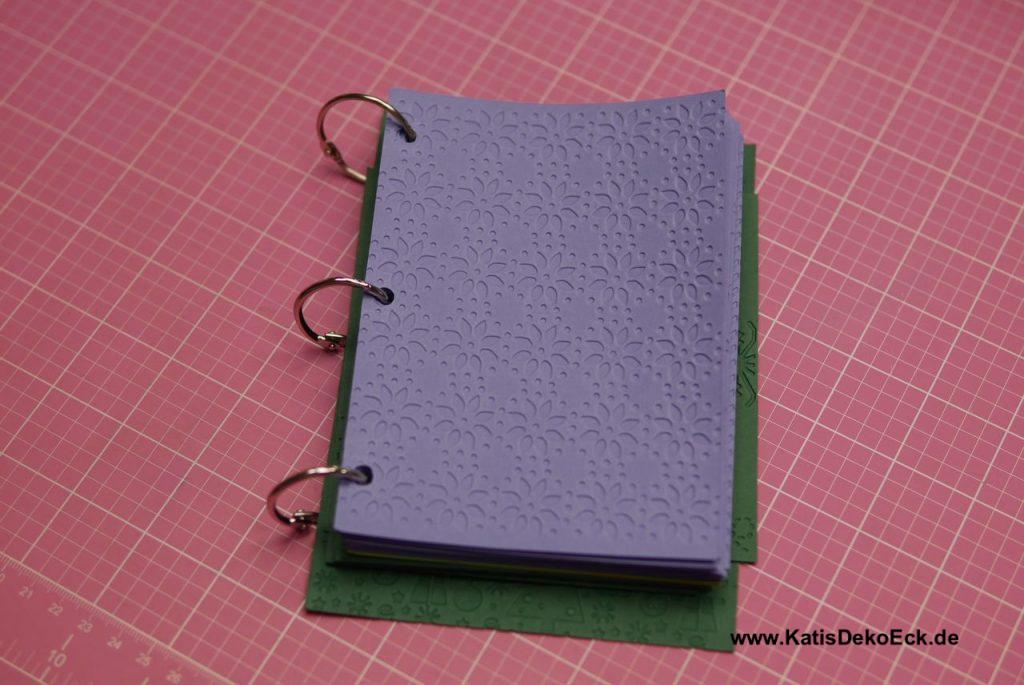
- Bind them together to define the outer measures for your catalogue
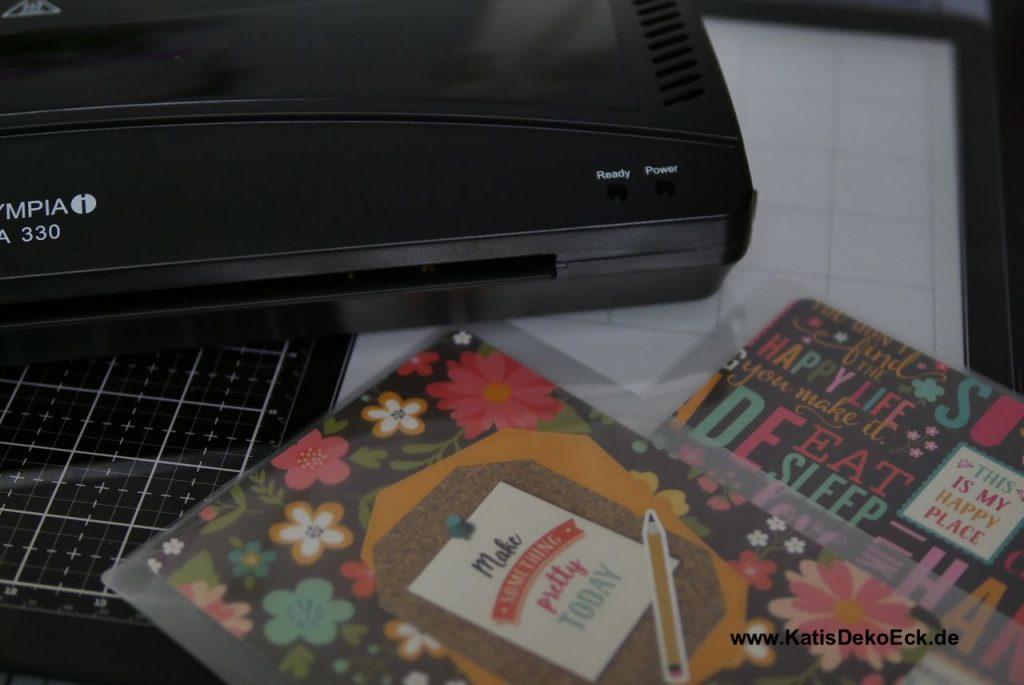
- Cut down the decorative paper of choice to the size determined, laminate it with a laminator tool (attention, if your craftroom is somewhere around 28 degrees Celsius, as was mine yesterday, a hot laminating tool is not really helpful without an A/C…)
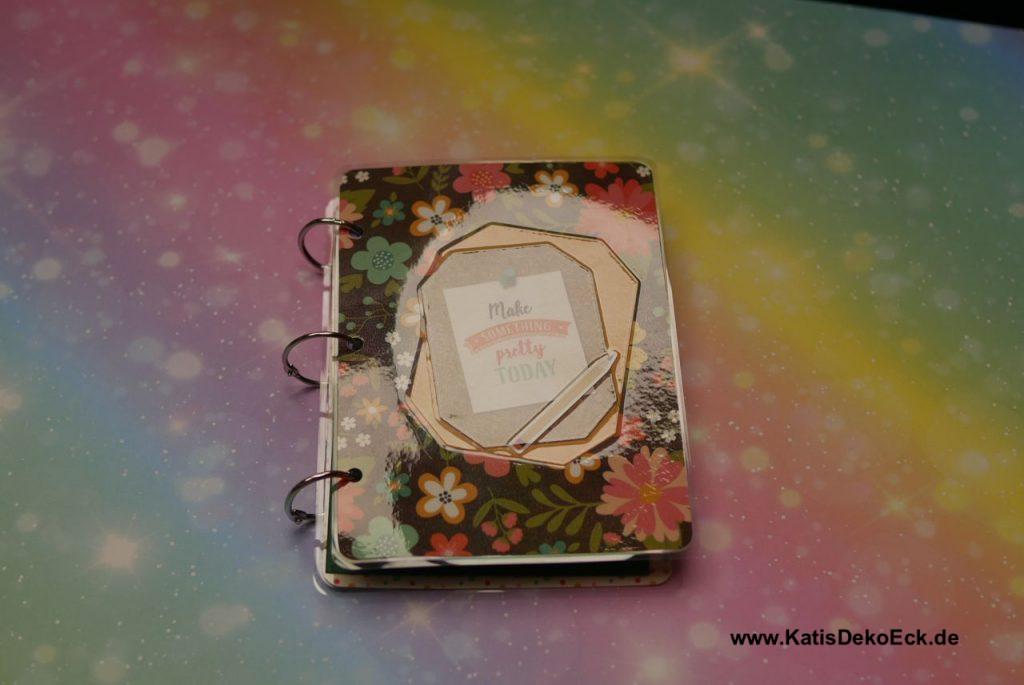
- Round the corners with a corner punch, punch holes in the cover pages and bind it all together with the rings
Sounds easy. And that’s what it is…
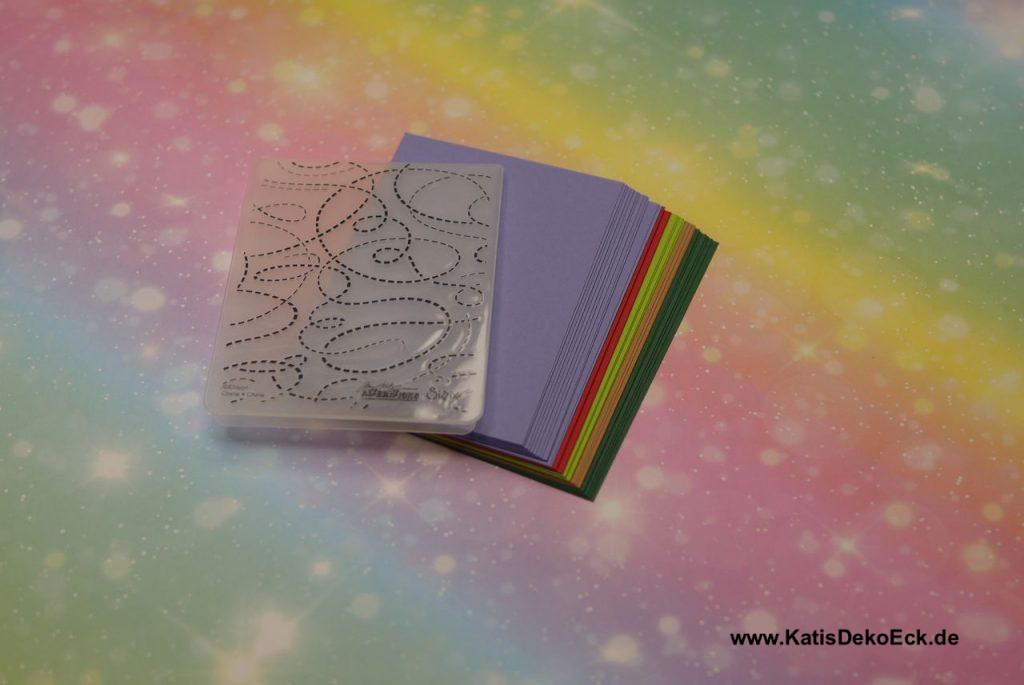
Actually, the decision what paper to use, took the longest part of the creation time!
And that was it: the new storage for my embossing folders and my folder-catalogue are done. Now I can choose the folder to use before even reaching for the organizer
And upon this, I am done. The whole procedure took actually less than 2.5 hours and this includes all the sorting, exclaminin „oh, I totally forgot I had this one!“, running all through the Sizzix and heating up the laminator machine. So this work was definitely worth doing, if I look at the result.
So, what’s next?
Hm, let’s see. I am currently thinking about the perfect storage solution for… Stencils. I might write about this. Or you tell me in the comments, if there is anything you want to read: new projects, Work in progress, Tutorials, storage? What would be interesting for you?
Until then, stay crafty!
Deine Gedanken zu diesem Thema