Today I’m going to search for answers on a seemingly simple question: What are Distress Inks? If you’re watching papercraft tutorials on YouTube, following interesting blogs (such as this one) or browse in magazines on the topic you surely stumbled across them more than once….
 They are well established in the market but still new to some of us – count me in…
Ranger/Tim Holtz Distress Inks ®
So everybody tells us how incredible these magical inks are. And all the projects presented just make you curious and yearning for them. That’s what happened to me. So, I decided it was time to make my very own experiences with them and answer the question what are Distress inks ®?
If only… Somehow the price always let me hesitate. Are they really worth it? So last summer I finally budged and invested in the meager number of three mini-ink-cubes. Simply to be able to try them and find out whether there is really something about them and if they are worth buying.
Last summer… And you discuss them NOW???
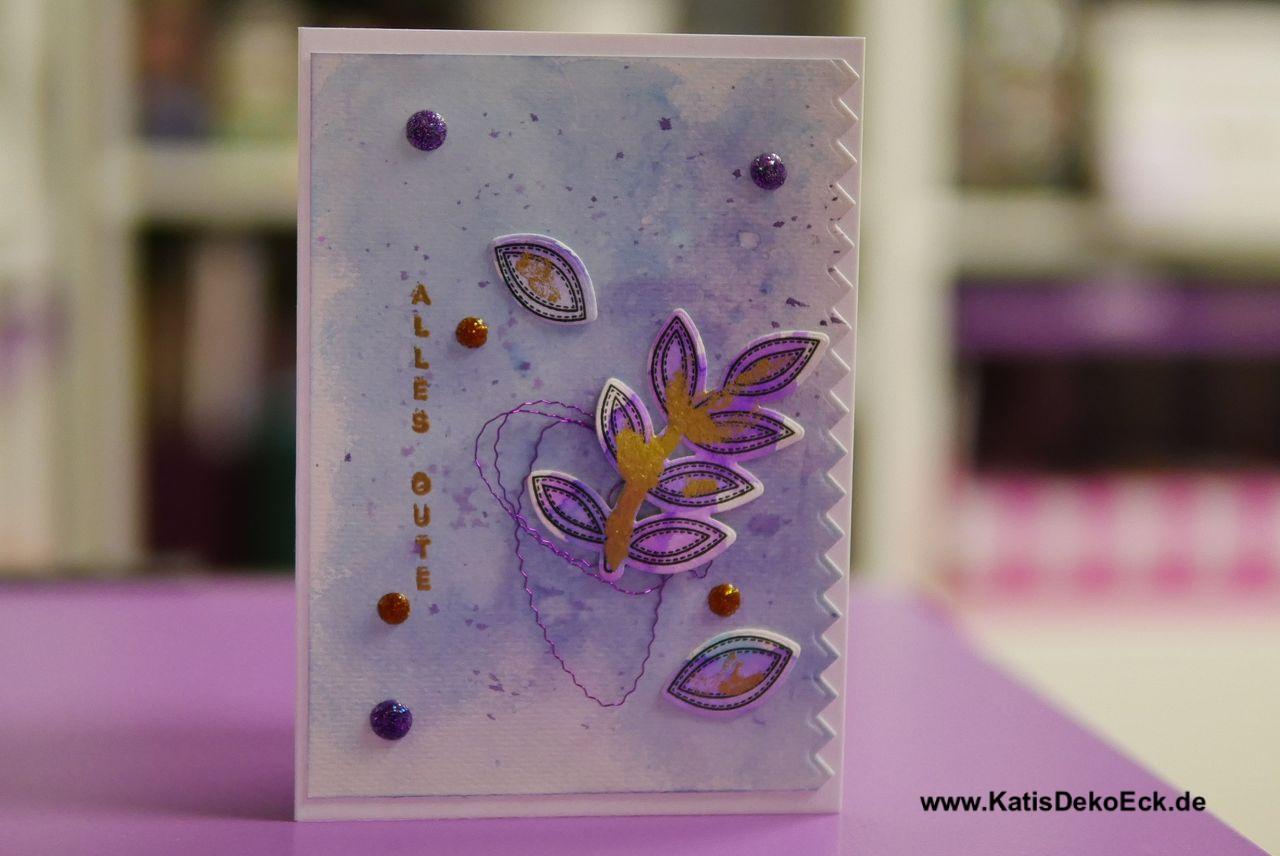
Well, yes it took a while. You know how life goes, there is always another project to finish first. And you want to have the time and mood to experiment. But then came the time of Valentine’s-day-card crafting and I finally tried them out. And wow, I was stoked:
What exactly Distress Inks are was still not clear to me but two things I knew:
- I need more of them (or rather: all of them)
- I want to know, how to really use them
We get to the first point in a couple of lines, but first things first:
What are Distress Inks?
To find out let’s ask the manufacturer Ranger. They describe distress inks as:
„acid-free, non-toxic, fade resistant, water-based dye inks“. Well…
As deep as I dug into the web and searched for the answer, I could not spot what exactly makes distress inks to be distress inks…Well, very likely this is a well kept company secret – if you produce a product that turns out to be the must-have for the crafting world – you wouldn’t tell it, I guess.
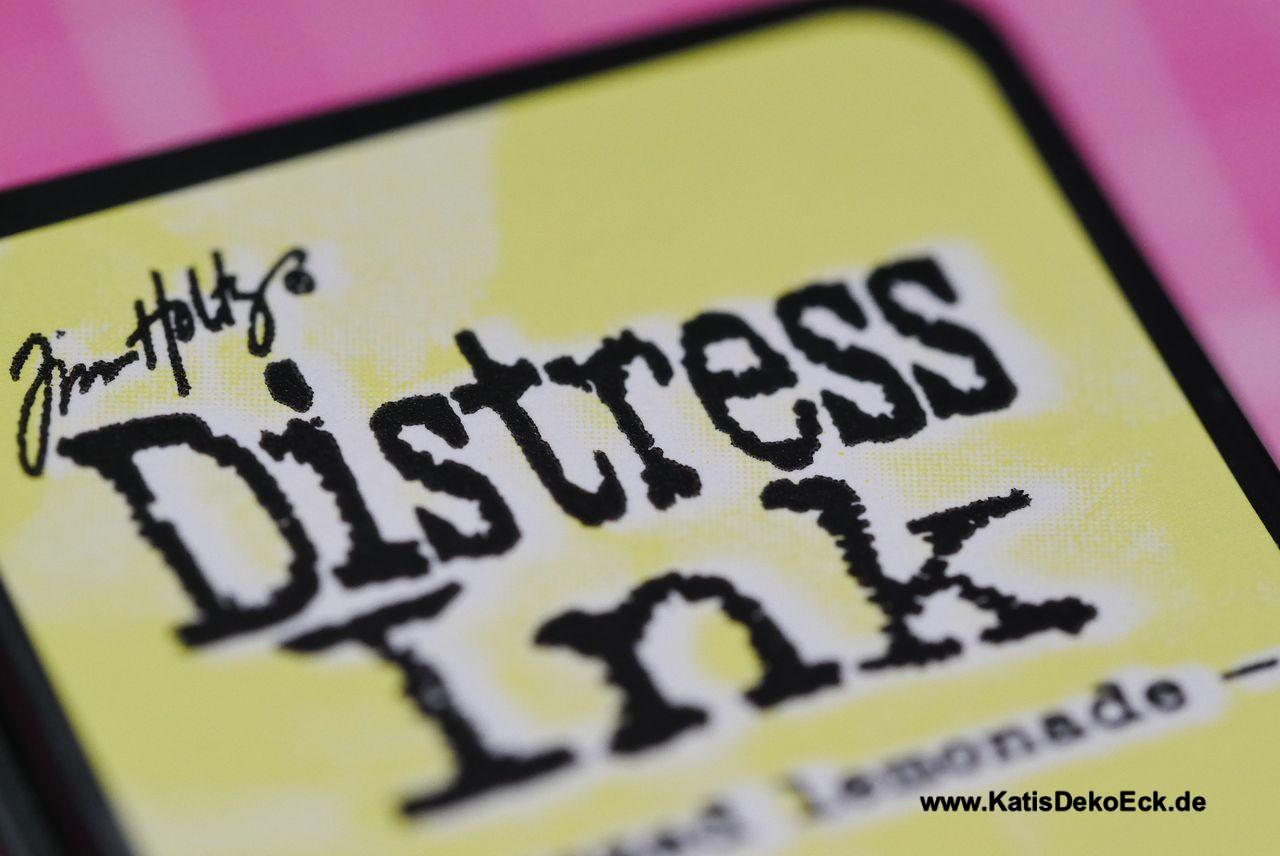
As a matter of fact Tim Holtz – the designer who developed and created the inks and colors together with Ranger – is present in basically every other craftroom of the world – surely not just because of these inks, but likely almost…
In his own words these inks were „formulated to create an aged effect on Paper and fibers and photos […] it is reactive with water“ (source for the quote is this YouTube-video)
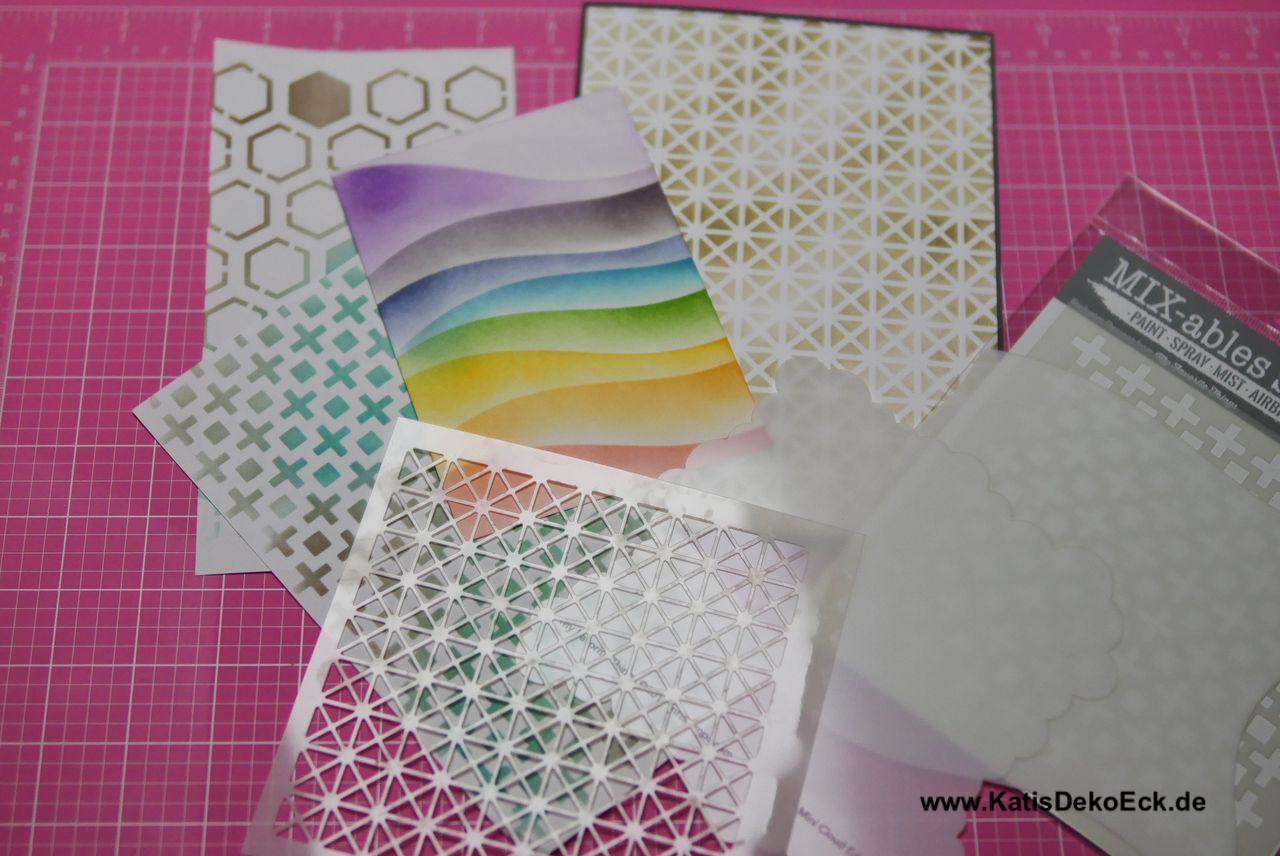
I will show you what is meant by „reactive with water“ in part 2 of this journey when leading you through some techniques for these inks.
To cut the long story short:
Distress inks are dye-inks – they react with water, react with each other (meaning they can be blended into each other), are not toxic, don’t fade over time and are acid free. And they are meant to be used to create backgrounds, age effects and color layerings, they are not exactly meant for stamping or to get a motive on the paper. But more about this in part 2, too.
This brings us back to point one on my list: I need more of them!
Now that we know what Distress Inks are next question is: where to buy? Nowadays you can find distress inks in basically every well-sorted craft shop, in most online shops on the topic and even on Amazon & Ebay.
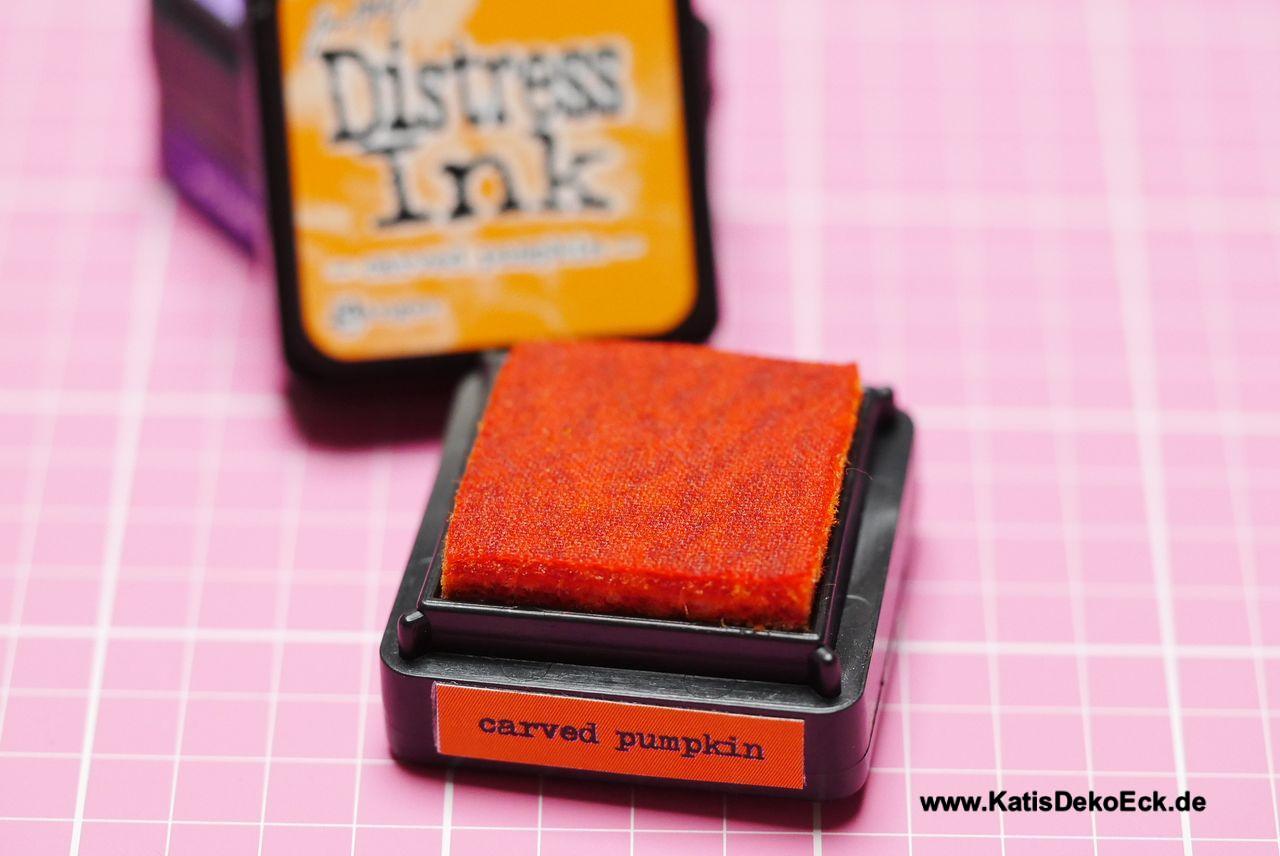
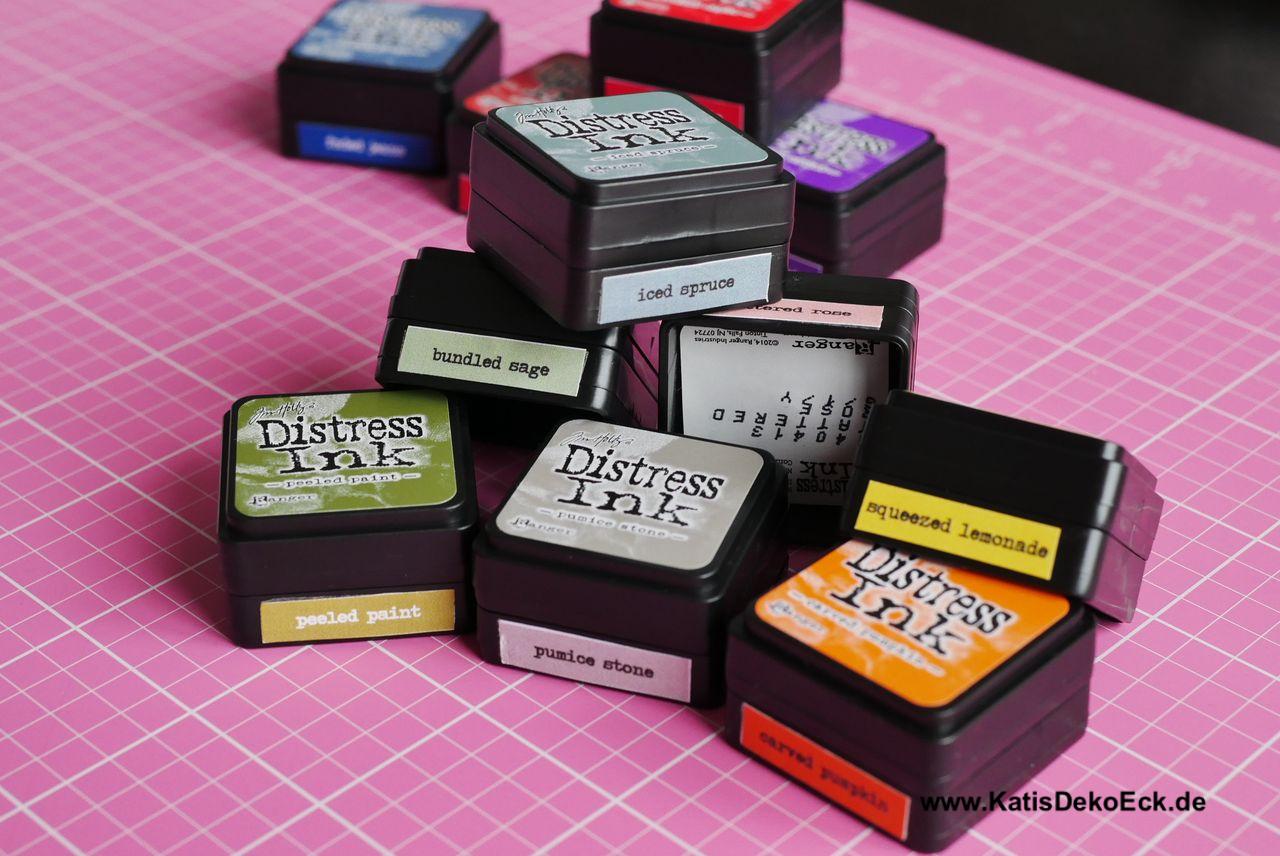
The ink pads are availabe in classic sized (3 inch * 3 inch), as minis (1 inch * 1 inch) and as reinker bottles.
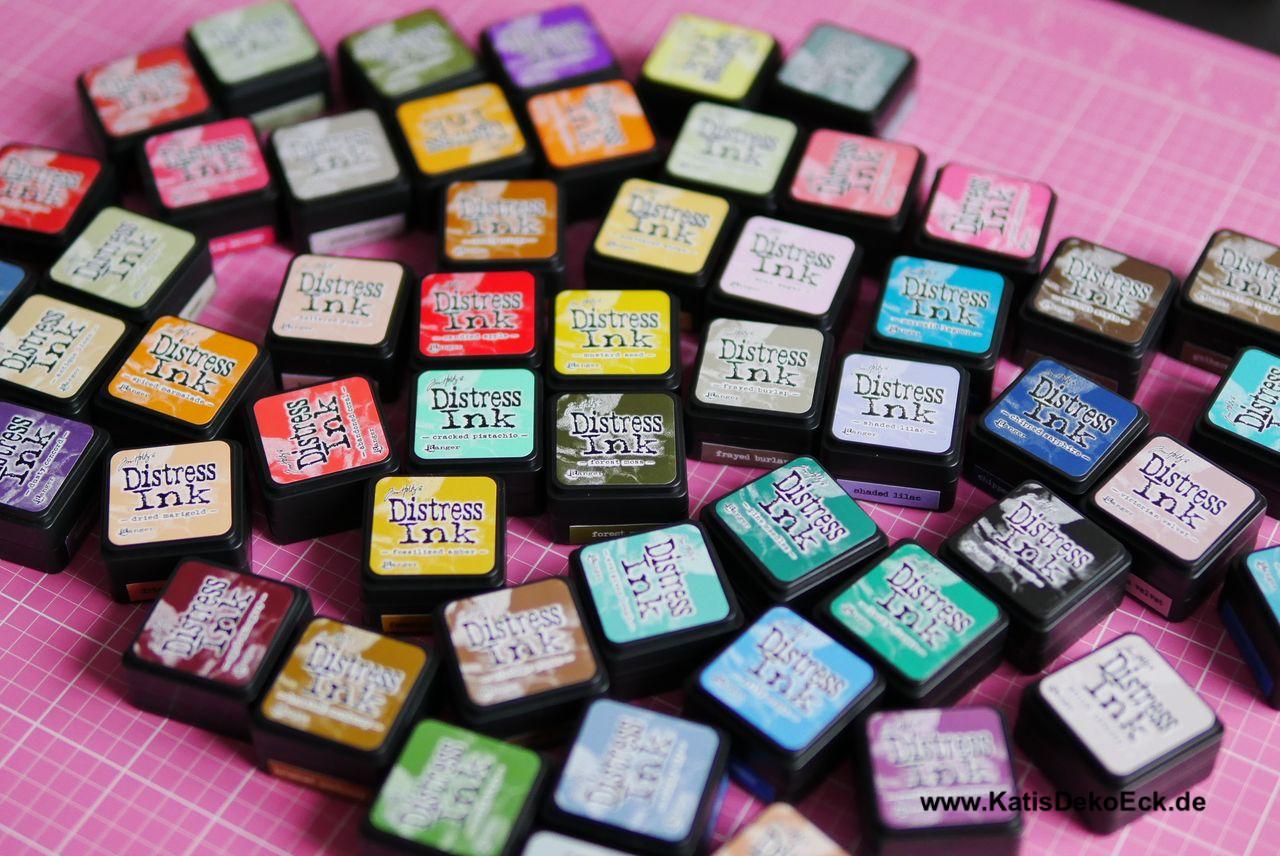
„Unfortunately“ the color range is amazing. Currently they offer 60 different colors (+1 neutral color-yourself-pad) and – being the completionist I am – I had to get them all.
But with individual price tags of up to EUR 3,50 for the small pads and EUR 7,00 for the standard size, respectively, that really sums up to a decent amount. After doing some research-homework I decided to get the mini ink pads. This way I can try out more colors to find the ones I really like and grab re-inkers for these only.
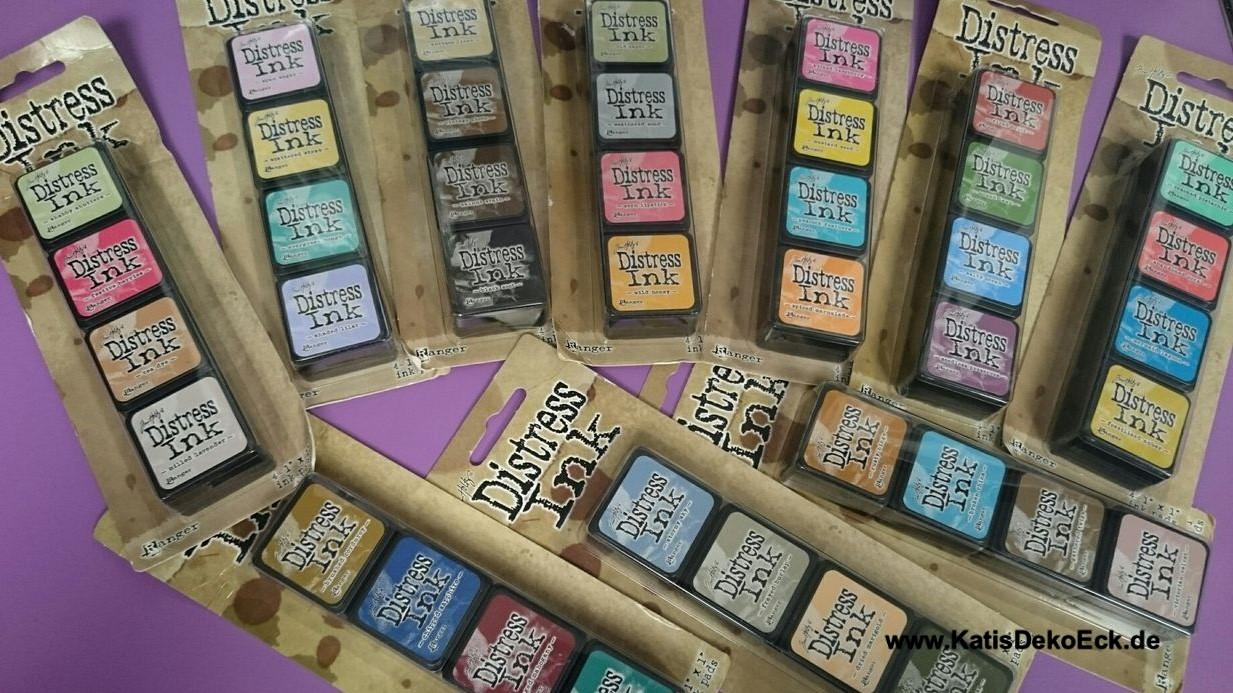
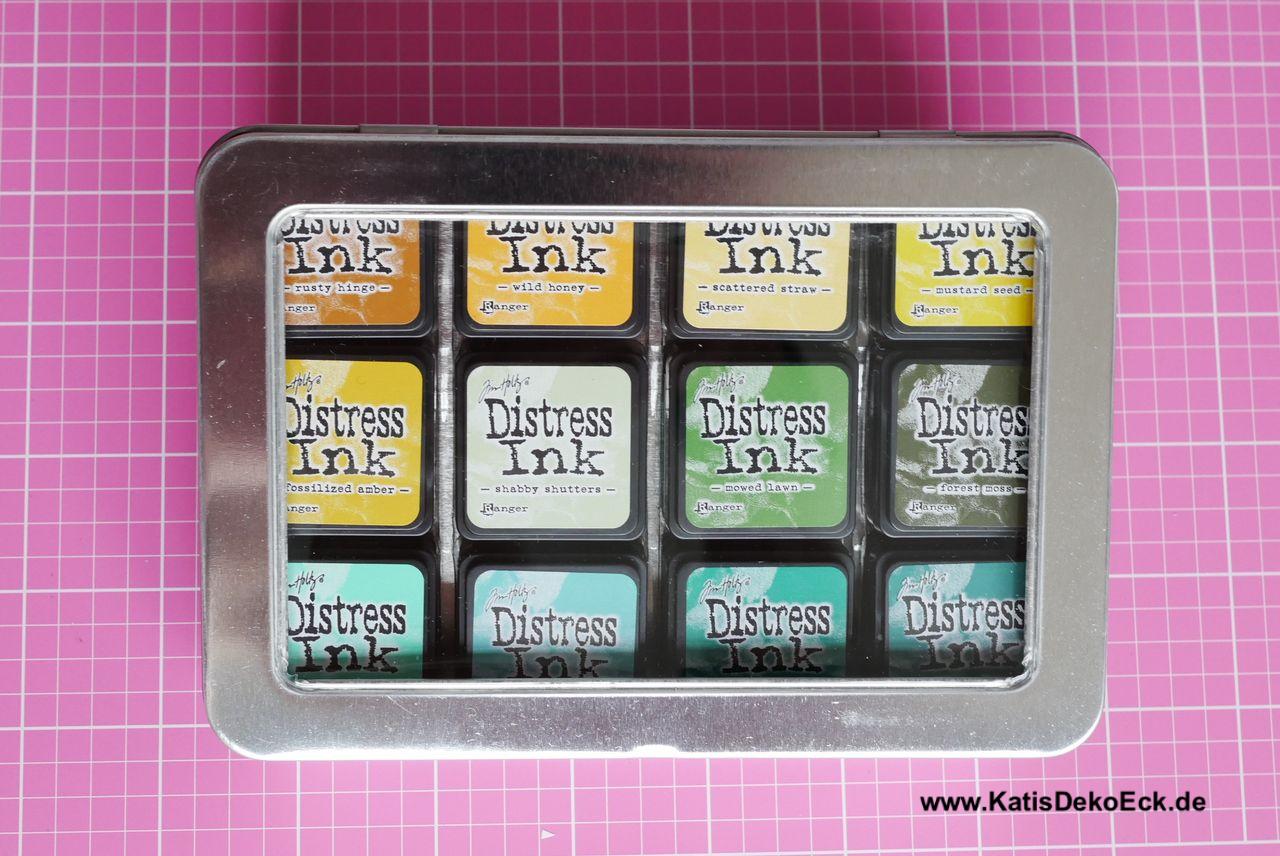
Luckily the manufacturer started to combine packs of four different mini ink colors into mini ink kits. These kits come at a discounted price compared to the singles. However, EUR 10 – 13 (depending on the store) quickly sum up…
So after quiet some time of „Yes, I will“ „No, I won’t“ „Yes, I will“ I took the opportunity to order a set of 40 random colors on Ebay. Seller said they’re all brand new, in original packaging and no duplicates. And guess what – it worked out well. The pads came in quickly and in decent condition. There may be a variety of experiences with sellers on ebay. Stay aware, better safe than sorry.
But I was still 20 pads short of the complete 60-colors-set. And these I bought piece by piece in different shops. Right now I am at 52 so the path to completion is not too hard to walk anymore.
And, is it worth it?
Oooooh yes! At least in my case. Since I started using these inks I can hardly imagine how life was without…
But back on track: So now you got 52 inks in tiny pads. How do you manage this stash?
Also here the manufacturer takes a lot of care of us.
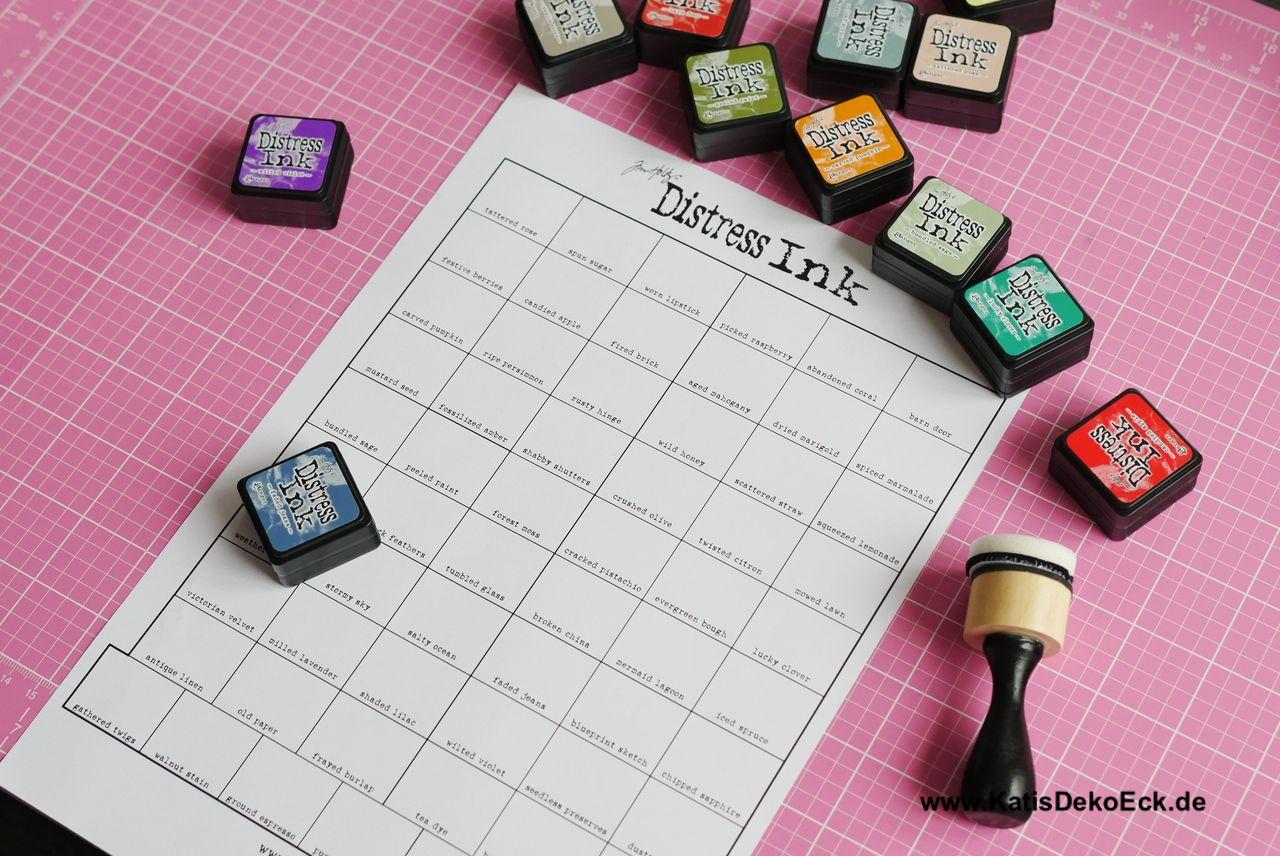
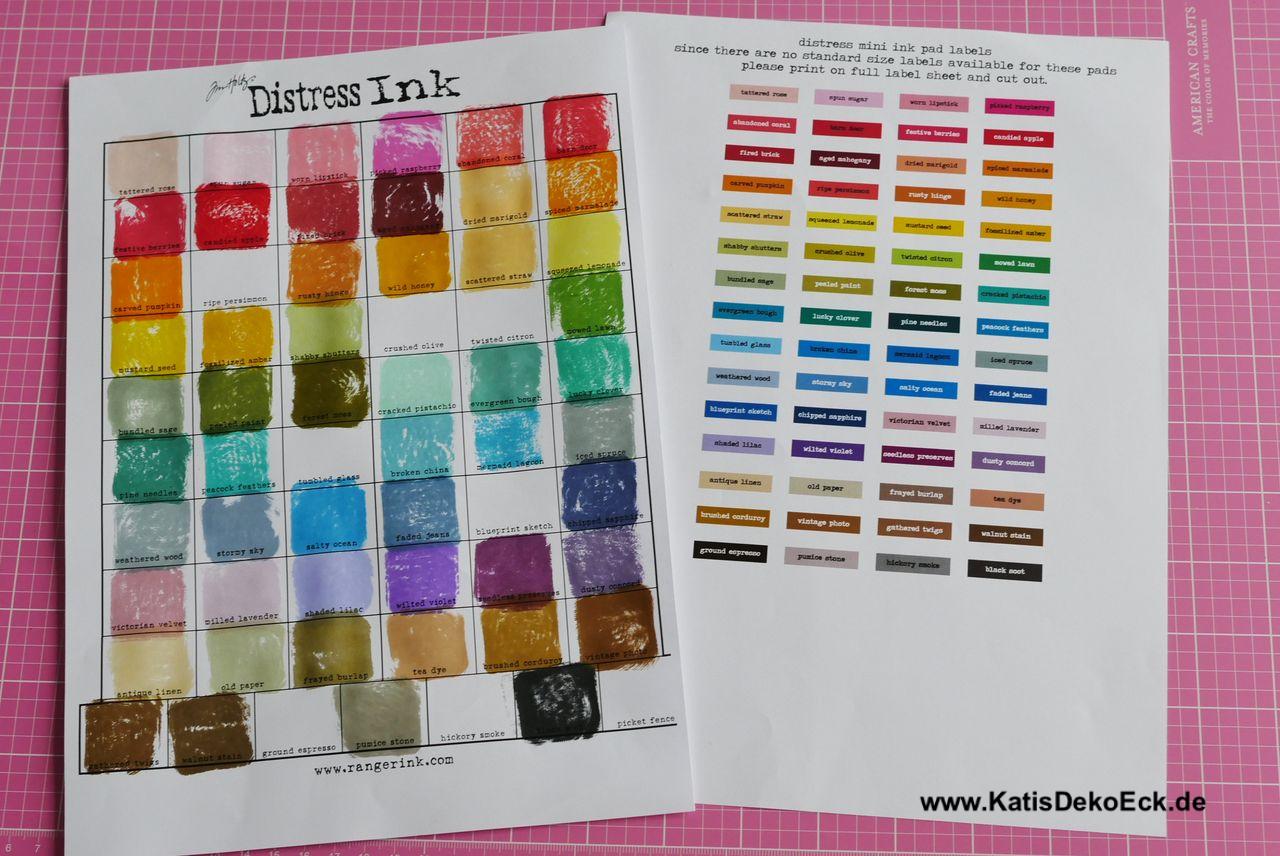
On their webside Ranger offer a color chart for the Tim Holtz (Mini) Distress Inks® for free download, as well as a sheet of color labels for your pads. You can find them by simply following the links provided.
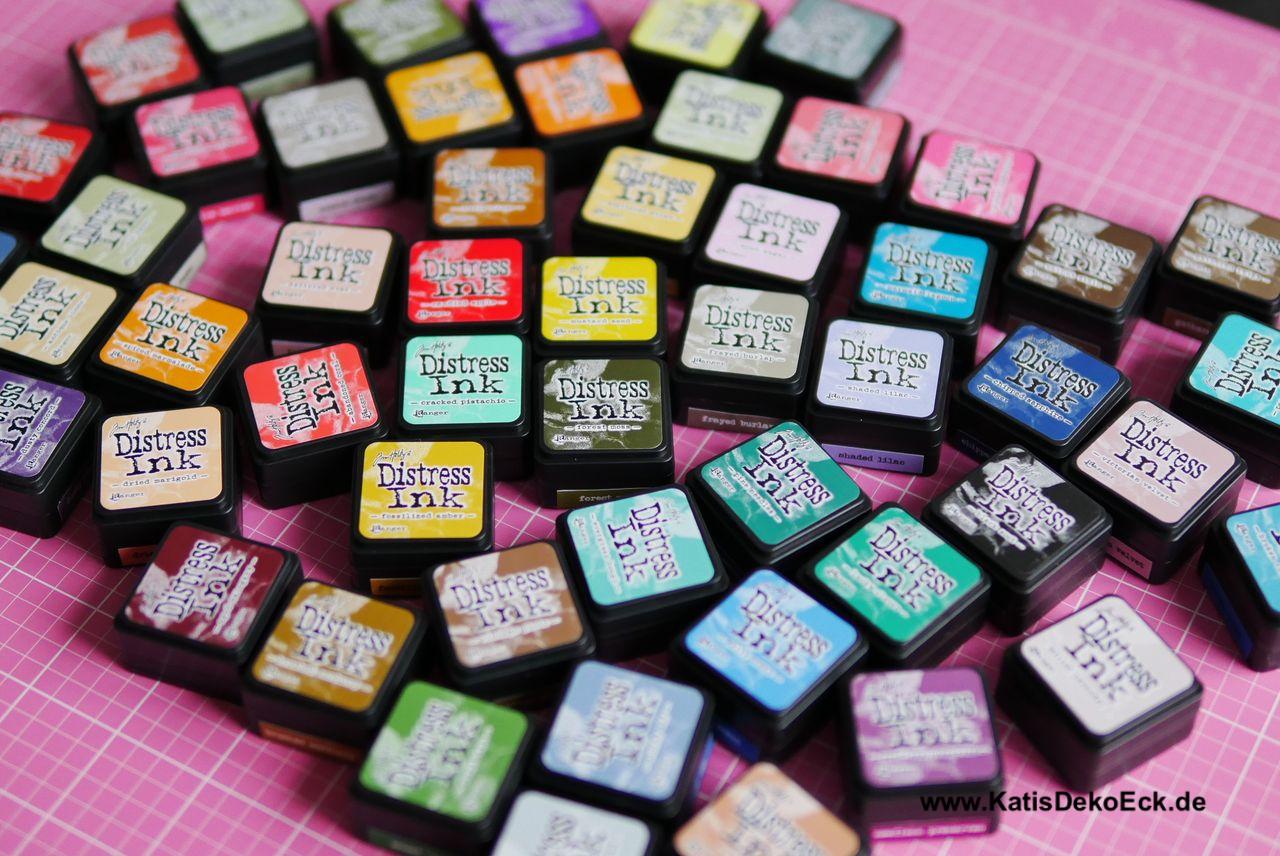
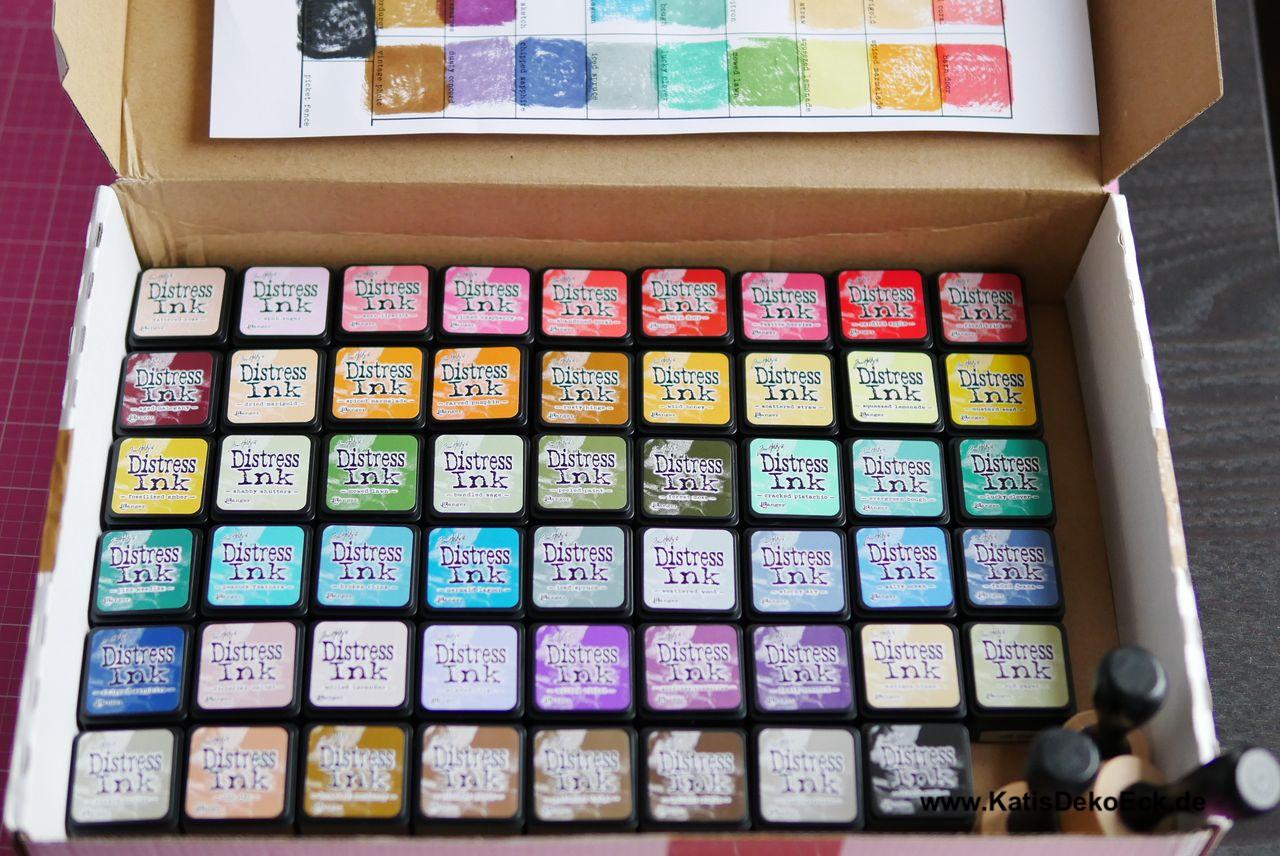
Ok, let’s get started, first unpack all the pads and just put them in front of you, that’s the first part of a lot of fun!
Then start swatching your own inks on the color chart – more fun…
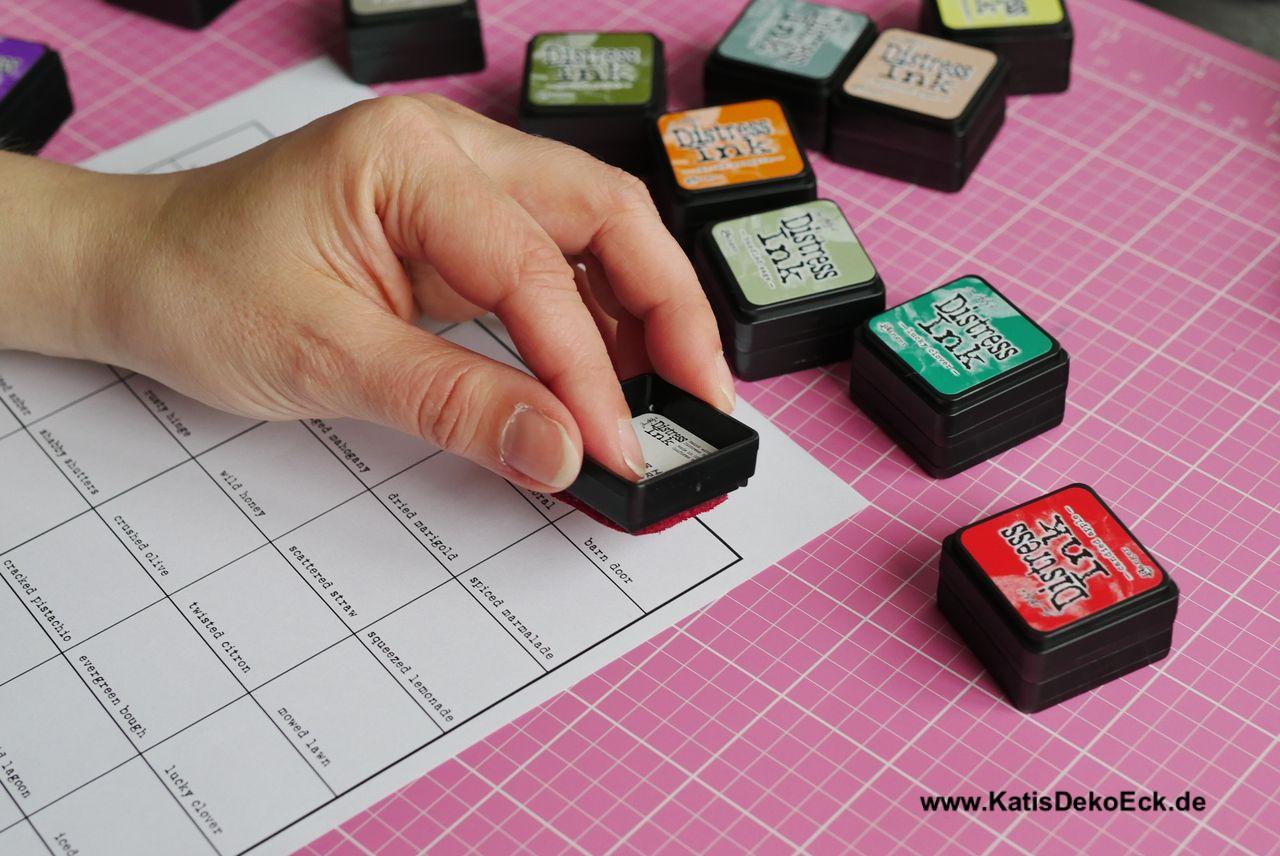
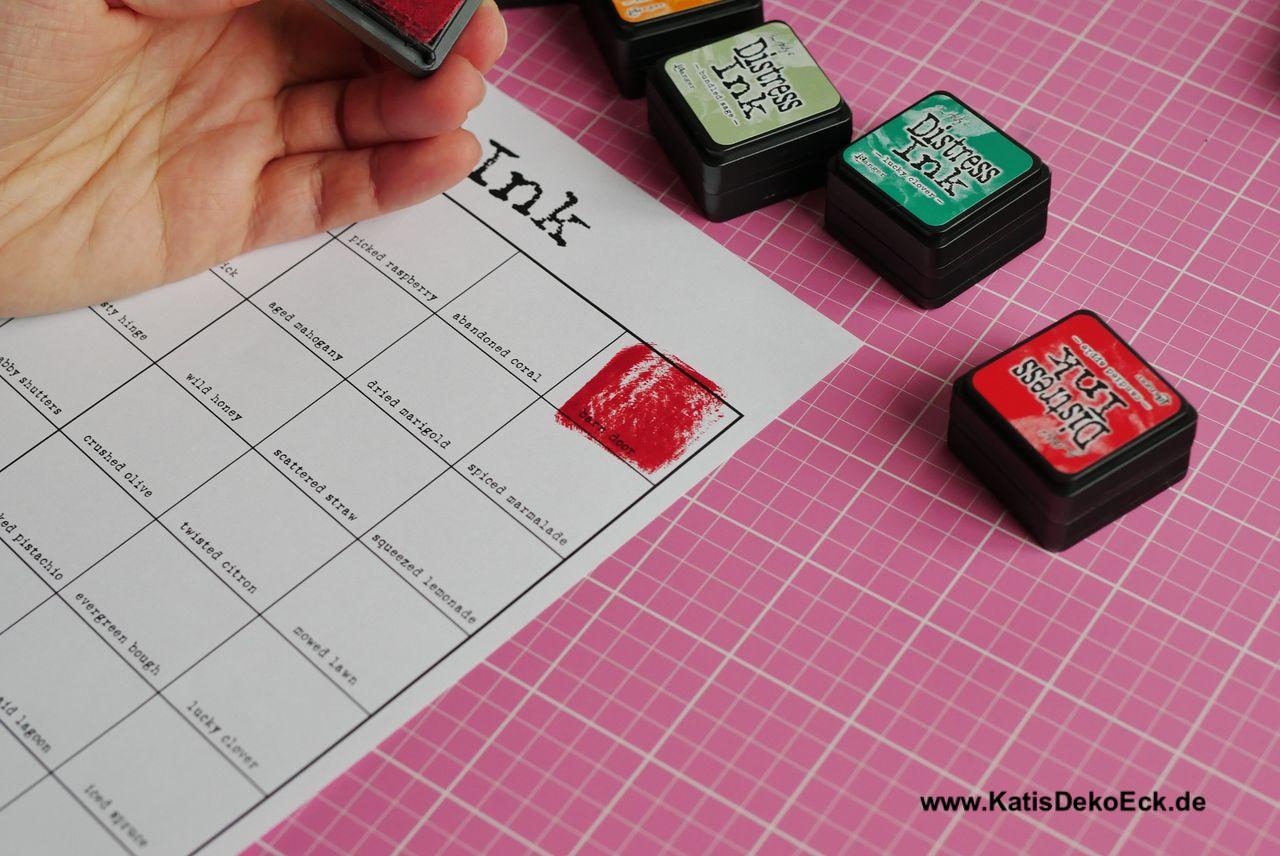
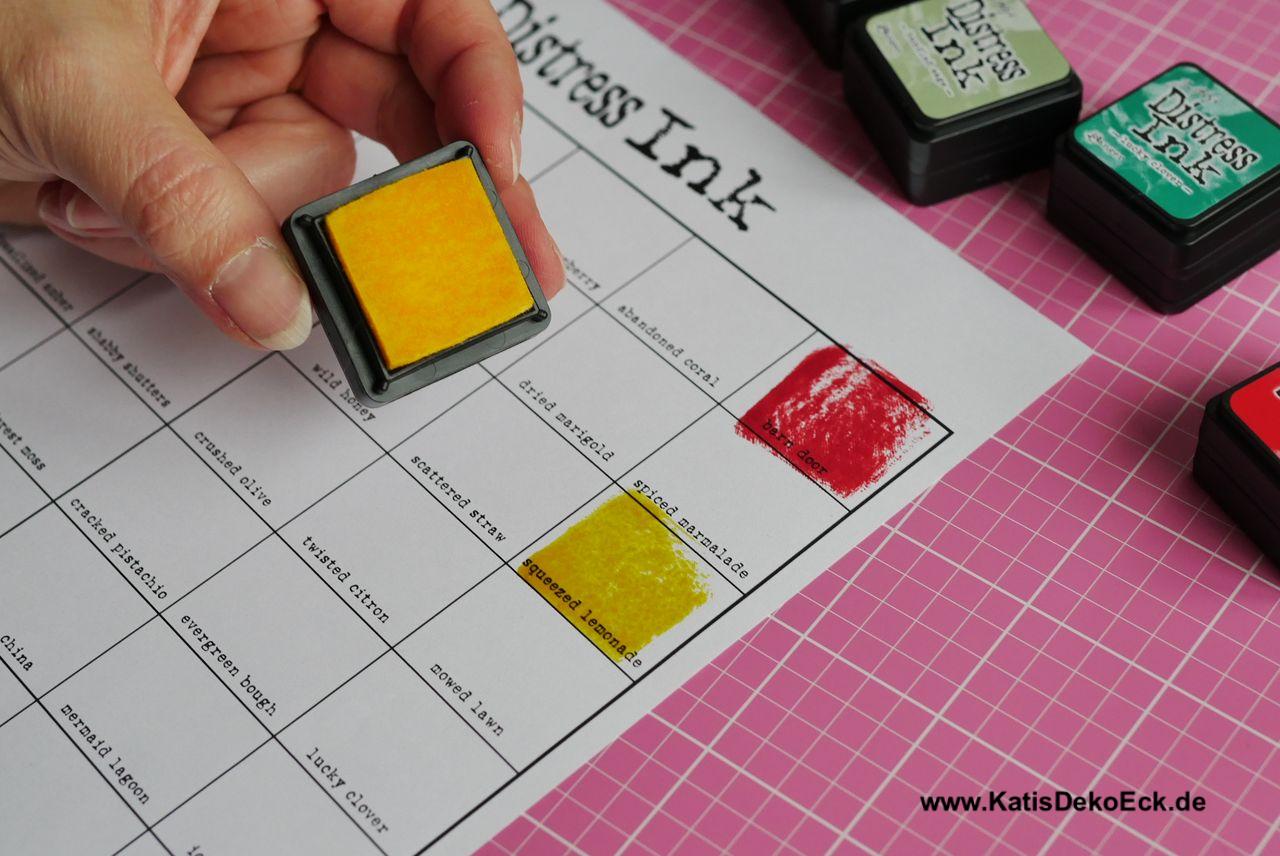
In the end it may look like this:
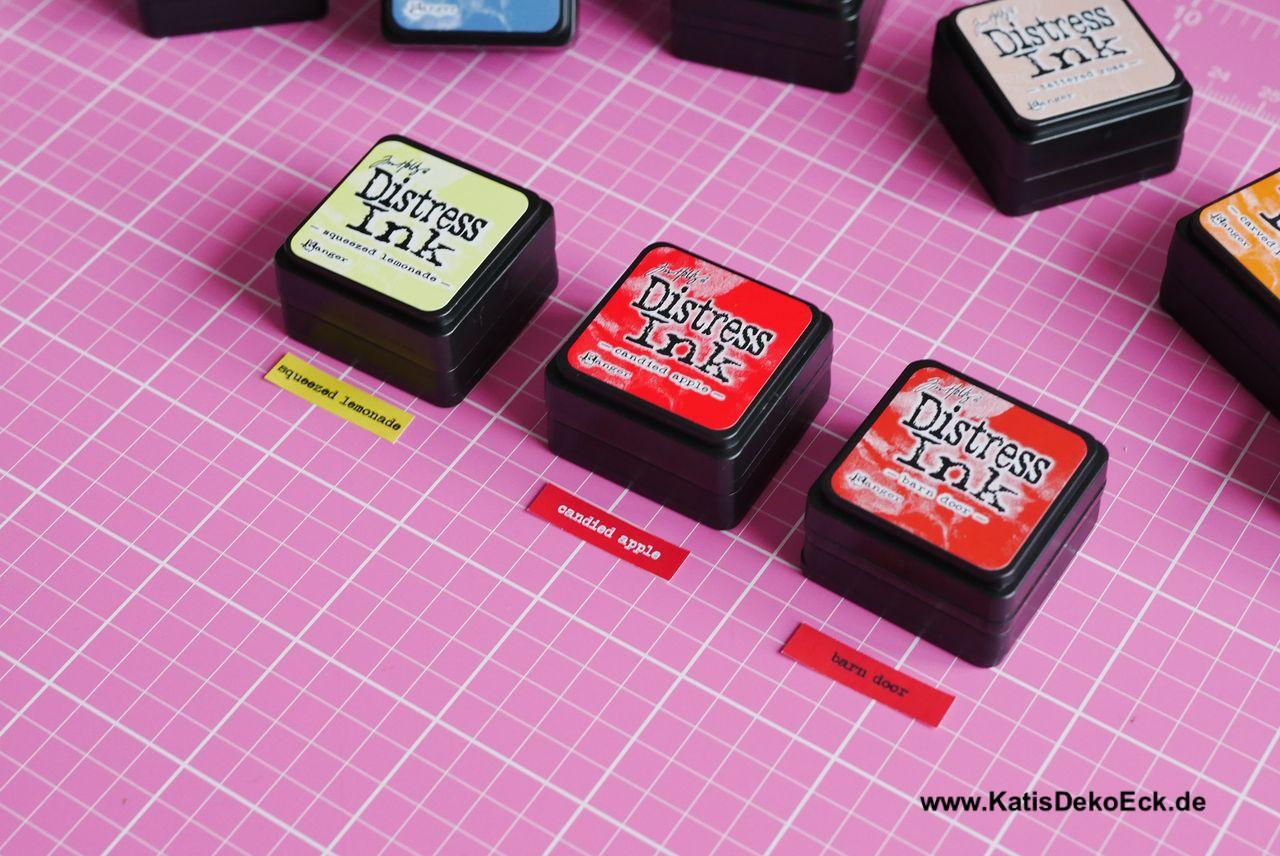
Now cut the small labels and attach them to your pads (this is worth the effort, if you work with several of these pads at a time it is very helpful to see the color name at a glance when the lid is not attached):
Ultimately we got the inks marked and sorted, we know what the colors really look like, now what?
Storage… There are so many options, one of them is from Ranger directly – very practical and nice storage tins. Each of these boxes holds 12 mini pads, so five of the tins will host your complete collection of 60 pads. I also started out with one of them:
But I wasn’t too happy with this solution. First problem: I got to search through 5 tins to find the colors I want to use at a time. Secondly: you will likely store the tins stacked and just can’t marvel at them at a glance. Plus they aren’t really cheap, either…
As always the internet provides you with answers and some wonderful ideas for storing these mini ink pads. Unfortunately most of them are either not available in Europe at all or – if they are – don’t come at a reasonable price. But nonetheless, some are really beautiful and this is my personal favorite: the Ink Tray by OrganiseMore – first seen on the blog of Jennifer McGuire:

But again, unfortunately: not easy to get on this side of the ocean…
That’s why Mr. KatisDekoEck promised to create an innovative and practical storage for my pads. As soon as he is finished with this (and knowing him I know, this will happen and be just awesome) I will show you the result. Until then, I have to live with this handy cardboard box solution:
So, what’s next?
After having gone through all this, we can answer the question „What are distess inks?“ from a crafters perspective: A whole world full of color and fun for creative people!
And so it is also rather obvious what will be next: I will show you how to use these inks and which techniques I tried out with these inks until now. And I will show you, what got me inspired, what the result can look like and I can hopefully give you some ideas on what to do and how to work with Tim Holtz/Ranger Distress Inks®
That’s it for today, read you next time!
Deine Gedanken zu diesem Thema