So many adorable stamps and so little room to showcast them all. There is just one solution to this: a DIY stamp catalogue..
I guess, everyone who ever got infected with the stamp virus – and may it only be a few months ago, knows this dilemma: a lady has spent so much money and assembled this incredible amount of wonderful beautiful stamps. And then you lack the space to see them all! But to be inspiring they all need their own place, you need to see them, to admire them and to have them in order in your very personal craftroom. Well, in a good case your solution might look like this:
If it looks like that, then how do you find what you need and how do you avoid to accidentially buy the same set twice? Let’s be honest, we have all been there at one point… Or almost all of us, at least…
The solution: DIY stamp catalogue
After a couple of weeks searching for the stamps I always needed, I got tired of it and decided it is past time for me to catalogue my stamps. And of course this one needs to be hand- and selfmade. I have done it and it was so much fun. And easy to try yourself, too. and thus here a tutorial so that you can do it, too.
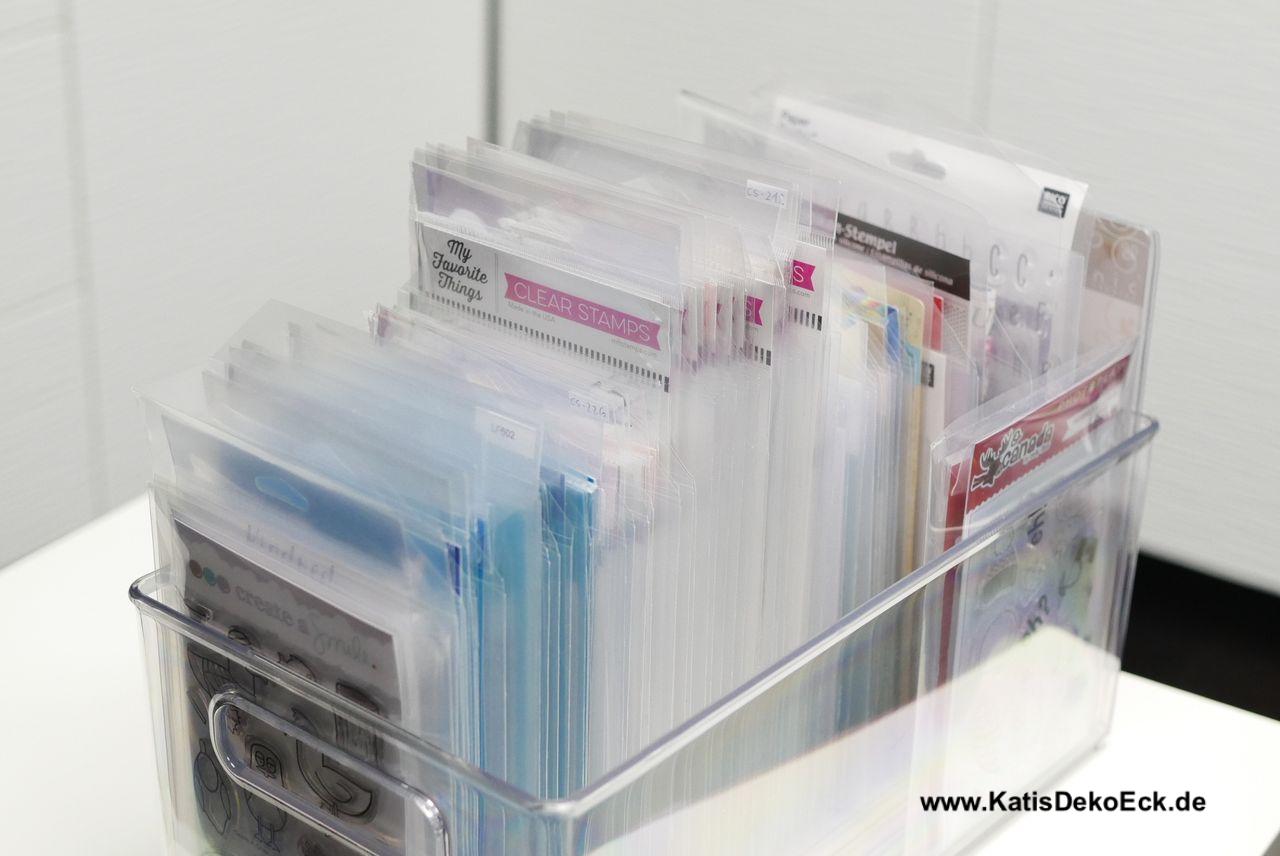
Here is all you need (ok, besides your stamps and a big pad full of ink…):
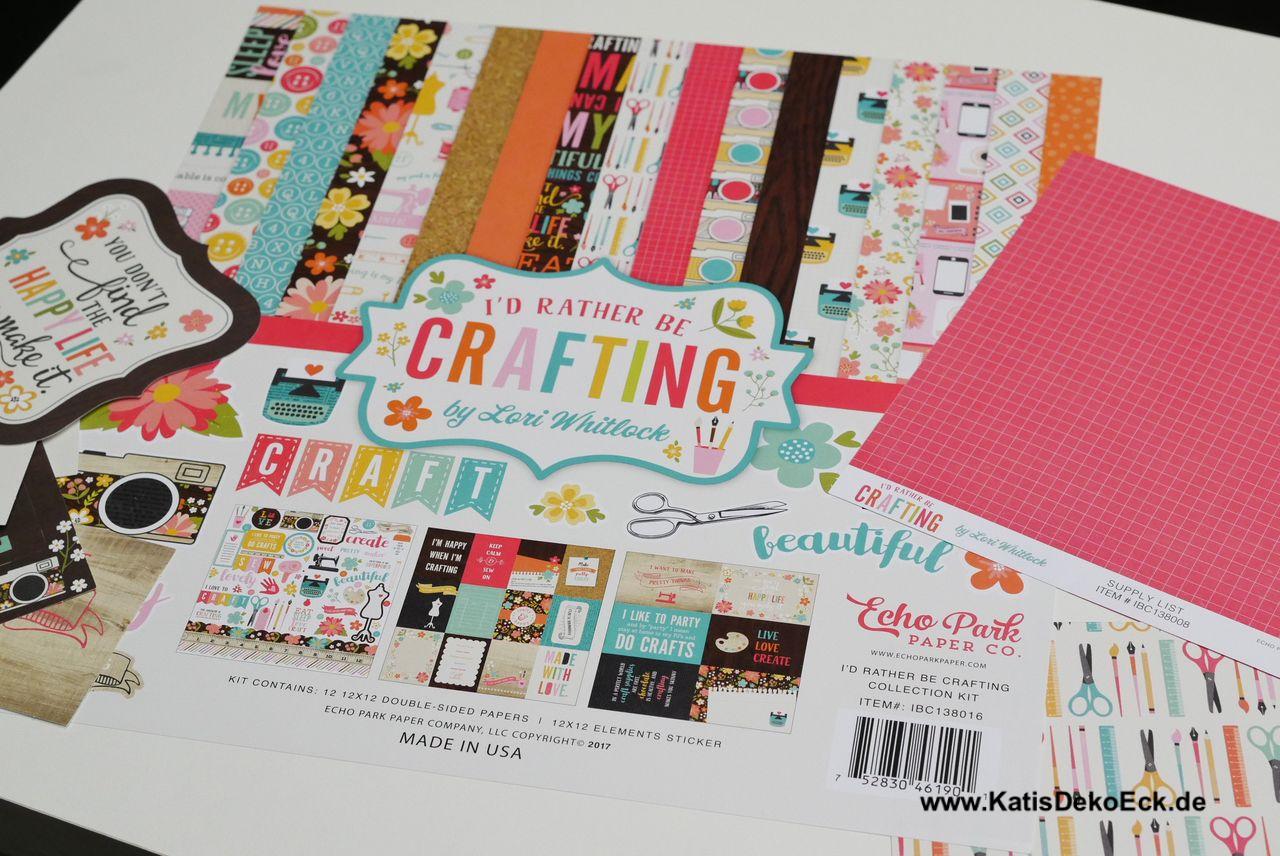
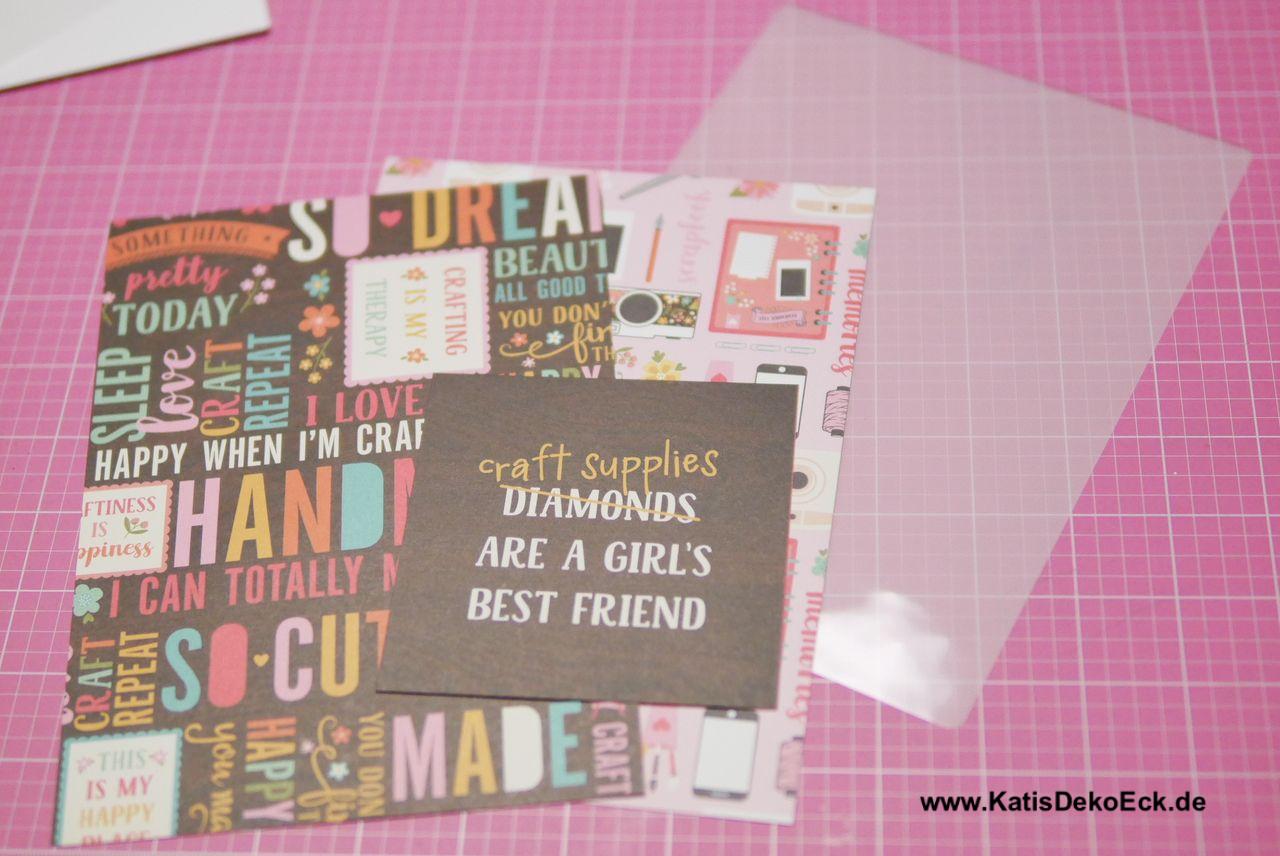

- a beautiful paper: choose whatever you line and what inspires you, whatever sparks your creativity is perfect for you. I chose the „I’d rather be crafting“ paper collection by Echo Park
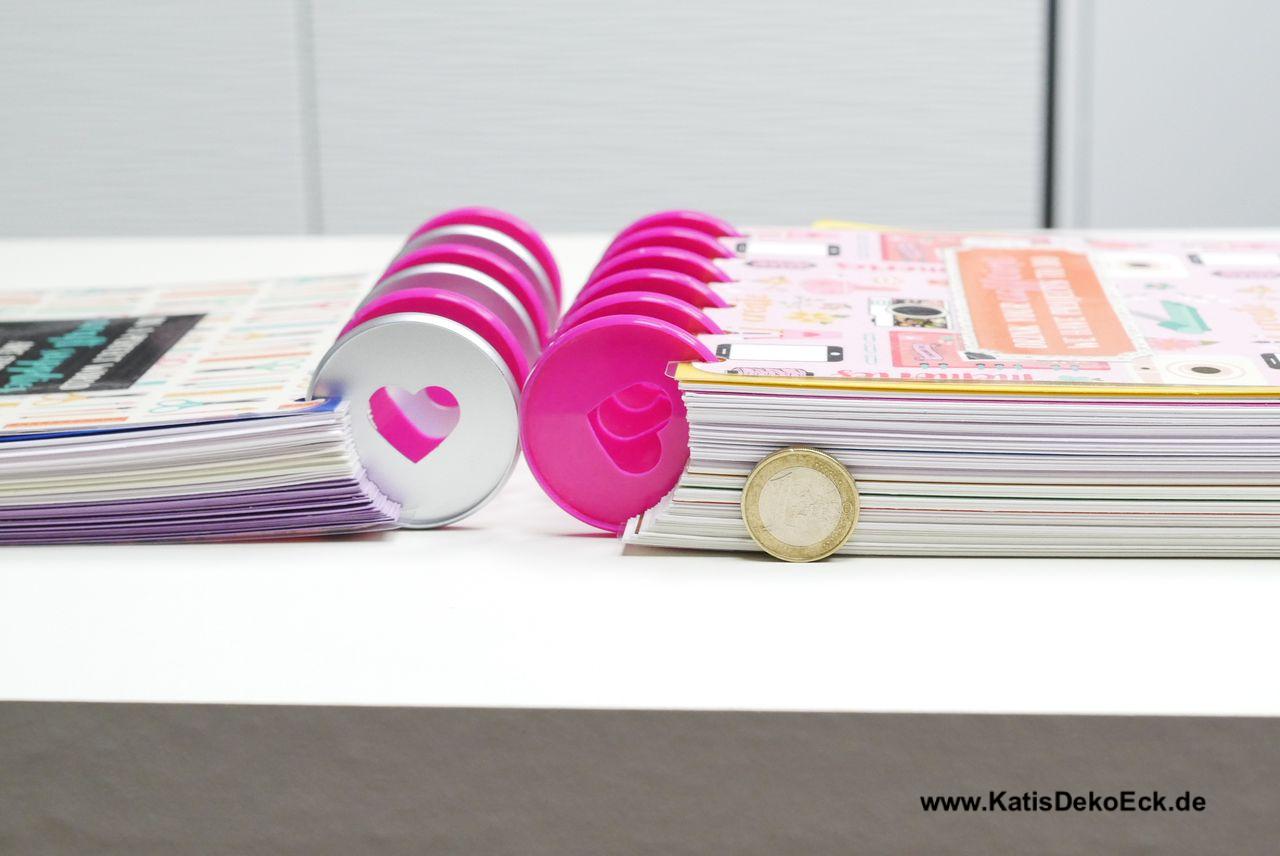
- Laminating foil and laminator
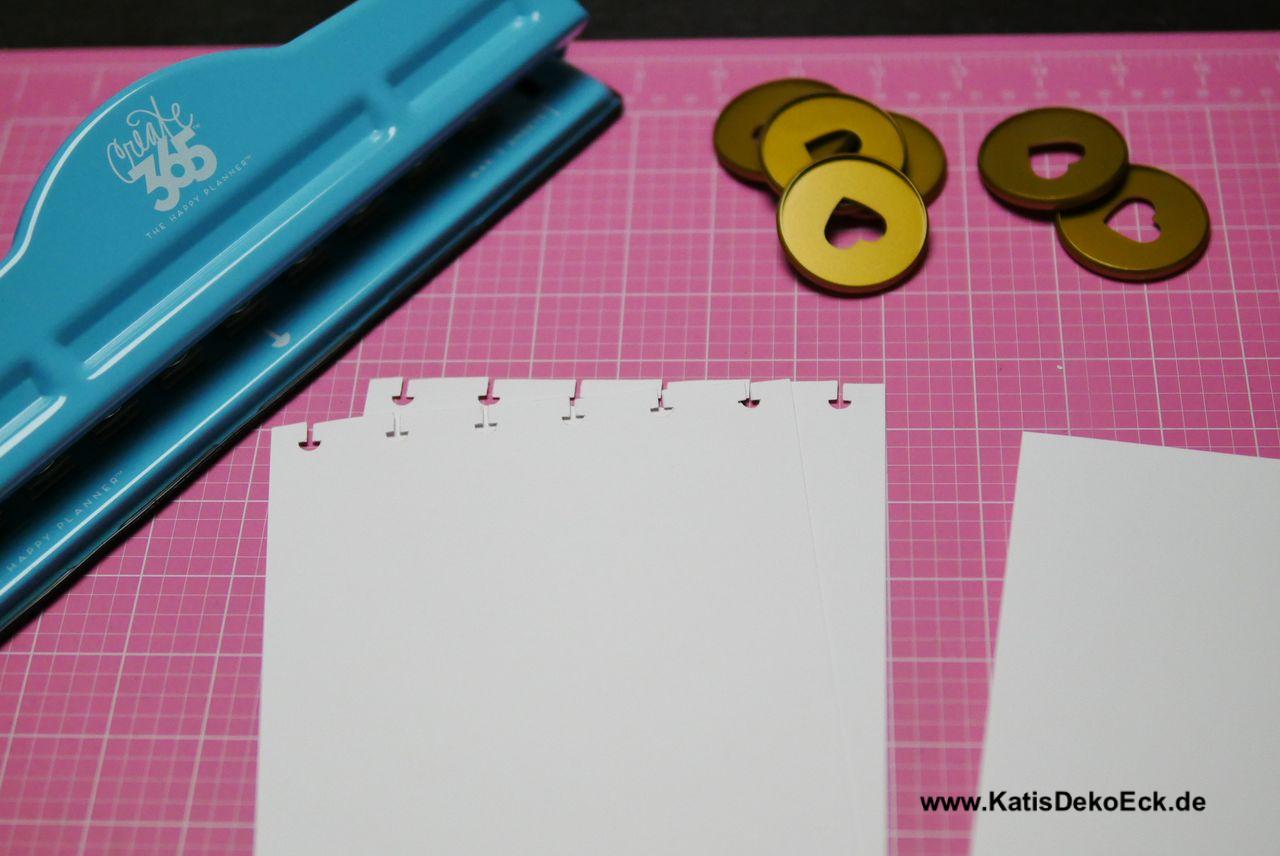
- white paper, a punch and some planner rings
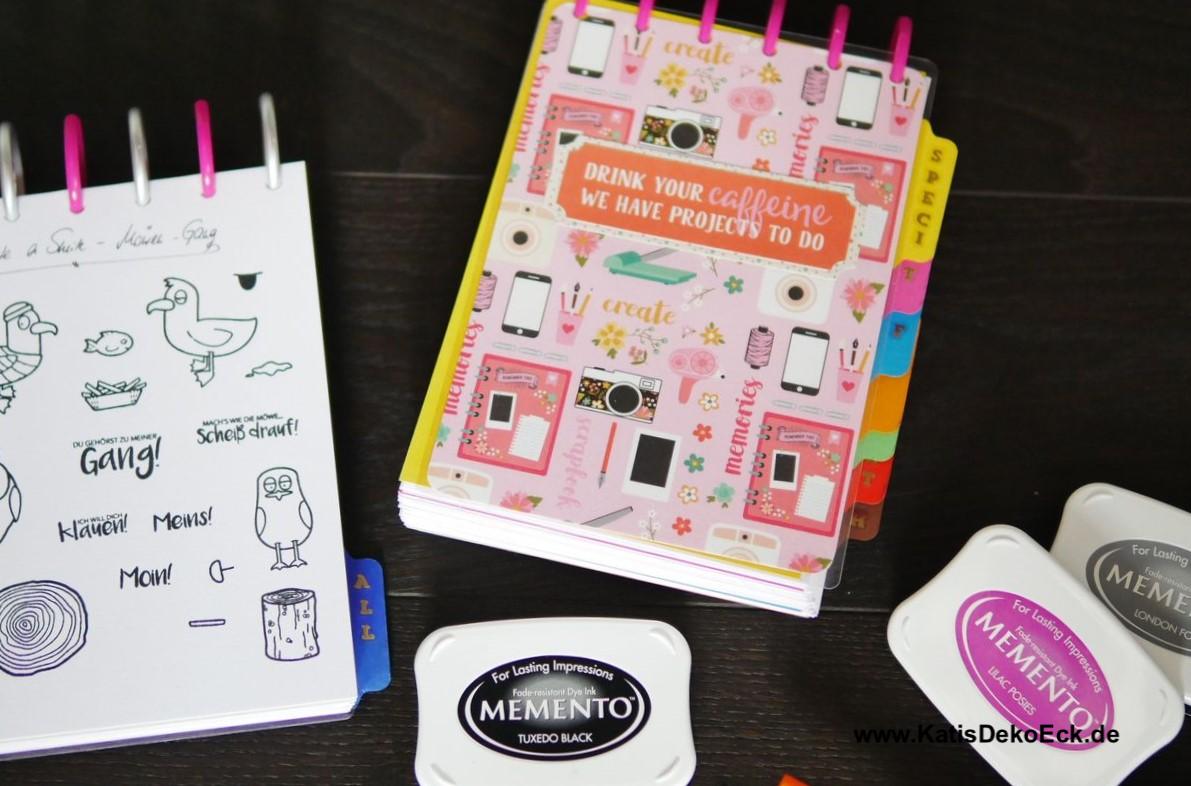
I decided to make my DIY stamp catalogue based on the Happy Planner system from Me and My Big Ideas. The ring system allows for easy removing and reattaching of the catalogue pages. And as the rings exist in diverse colors and different sizes, you can be as flexible as you like. Besides, I just think this is superchic…
Is that a lot of work?
Well, that depends heavily on how extensive your collection of stamps is! The front- and back cover are quickly done, the dividers as well. But to stamp and sort and label all the sets for the catalogue? It took me a couple of weeks until all was done and in order. Don’t worry, it is fun all along the way! I promise!
Ok, covers:

Paper chosen? Ok, next decide upon your favorite size, cut the paper to the correct size, decorate it and laminate it – such a fastly done task. No effort whatsoever…
My catalogue is in standard European A5 size, this is half the size of an 8.5 by 11 inch paper and thus easily measured and cut. That means, I can fit 6 plannerrings to hold my pages on top of the cover. I decided to give mine a flip on top of the paper rather than on either side, but you are free as a bird in this one, too.
After laminating front and back cover (and letting it cool down a bit) it is time to punch both cover pages to make room for the rings.
But be careful here: if you, as I did, want to use the Happy Planner Punch: that wont work! The laminated cover pages are too thick for the punch, you will likely destroy your project and might damage your punch. Only use this one for the catalogue pages and for the cover rather use a ring punch, punch every hole separately and cut the small slits by hand. That saves you from needing a new punch and frustration…
Ok, done, so next test: I punched a few emptly pages, just to see what it looks like. And wow, love it…

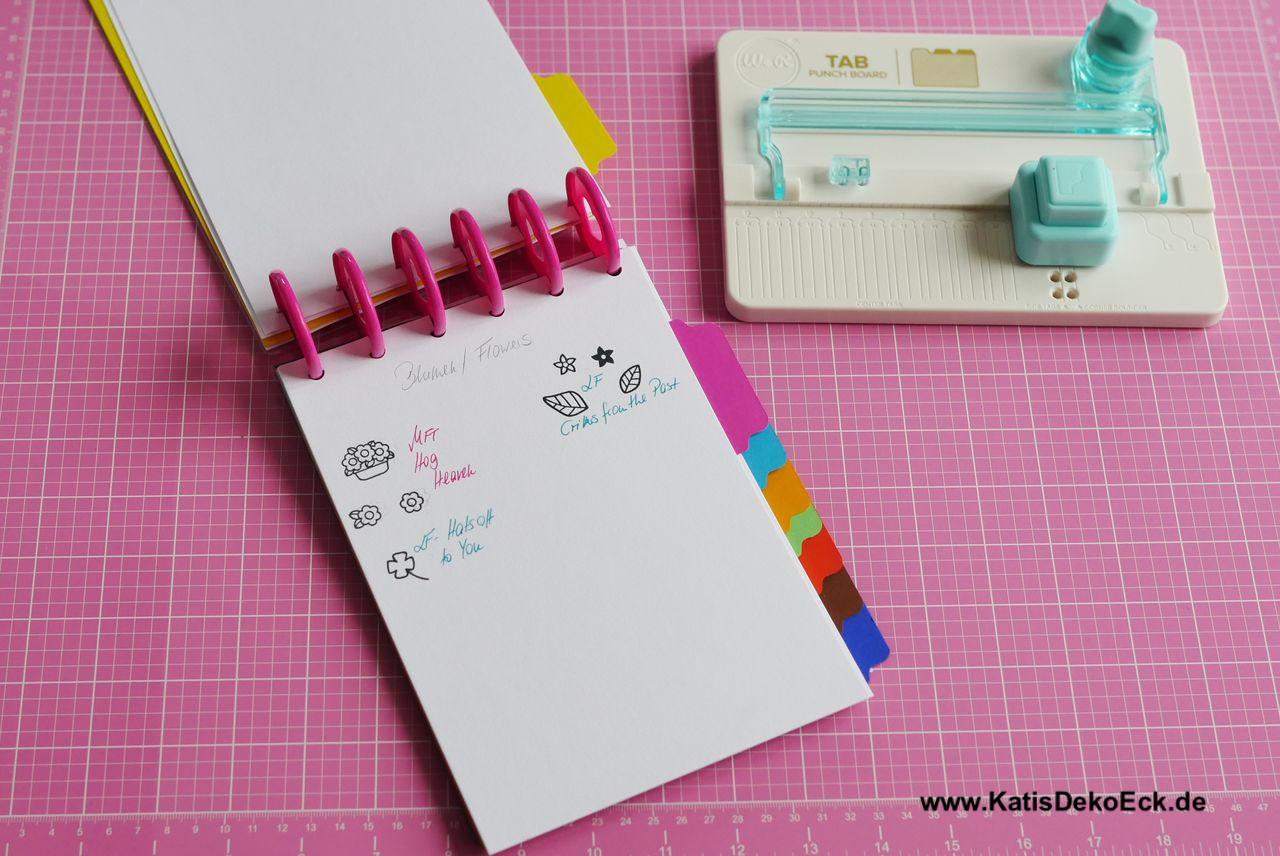
Plan the setup of your very own DIY stamp catalogue
I have decided to sort my catalogue by stamp company and use colored dividers to separate them from each other. Also I punched tabs using the We R Memory Keepers Tab Punch. This way, finding is easily done. Later I also added some letter stickers for the different companies, you can best see that on the picture in the title. Searching is no more, finding is the word of the day…
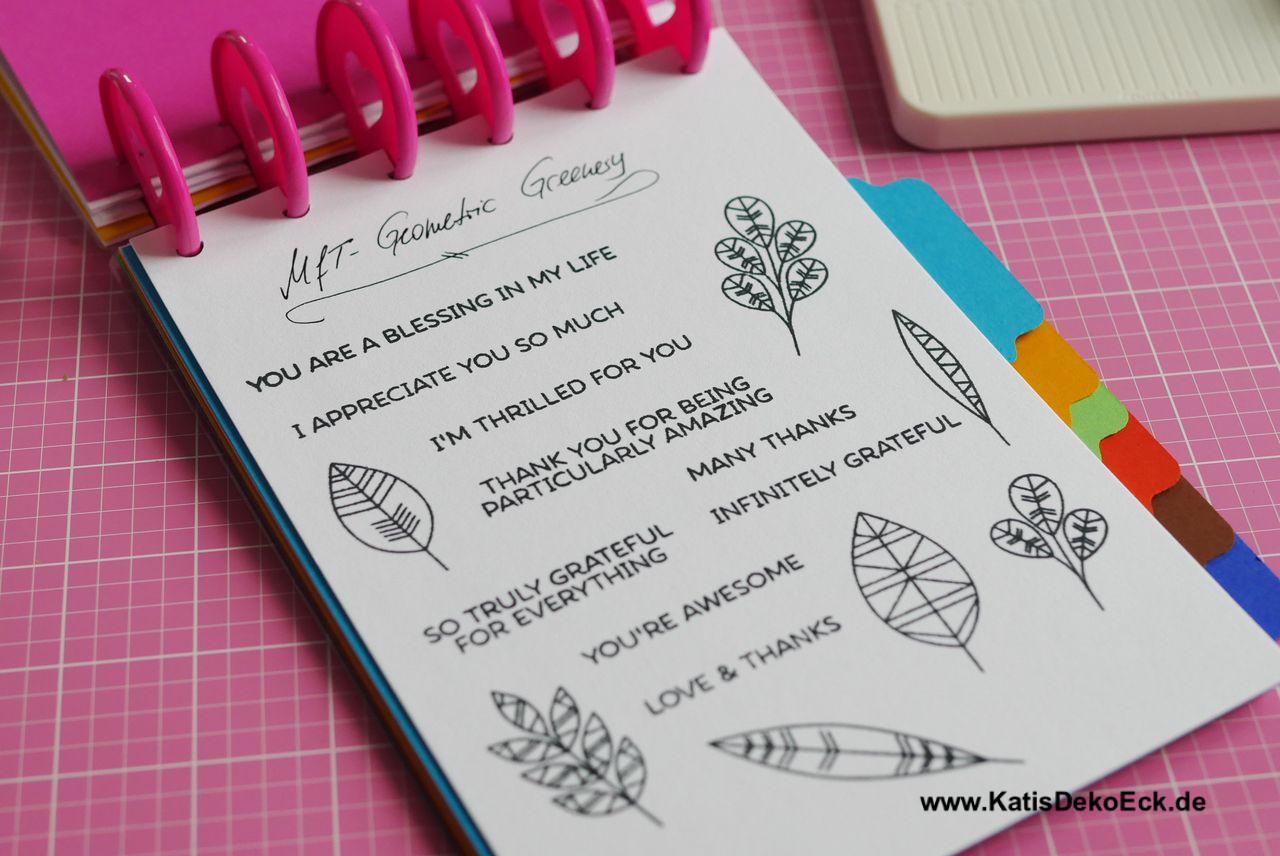
But now finally the stamps, bring them on!
Yes, now it is time for the funniest part of it all. But it might end up being real work. Just stamp each stamp set on one piece of paper, label it and put in the right category:
The hardest part during the process?
Don’t you dare getting distracted!
Dont even start to get ideas in your head on what you could do with just this one set you stamped right now. Whereas, why not? You could continue or you could just make this one card here and now.
Whatever makes you happy!
The whole process took me a few weeeks, and not the least because I got distracted. A lot… But I always returned to finish my DIY stamp catalogue. And guess what, it didn’t take me too long to discover: one is not enough. So now I proudly present: the result:
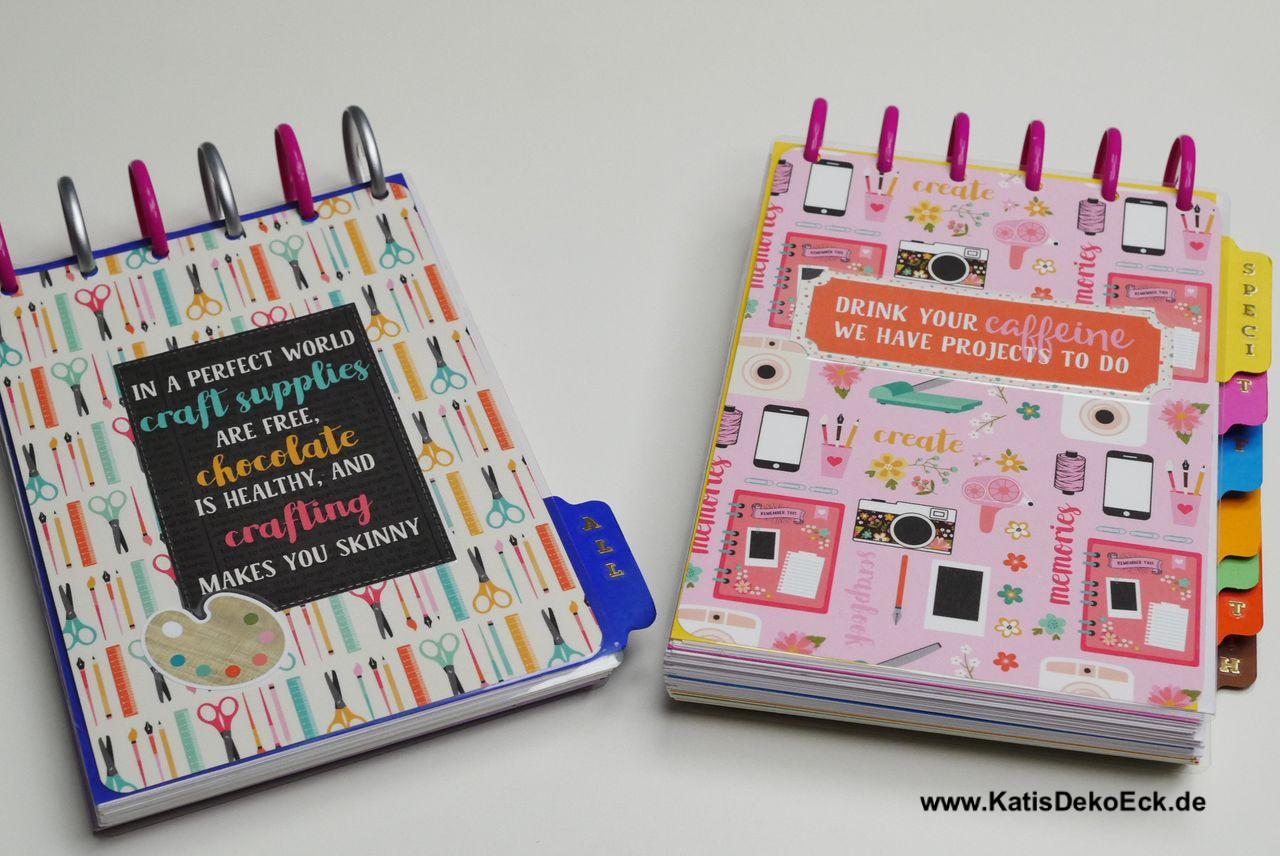
I simply made two catalogues… One containing all these big stamp companies that are responsible for so many of my goodies and one, which contains all the smaller sets, singles and everything I got from craft magazines. And both these beauties continue to grow.
Be honest, isnt that just too nice and makes your heart smile? Mine surely does when I grab one of these to dig deep and look for the perfect stamp for my project.
Is that good for something?
I have been using my DIY stamp catalogue for some weeks now and – not counting that it just doesn’t stop growing – it proved to be such a useful thing! So now I officially declare this one of the must-have tools for every crafter! So, what are you waiting for? Start today, make your own and have an immense fun in creating your personal exemplar. And if you do so, please take a picture and share it using the hashtag #KatisDekoEck, so that I can see and admire it, too!
So, what’s next?
Well, I finished my DIY stamp catalogue, I found the perfect solution for my readily stamped and colored images (find the article on this here) and my ScanNCut moved in with me, too. So, my private little crafting paradise is almost complete. Maybe I get the chance to show you around one of these days.
Until then, stay tuned, and don’t forget, Christmas in August is still on!
3 Antworten
Mariaan
This is a brilliant idea, know what I will be doing this month as I lack crafting inspiration. Hopefully this will spark a bit of interest again for me.
Kati
Dear Mariaan,
I am happy if I can inspire you.
I would be delighted to see the results, so if you share on Instagram, please do not forget to use #katisdekoeck!
Happy crafting!
Winter
Sehr Inspirieren! Weiter so!