Until now I used to diecut stamped images using my Sizzix Big Shot, but does it work too, if I want to try cutting stamped images with the ScanNCut? As you already know from this article I currently have the pleasure to test the Brother ScanNCut CM900*. And I keep doing so in every spare minute I can find.
Hier geht’s zur deutschen Version dieses Artikels
Ok, so what’s up today?
I have been working on my own diy stamp catalogue for quiet a while now and you can find an article about it here:
Whilest indexing the stampsets I own I realised, I got quiet a bunch without the matching dies. Well, shouldn’t be an issue now, as I read a lot about how easy cutting stamped images with the ScanNCut should be.
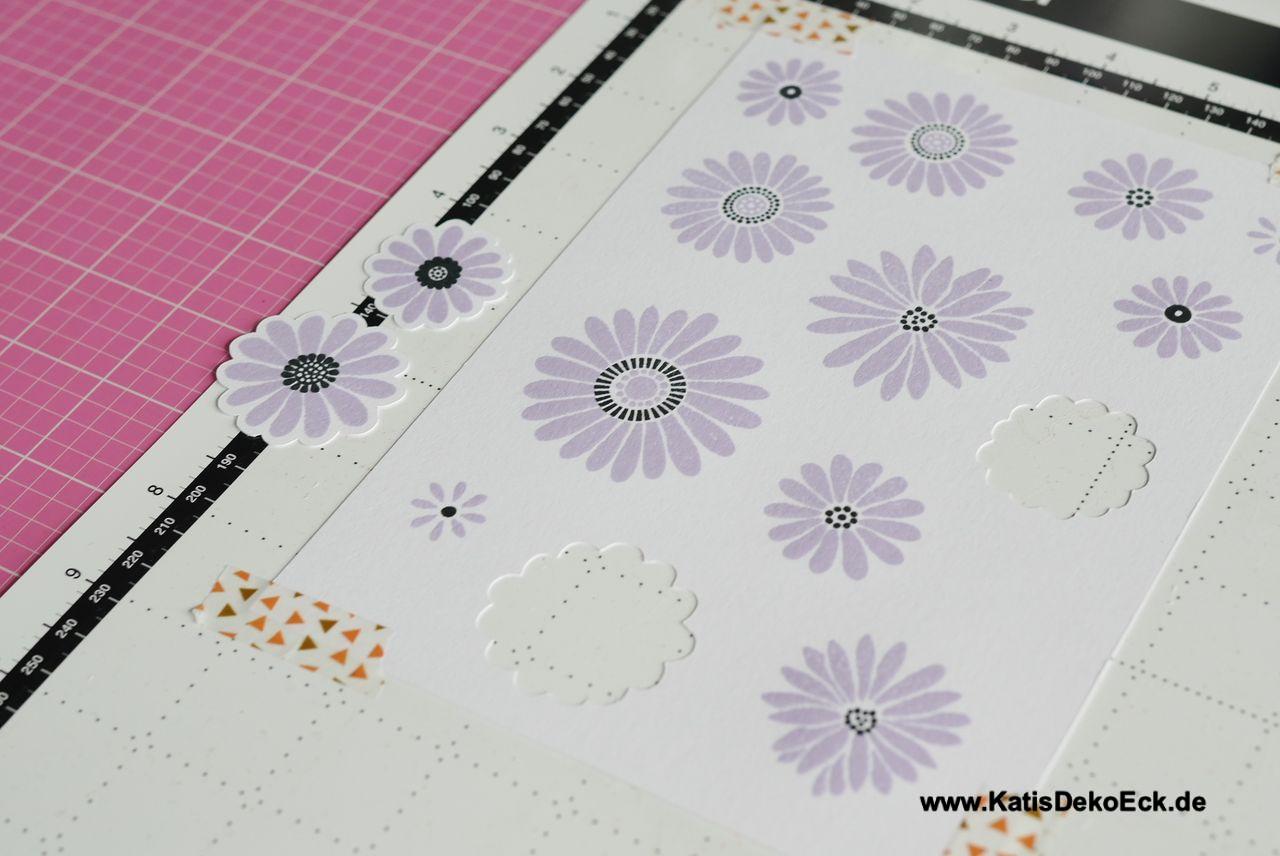
Ok, worth a try and so I stamped a whole sheet of paper with violet flowers (the stamps are the „Plentiful Petals“ by My Favorite Things, I just adore these images) and now I wanna find out, how the ScanNCut takes care of them.
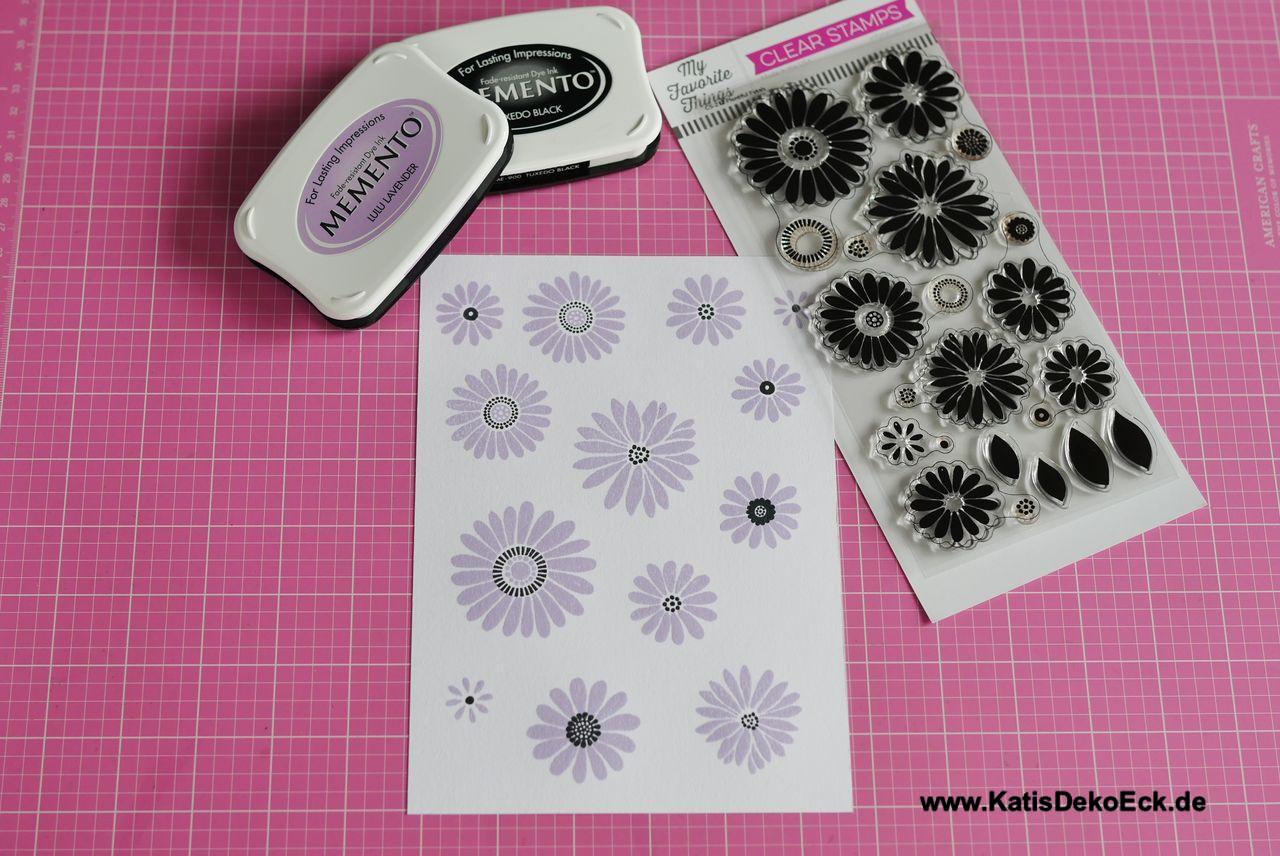
There is an issue with these images: they are not stamped in black. Until now I always solely cut black inked images. So, let’s see, how this one fares:
Step 1 – Preparation:
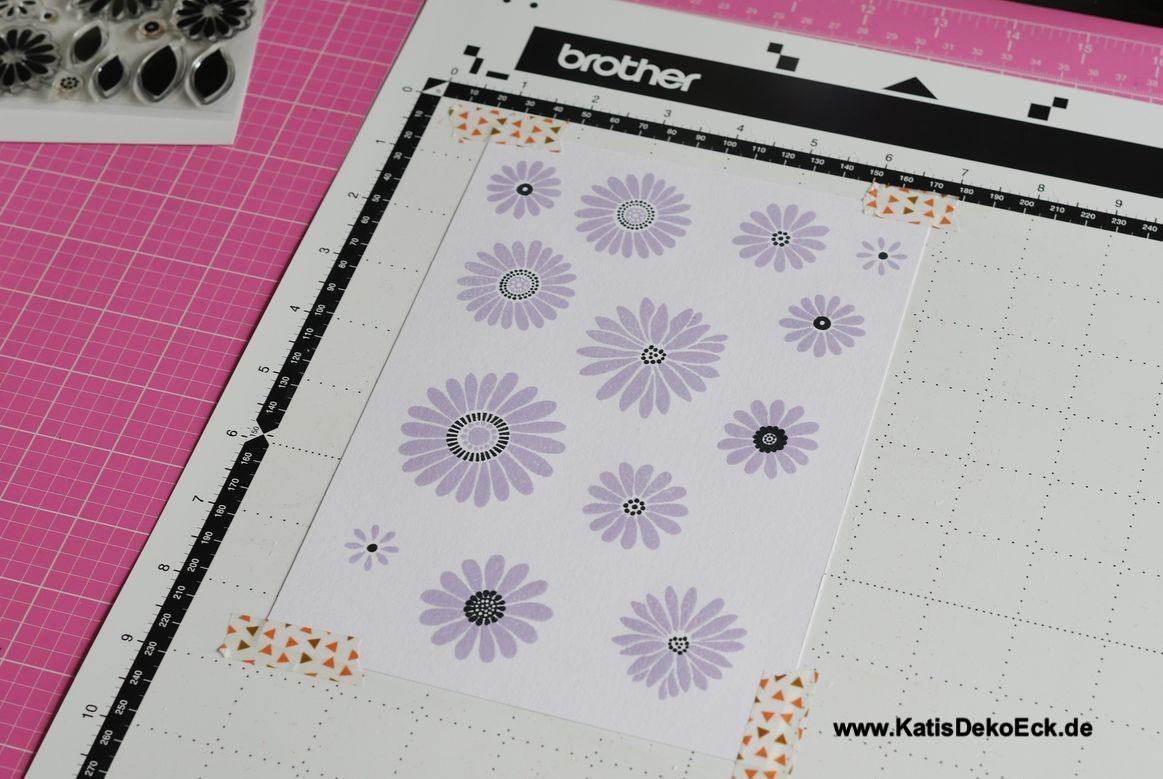
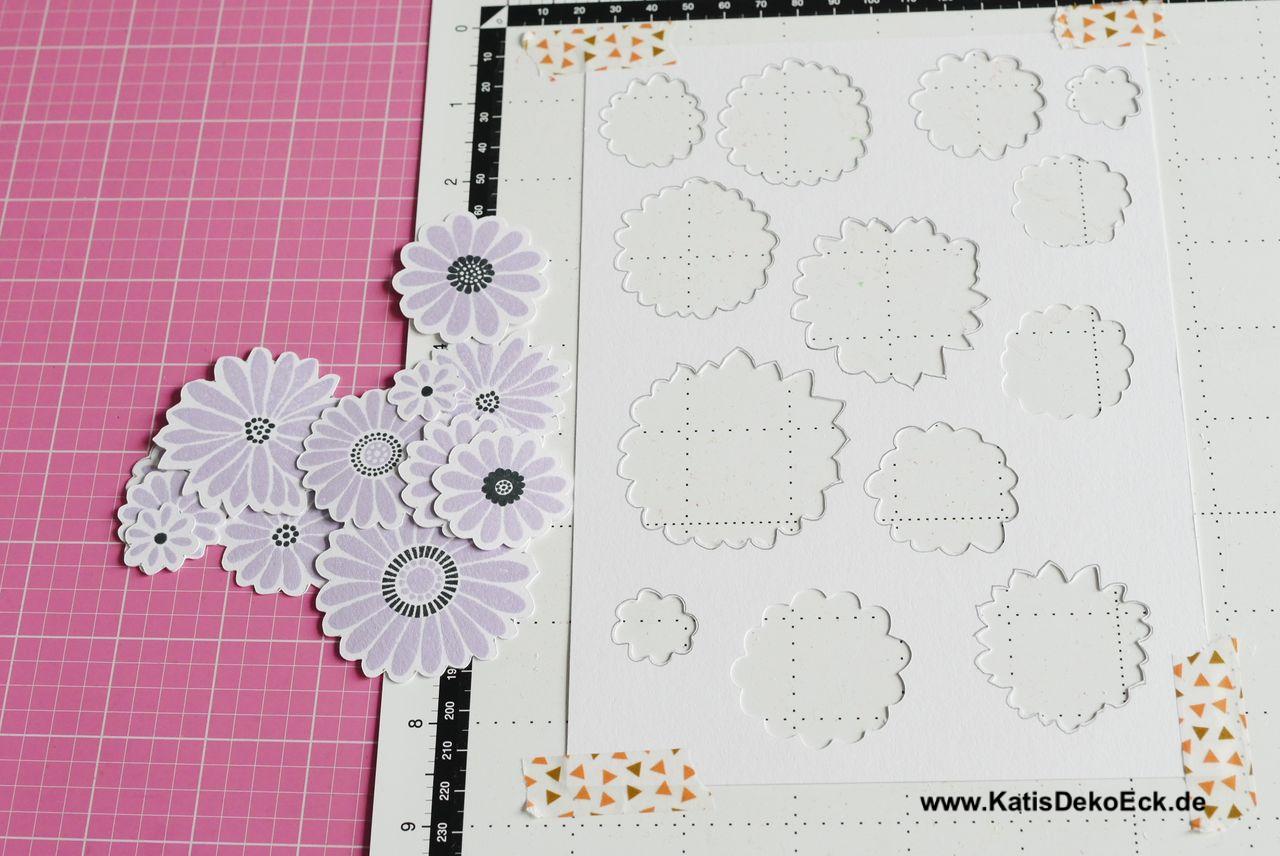
I adhere my stamped piece of paper on the standard mat and adjust my cutting knife to the right size. As I am using 300q/qm paste board (my favorite and go to…) the knife is best adjusted to 5.5 (I found that one out on the first day and it yet worked every time).
What does not work is the adhering of my paper onto the mat. So I learned after a very few sessions with my machine to fasten my paper on the mat with washitape. Else it might shift on the mat while cutting:
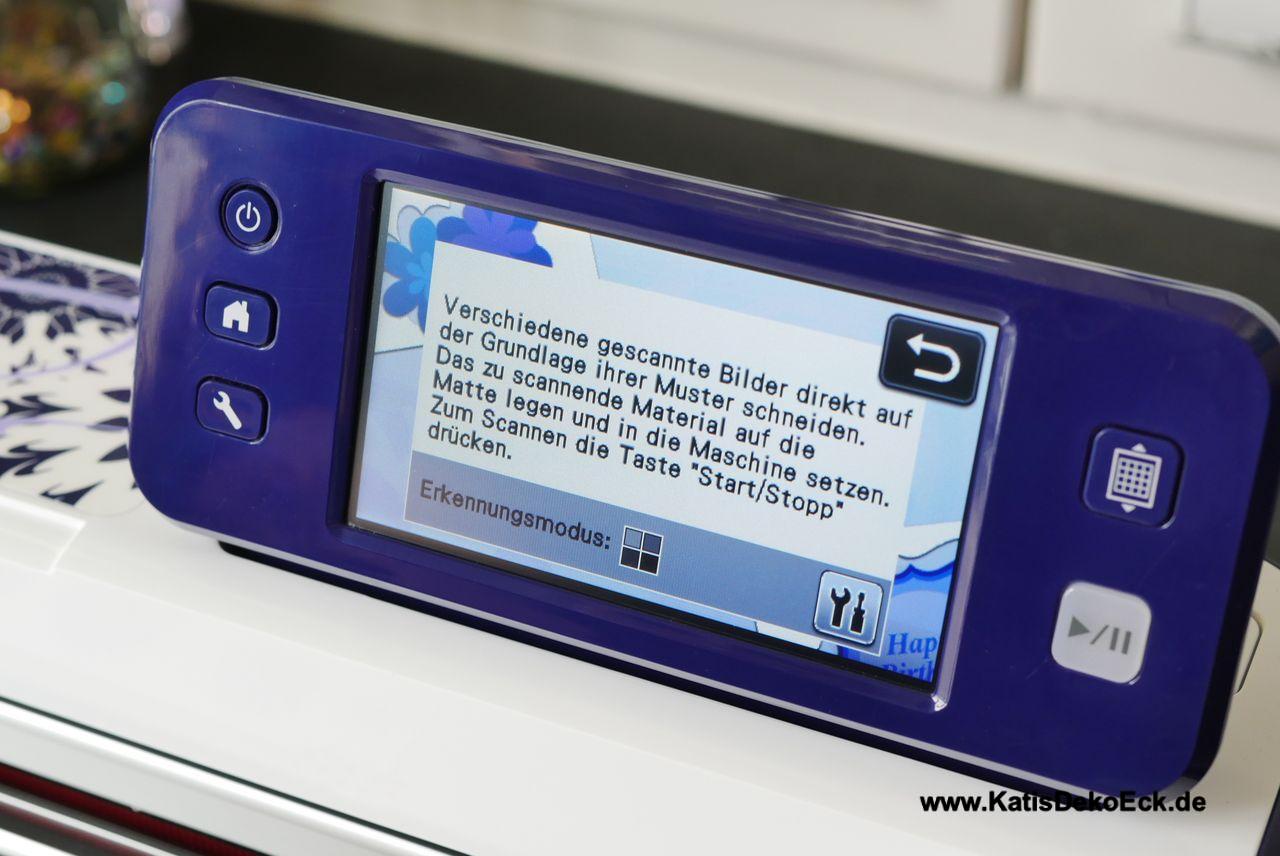
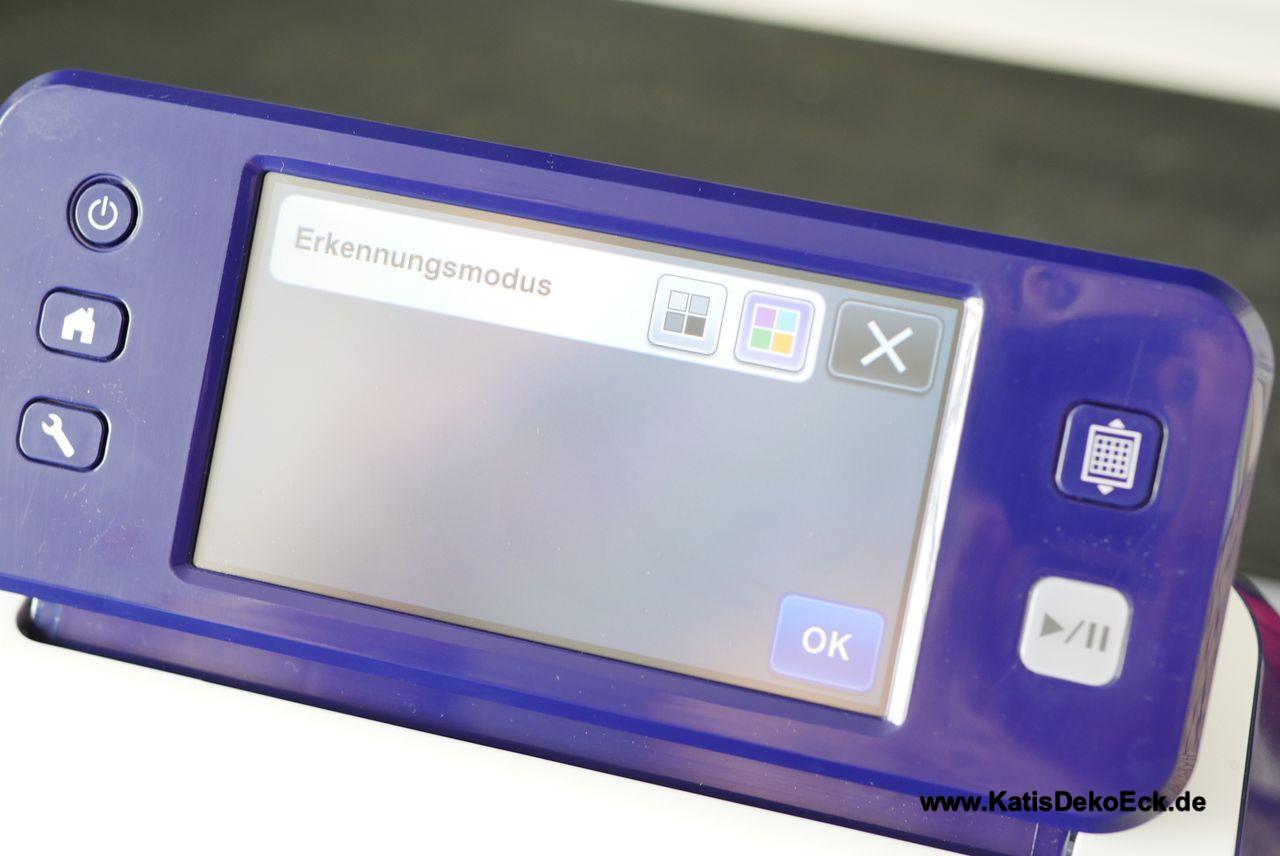
Step 2 – Scan:
The easiest part, I have done this quiet often in the last days. Bring mat in the right position, chose scan and then press the „play“ button on the display.
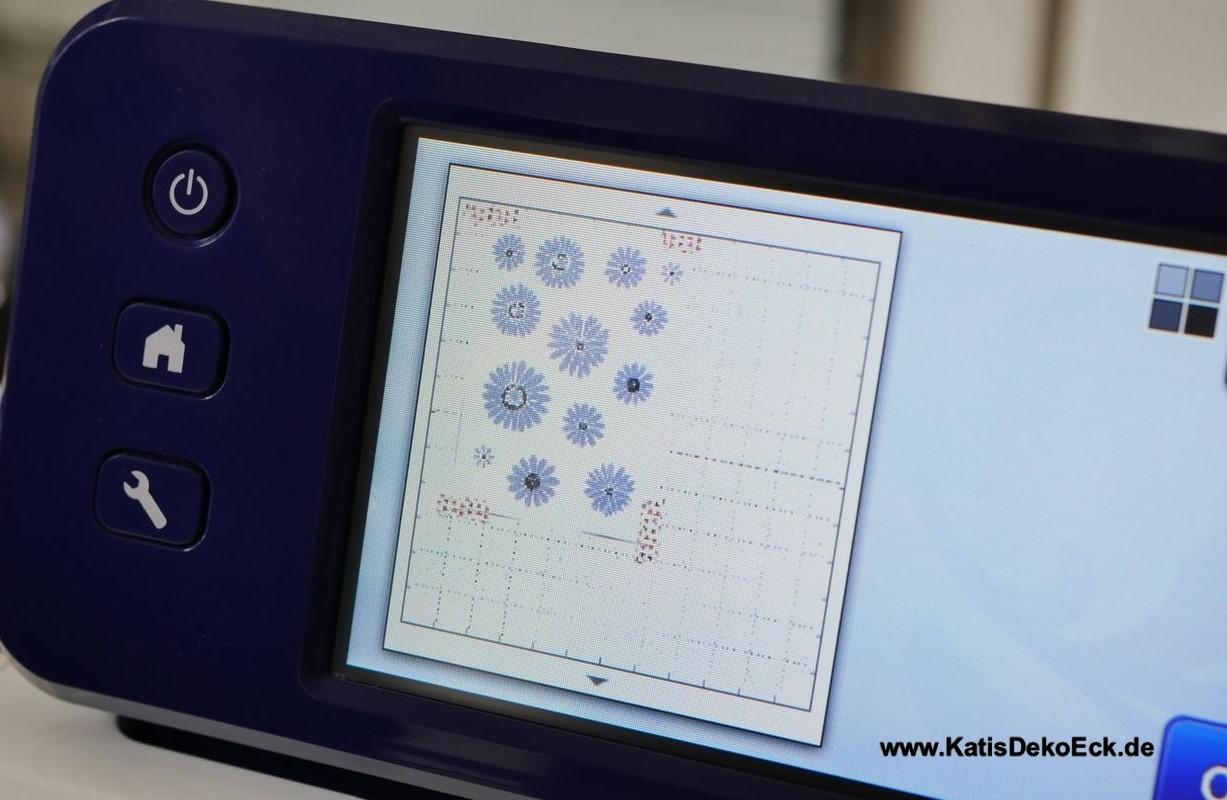
Works as expected. Or maybe not… The machine does recognise the flowers, but somehow not really..
Step 3 – cutting stamped images with the ScanNCut:
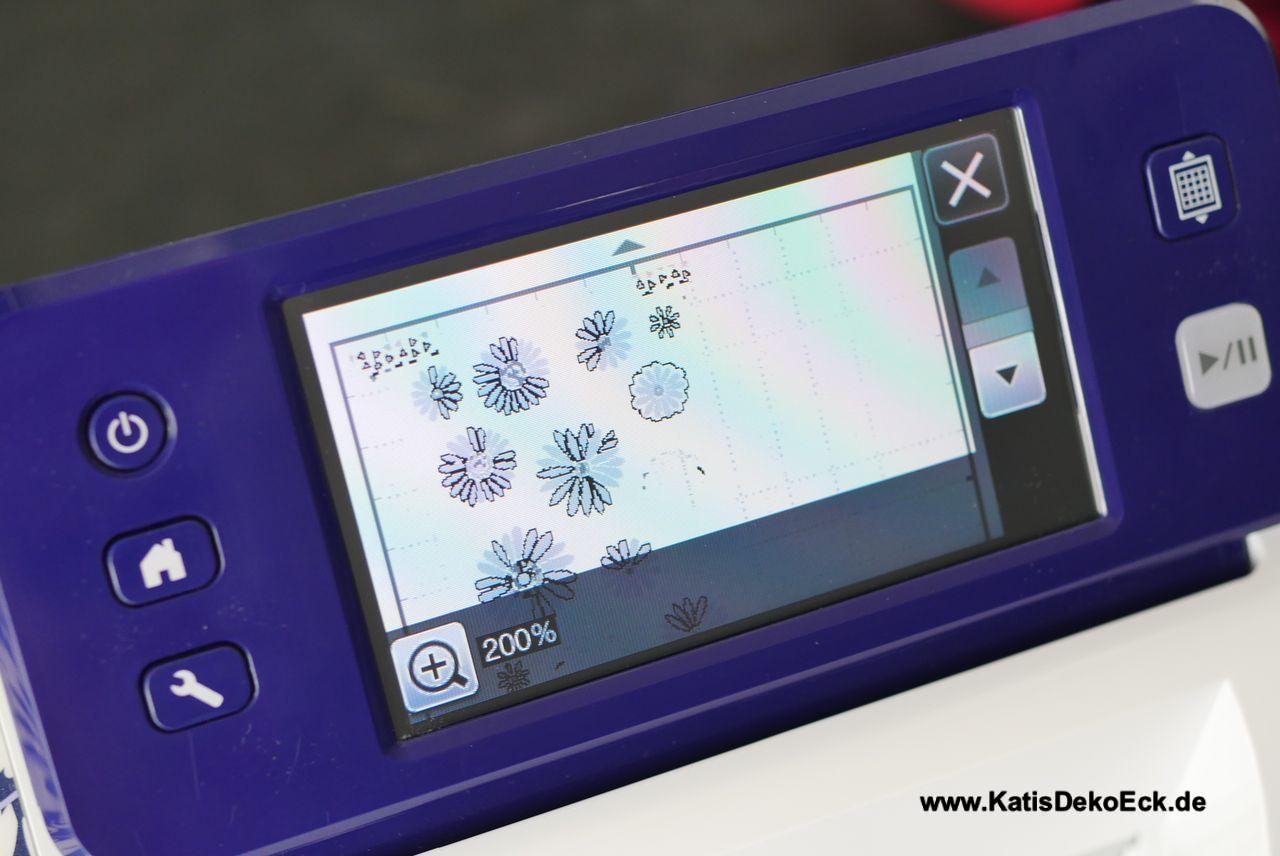
Don’t you dare!!!!
Looking closer one can see that the machine did not correctly recognise the outlines of the flowers while scanning. It rather chose randomly, where to locate cutting lines:
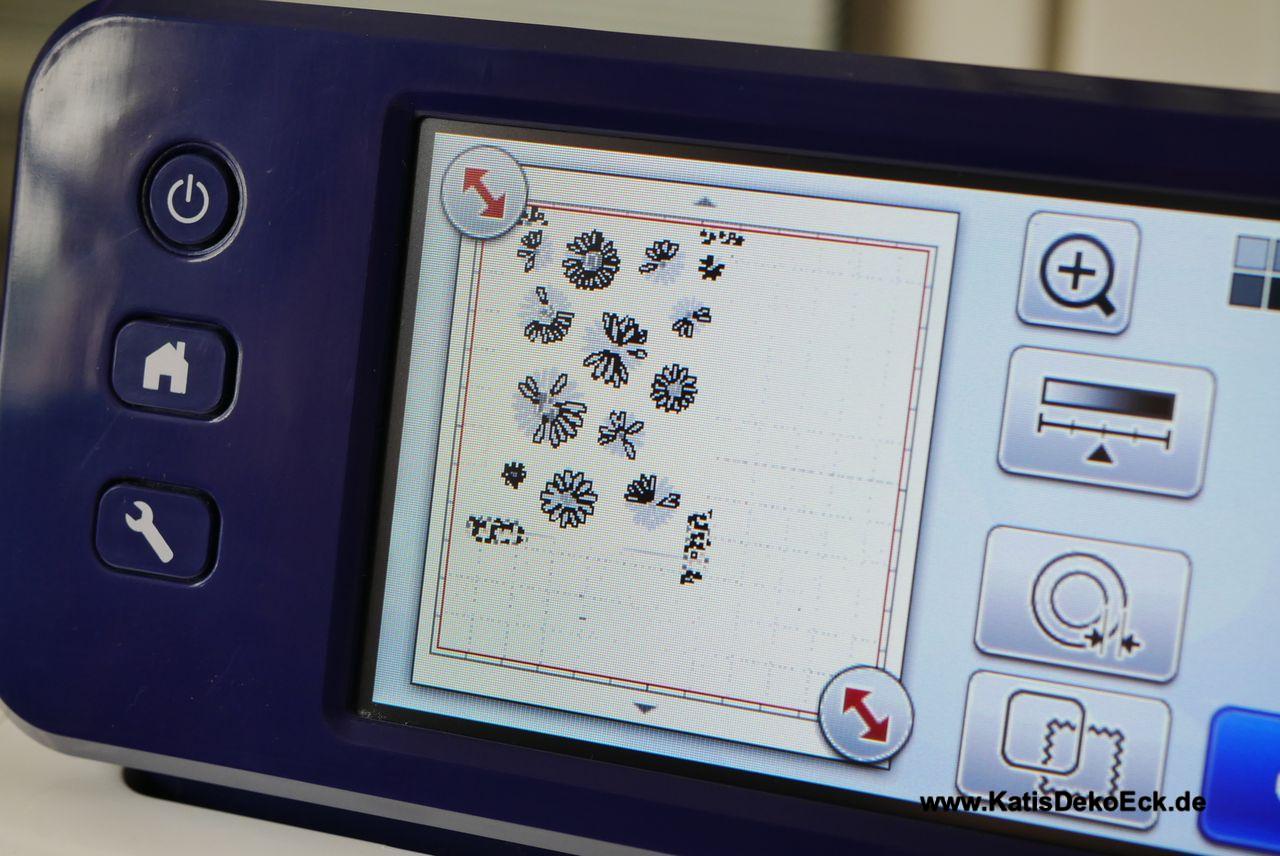
Well, at least two flowers were recognised correctly and these images can be cut by my machine. But to make that happen, I have a real labour of love ahead of me: As I don’t want all the other flowers to be cut wrongly, I have to go into the menu and tick each and every single one of the wrongly place cut lines to remove it manually. And there are numbers of them. Urg…
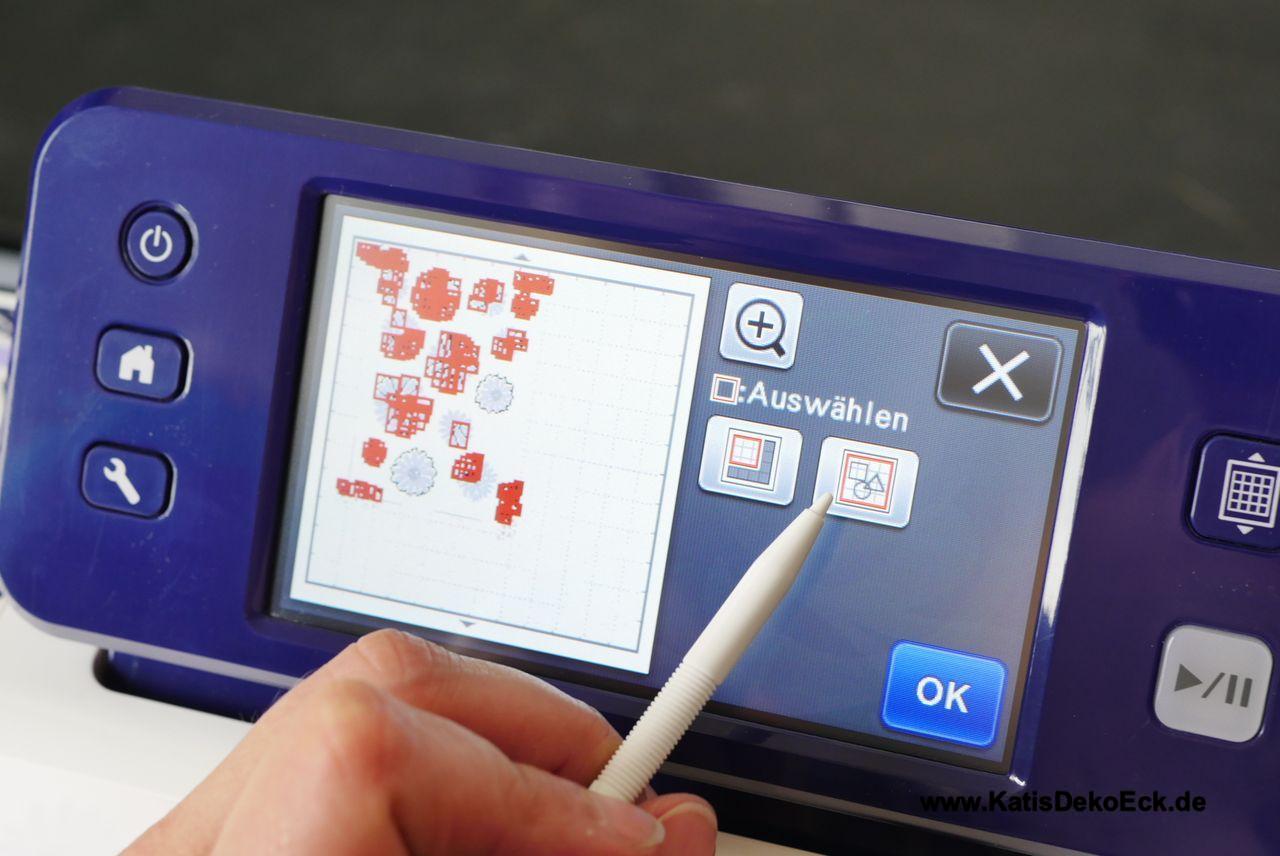
Ok, as my teacher long long ago used to say „a look into the law facilitates the legal process“ The user guide might have told me so, but as things went, it was Mr. KatisDekoEck who, lured to my craftroom by wild ottoman curses, found out with two fingertips how to chose the complete scanned images for deletion and just „unchoose“ the two good images:
Result of the whole ordeal: two flowerd cut, but much too many left to cut them by hand!
But hey, I thought cutting stamped images with the ScanNCut would work even if they are not black? Hm, maybe the problem sits on this side of the table? So I scan again. And, indeed, there is a functionality to switch from black-and-white to a color scheme when scanning! Ok, I’ll give it a try:
Another scan another fail. no improvement against before, the machine still wants to cut wildly within my flowers.
So, what now?
Let’s get inventive. If cutting stamped images with the ScanNCut works well for those that were stamped with black ink, I need might need a black frame. Sounds a bit fizzy but let’s try. So I take a black pen and draw a line around my flower (I don’t do it too thoroughly, the image is meant to have a bit of white frame anyhow):
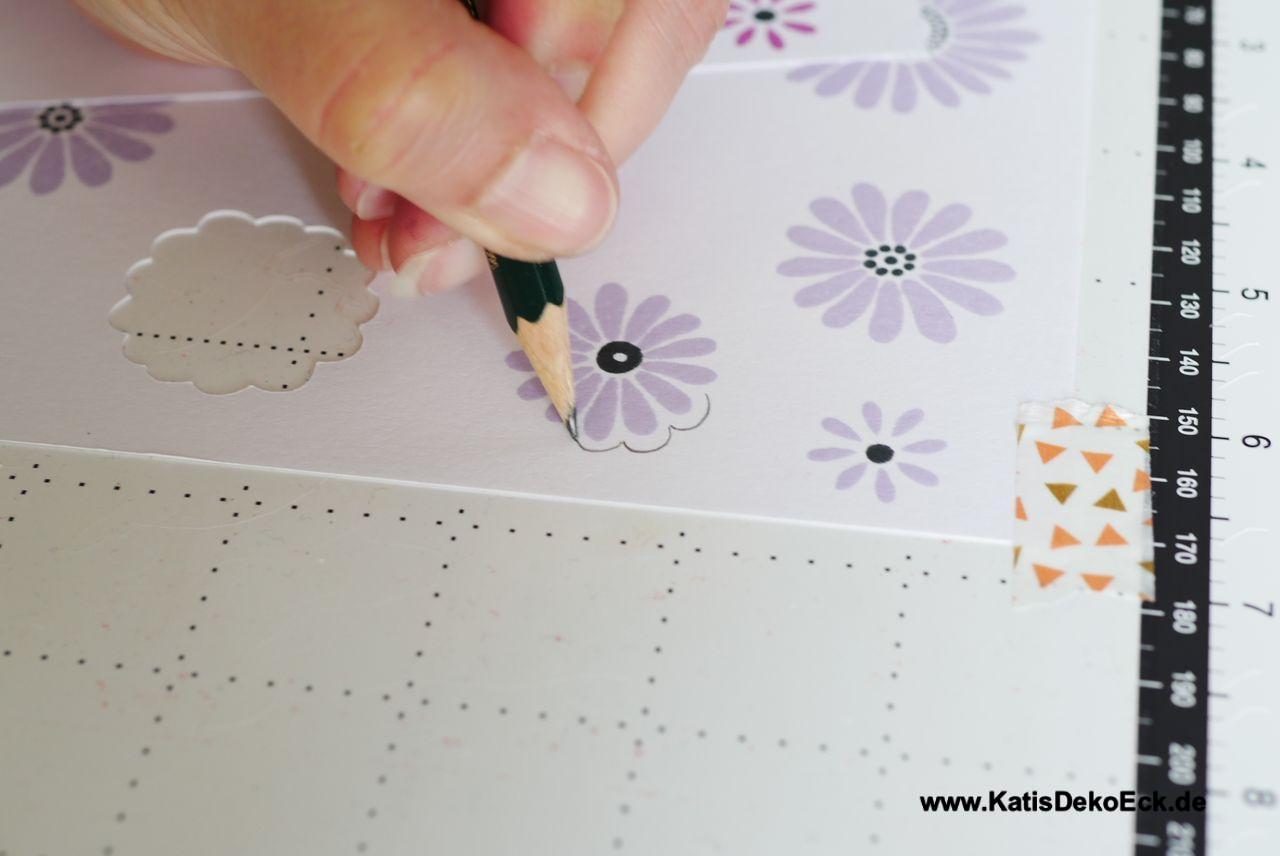
As I don’t know, if that will really work, I save the time and effort and try it for one flower only and scan it immediately.
And guess what, it works. The machine recognise the frame. But I don’t want to keep the black pencil line around my flower and so I do not chose the outline, as I normally would, but leave it at 0. So, another go for cutting one flower:
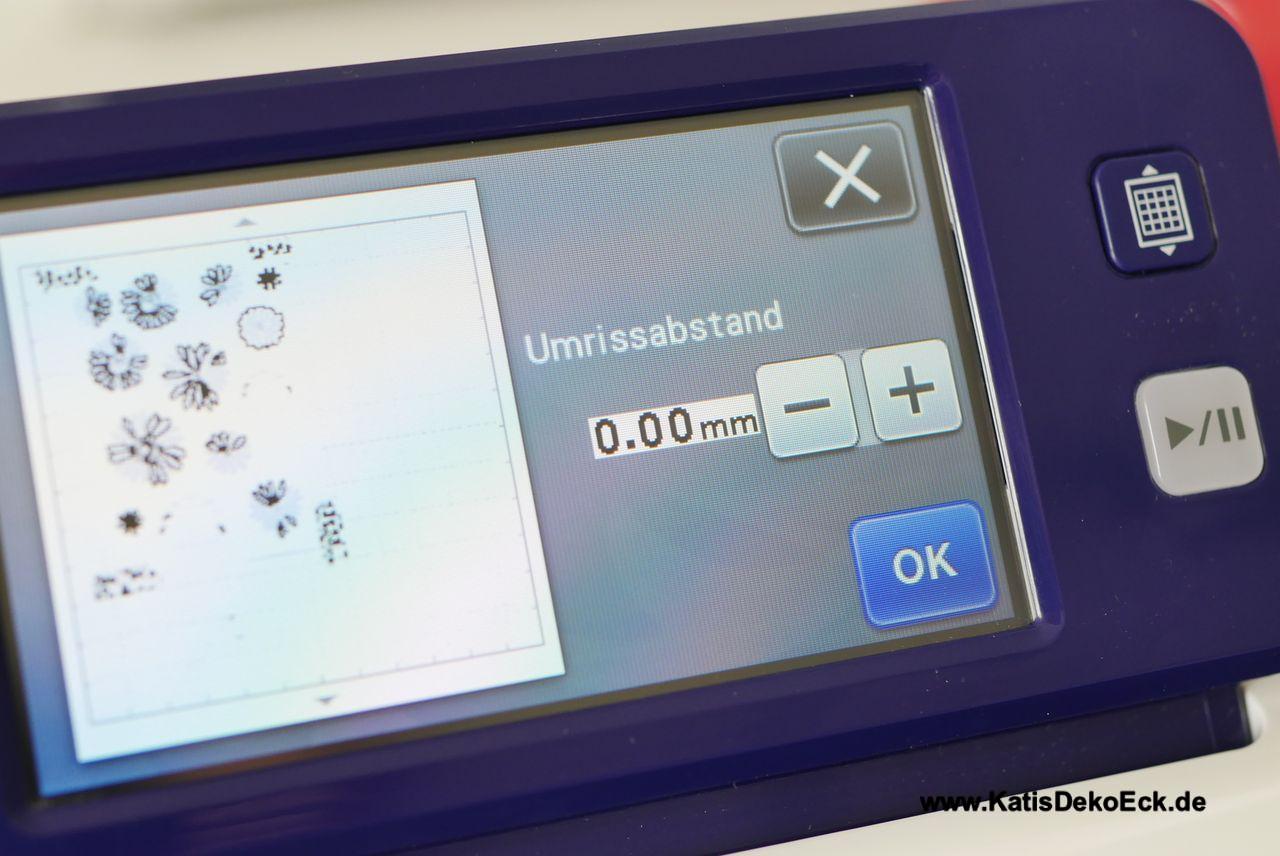
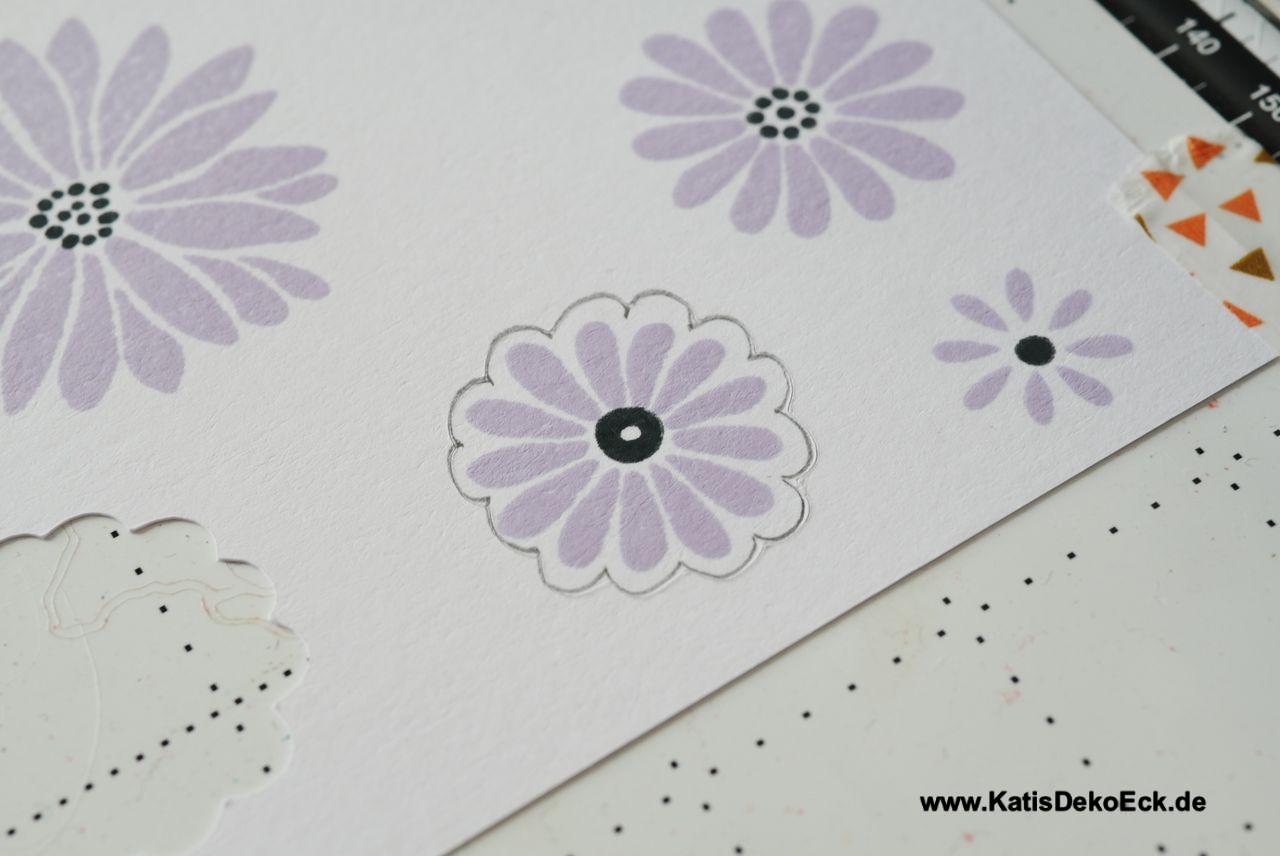
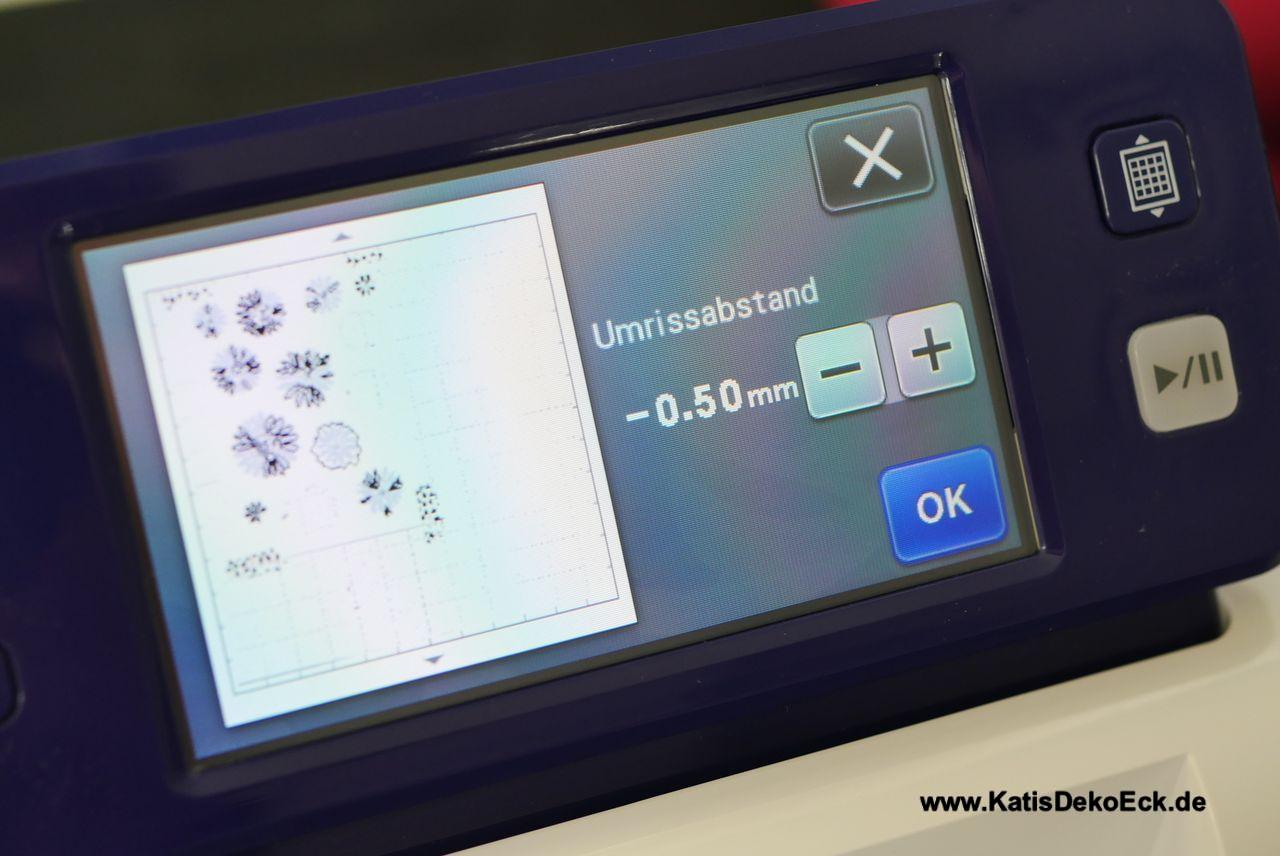
Eureka! But bah, the pencil line still shows. Ok, another flower, another pencil line and a negative number for the cutting offset: -0.5mm that should do the job.
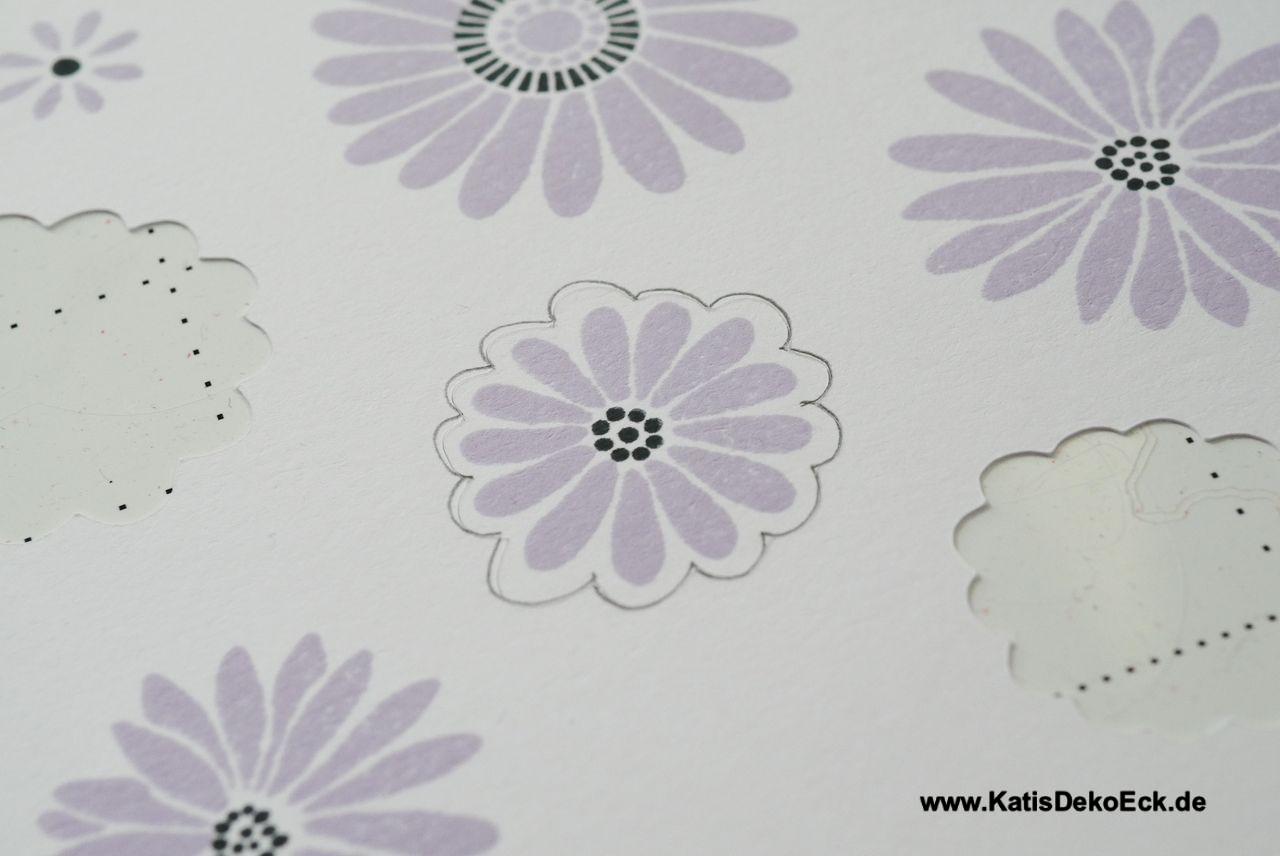
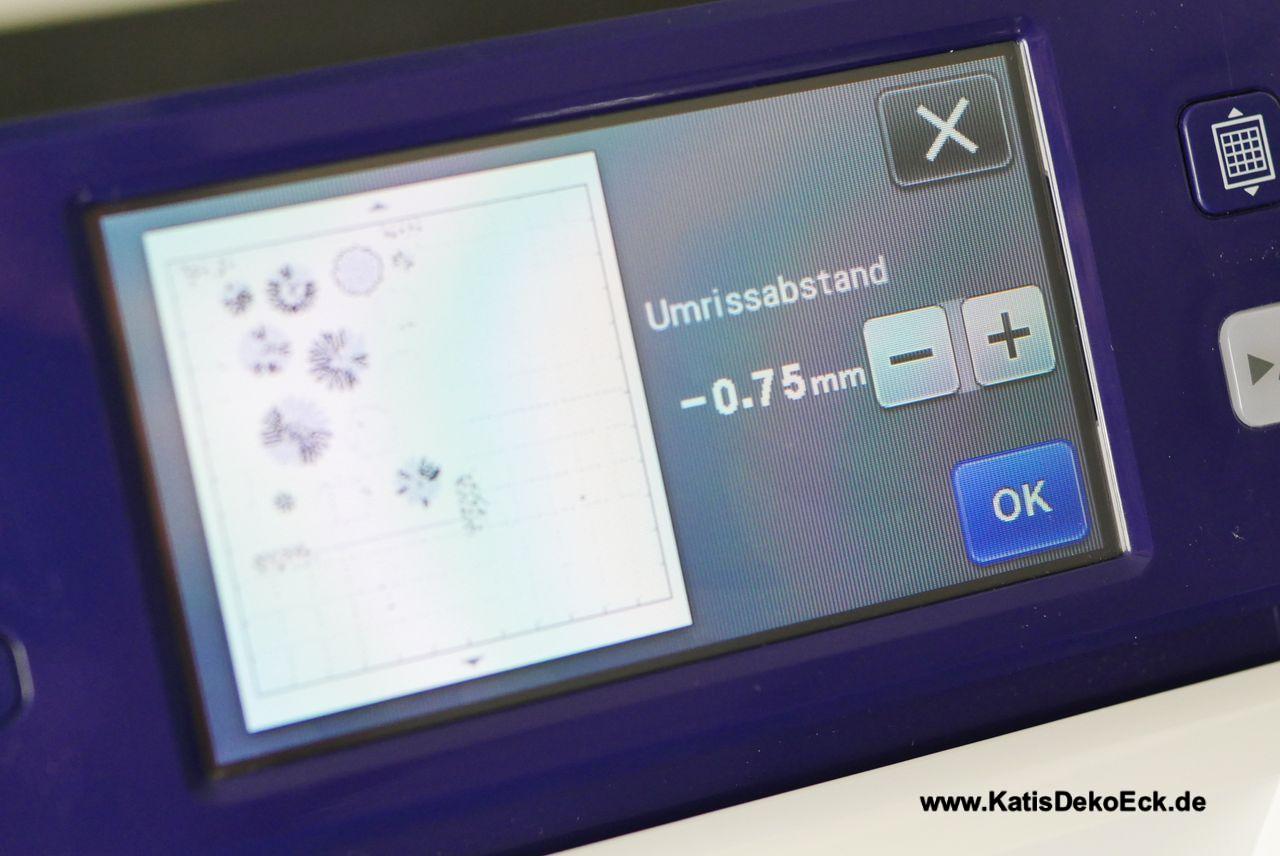
Almost there, so one final experiment (I am very close to losing the fun): -0.75mm. But as I want to make sure that I don’t cut into my flower now, I also set the pencil line a bit further out of my flower. And indeed, it finally gives the expected result!
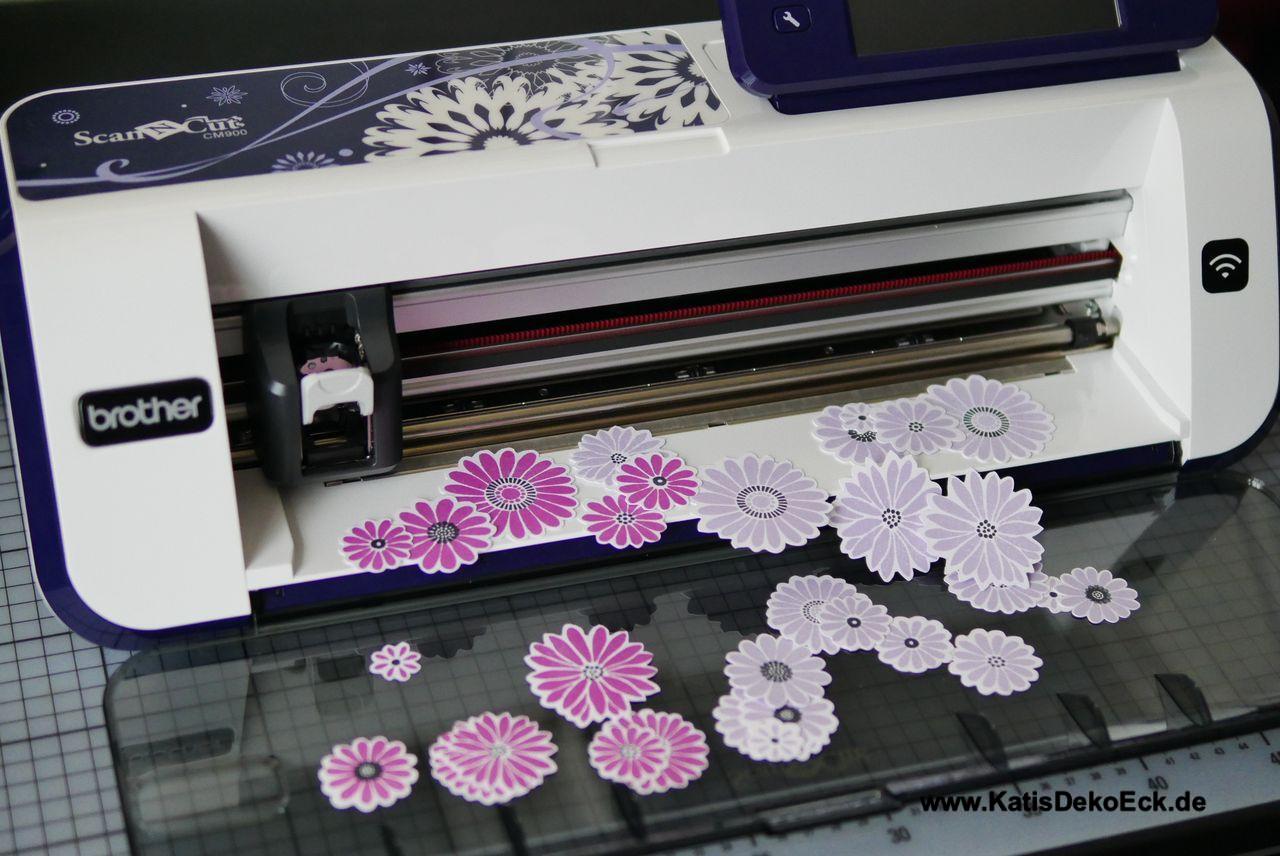
Unbelievable, in the end it works and not bad at all… Now I can ultimately continue with framing my other flowers and then cutting them in the same way:
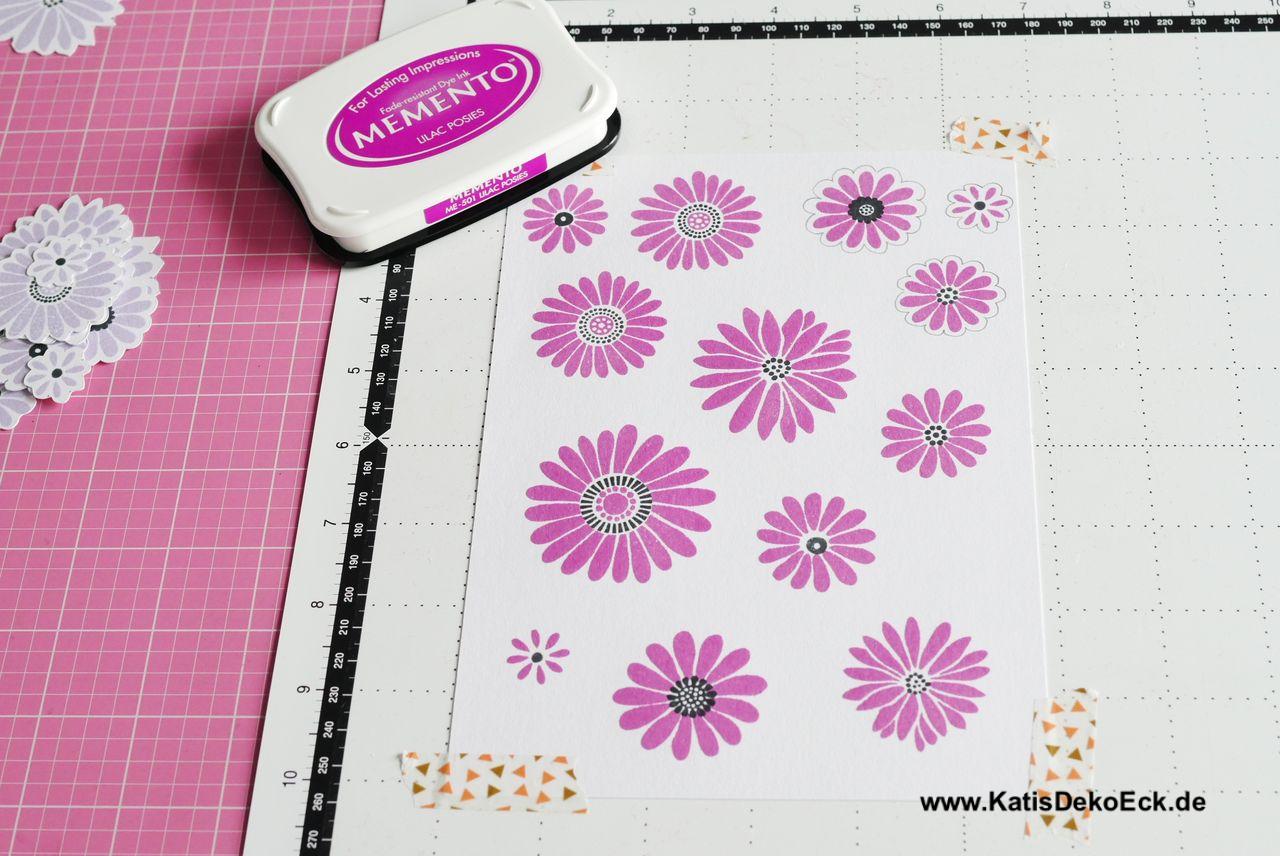
But now I wanna know! So I stamp another sheet of paper with the same flowers but in pink as pink can be (or, to stick with the correct naming Memento-Ink „Lilac Posies“-Pink)
A bit more exercise and knowing, what you have to do and now it works so easily:

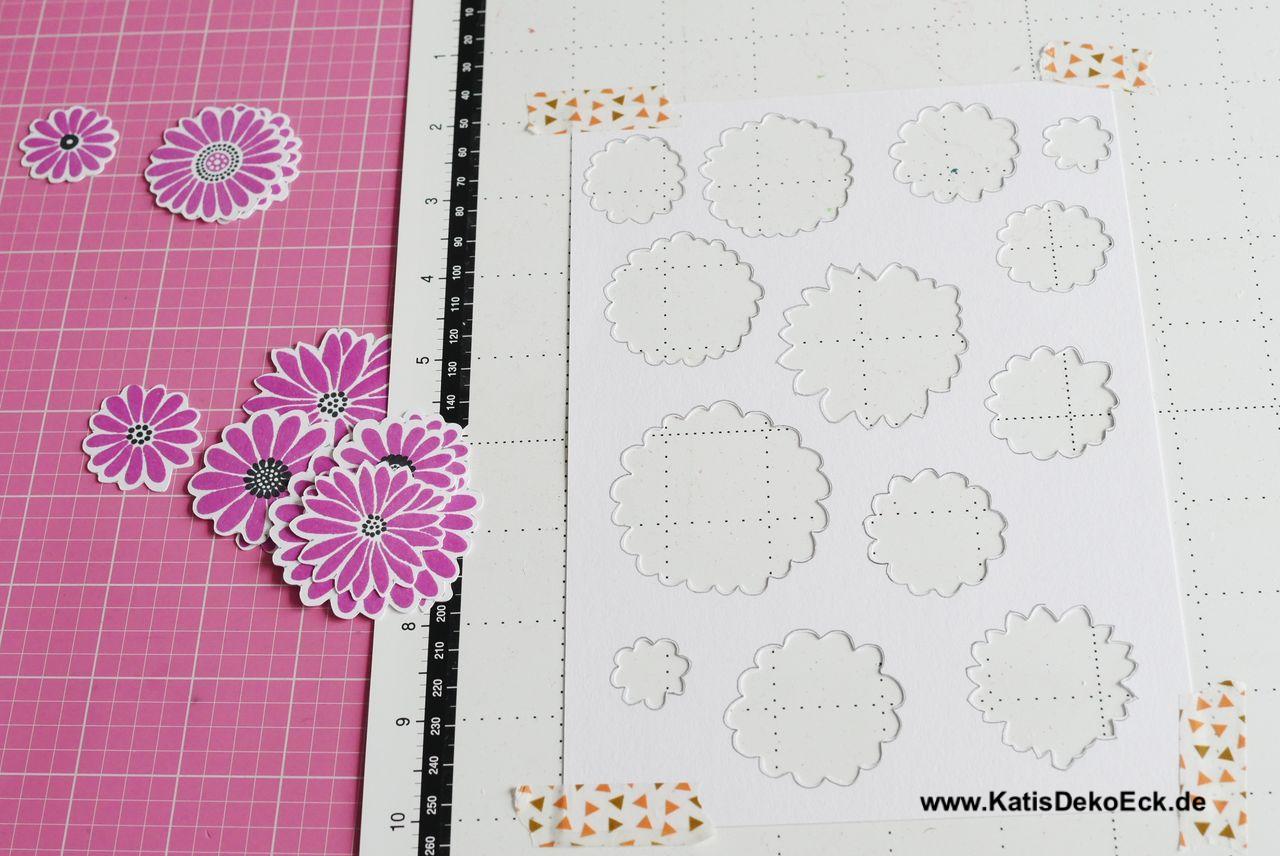
Well. that was wearisome, to be honest. But it works. And if this trick helps me save money for dies, because cutting stamped images with the ScanNCut can be made, I am fine with a bit extra effort. Especially as I know the trick now…
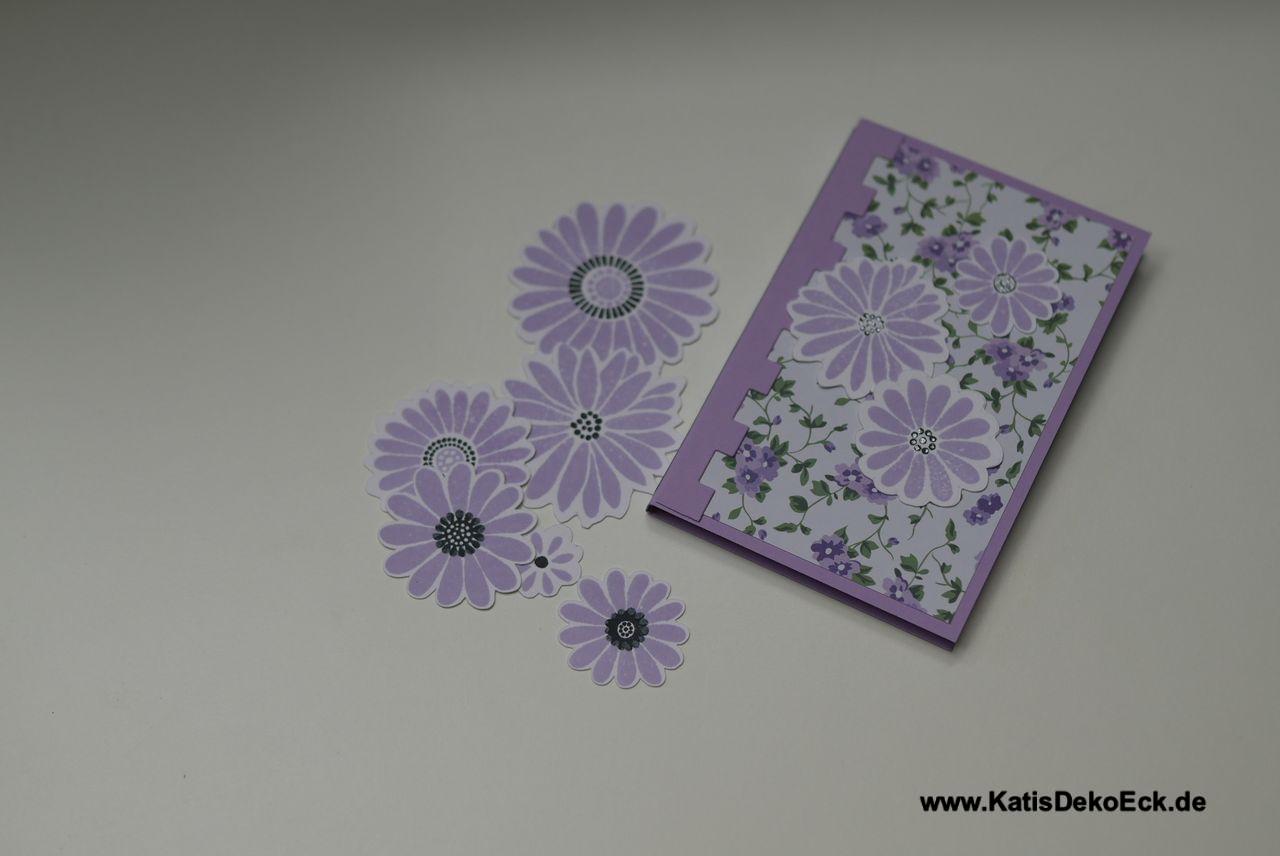
Finally Step 4 – Do something:
It took a long time but now I can finall do, what the flowers were meant to be fore: crafting. This time: a tiny handmade notebook as a little something to say ‚Thank you‘ for a small favour.
Summary:
Ok, easy is something different. Cutting stamped images with the ScanNCut does work also for images without a clearly defined outline, but it is a bit complicated. In my case I wanted to „simply“ cut a bunch of flowers and the solution with drawing a pencil line lead to a success. But how will that work with really intricate pictures? Hm, I guess I will browse my stamp stash and see, what I can find to experiment with.
I guess, I will skip purchasing the dies for these flowers (well, at least not as long as I can test and use the ScanNCut)
So, what’s next?
Well, this… I will continue playing around and trying out things with my machine and will tell you, if I discover something interesting. So, better stay tuned!
* For fair consideration: this machine has been provided to me for testing purposes without payment for a limited amount of time by the company nähPark Diermeier. I will not get any money for this test and I will write down my honest and personal opinion and experiences. This review has neither been approved not verified or influenced by the company nähPark in any way.
Eine Antwort
Fatema Algilani
Thank you so much for the post! I’ve had the scan n cut for a while and totally didn’t think of using it with my stamps instead of buying die cuts! You’ve helped me save a ton money in the future which I’ll be using for ink pads instead!