A Brother Scan&Cut CM900? How come?
Für eine Deutsche Version hier clicken:
Well, I know… My intention was to next write an article on how to use Distress Inks. But life is what happens, while you are making plans. And this time that turned out to be something really great!
A few weeks ago the sewing appliances shop nähPark Diermeier located in Cham (Germany) was searching for independent testers for several sewing- and cutting machines. And one of the machines in question was the already mentioned Brother Scan&Cut CM900. The idea was to ask users to test them all day long and write an unbiased review on them afterwards.
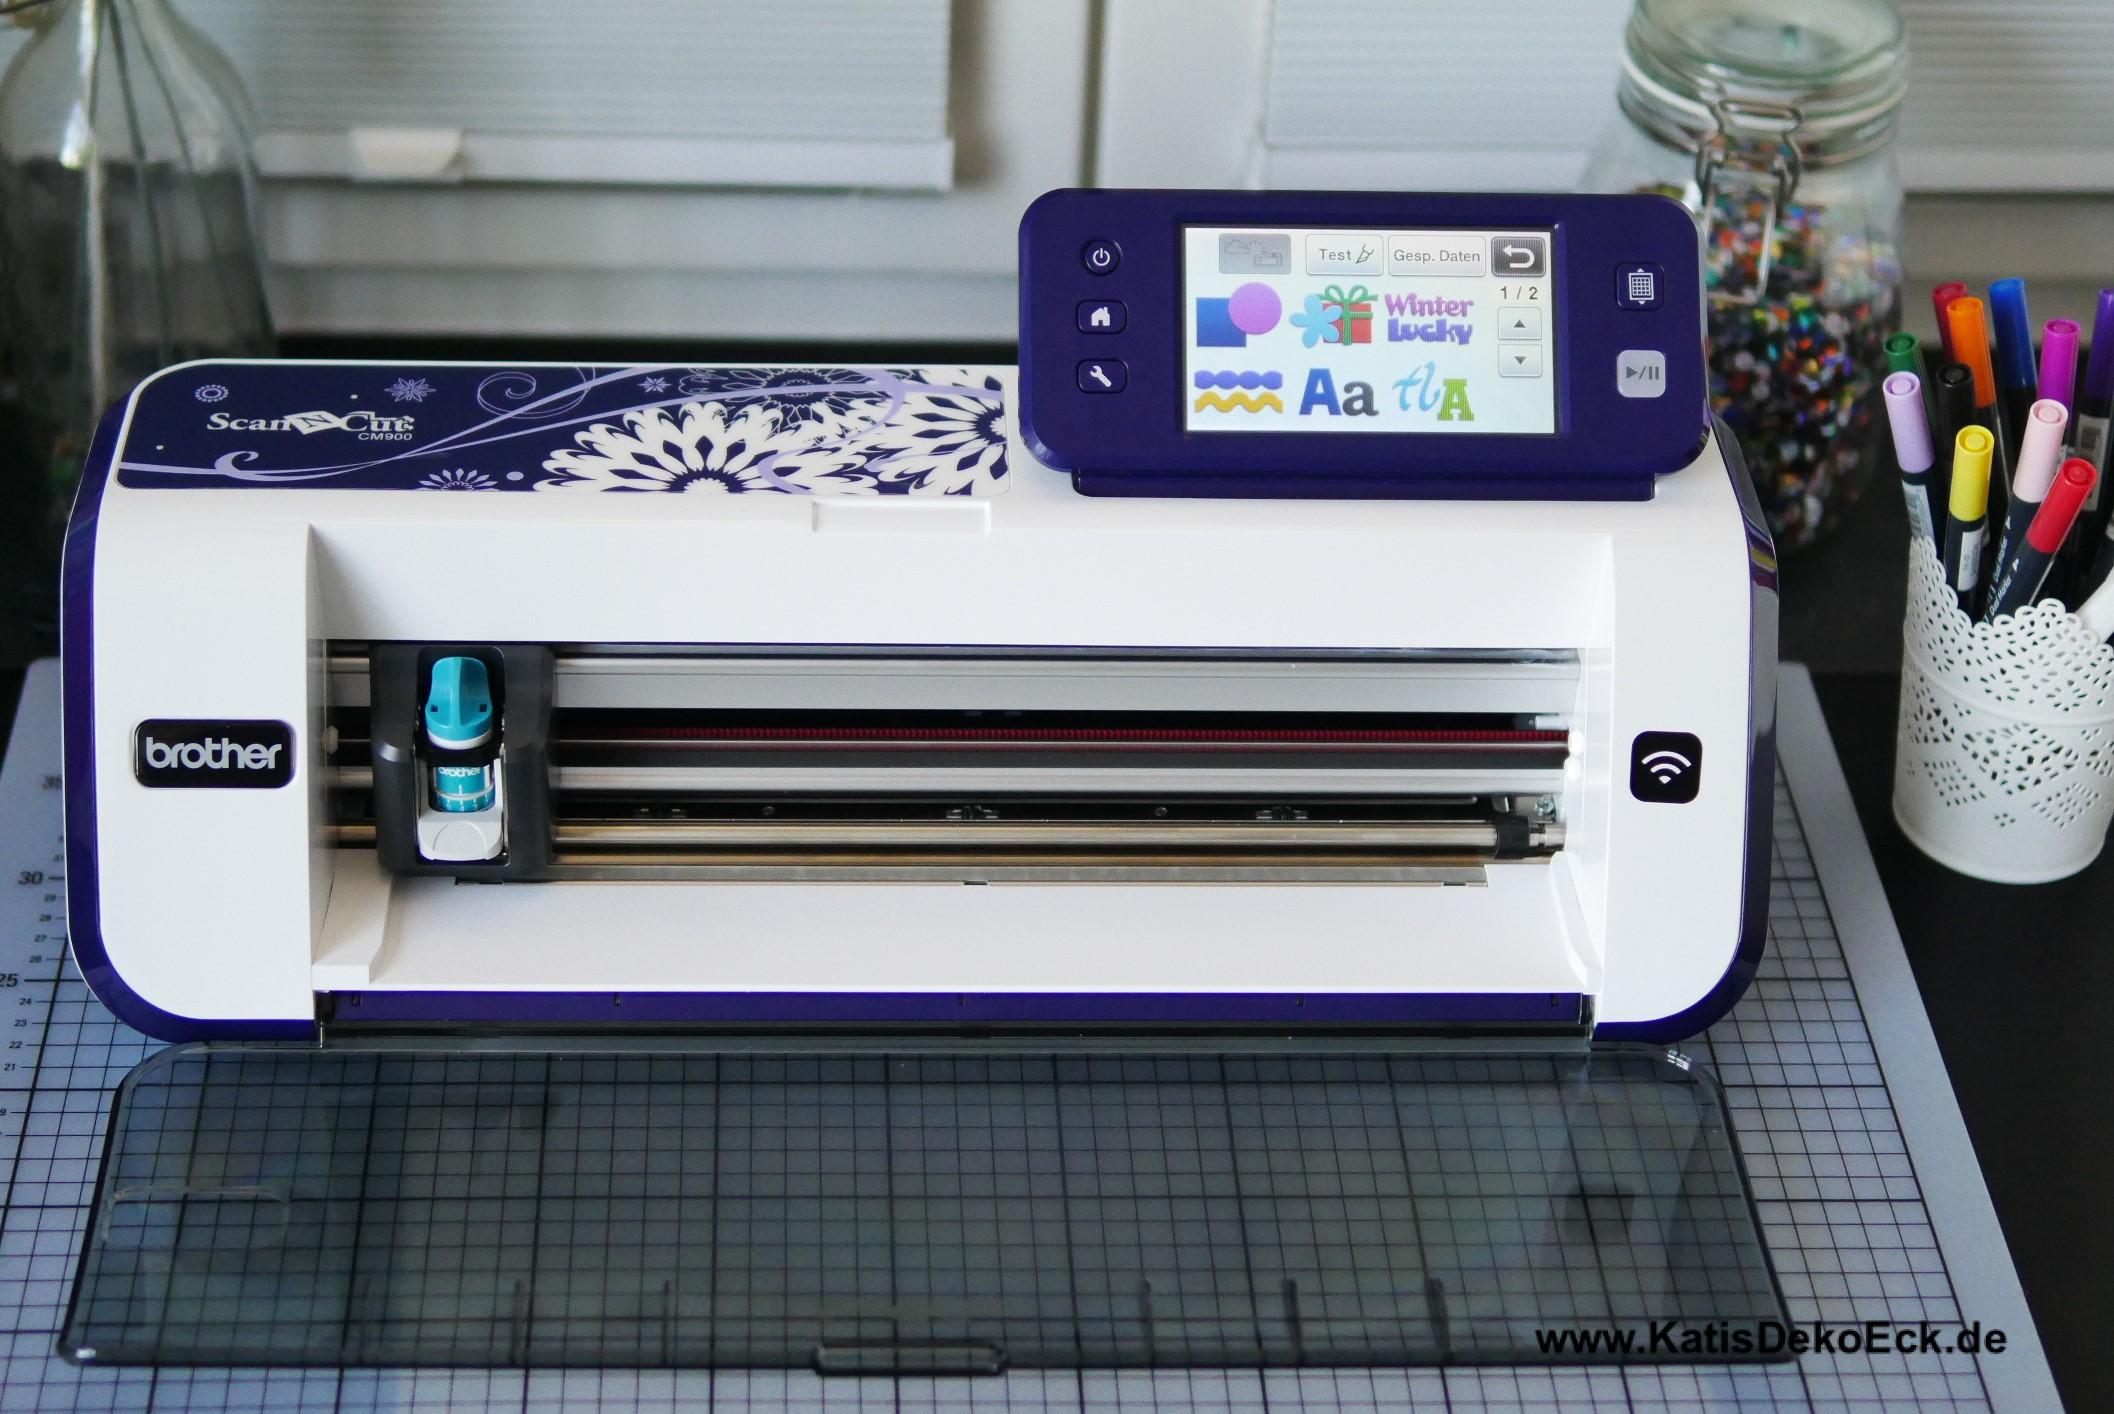
And as I had been playing around with the idea of getting a Brother Scan&Cut machine for quiet a while now, I decided to try my luck and apply to test it. And guess what, I was chosen! So this beauty moved in with me in my craftroom for a time*:
Back to the roots: What is a Scan&Cut machine and why would I need one?
I met it over and over again in the last weeks, may it be on the internet, in facebook-groups, featured in YouTube videos and in newspapers: THE allrounder of the papercrafting world!
One machine to find us all, to bring us into craftstores and in the darkness of the evenings to bind us (to our craftdesks): one machine to first scan and then cut – see where the name comes from? There’s an infinite choice from your own patterns, pictures, motives, drawings and anything else made from paper and inks. And it’s nearly the same infinite choice on materials to be cut. No matter if fabric for quilting and sewing, felt or satin, foil or even cutting your own stamp – only sky’s the limit!
Or, even better, lets read what the manufacturer states:
„See it – Scan it – Cut it – Create it! Welcome to the world´s first home and hobby cutting machine with a built-in scanner. Welcome to a whole new world of innovation. Scan any image or sketch, then precisely cut the shapes or outlines – without design cartridges or a PC.“ (source: Brother-Website)
Sounds great? That’s what I thought, too! And that’s why I am so excited about taking you along with me on a journey to explore it’s endless possibilities and what this machine can do for us paper lovers.
The arrival and unboxing
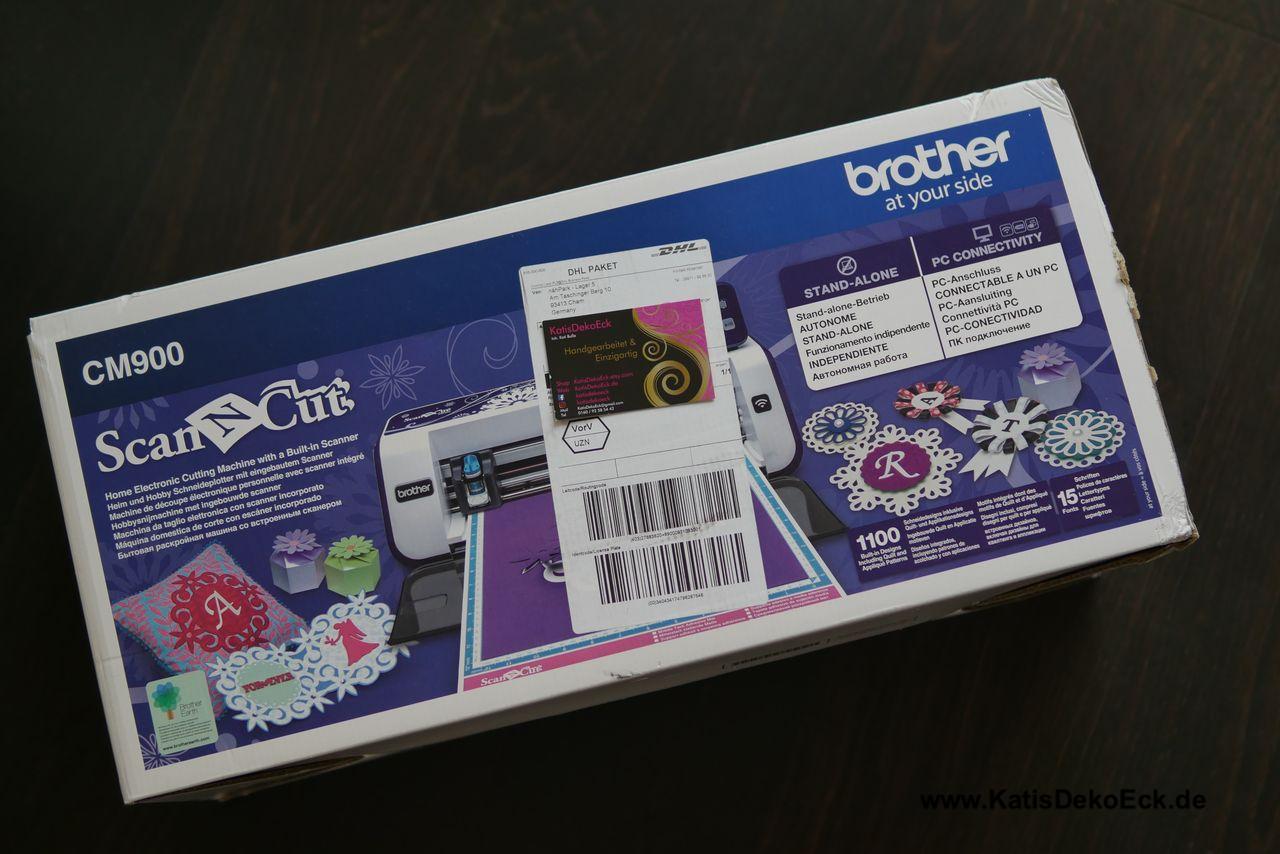
The nähPark Online store delivery was fast! It took a mere two days from receiving the happy-email informing me about my participation in the test to finding this beautiful (but unfortunately a bit damaged on the outside – Thanks dear delivery service…) box infront of my house.
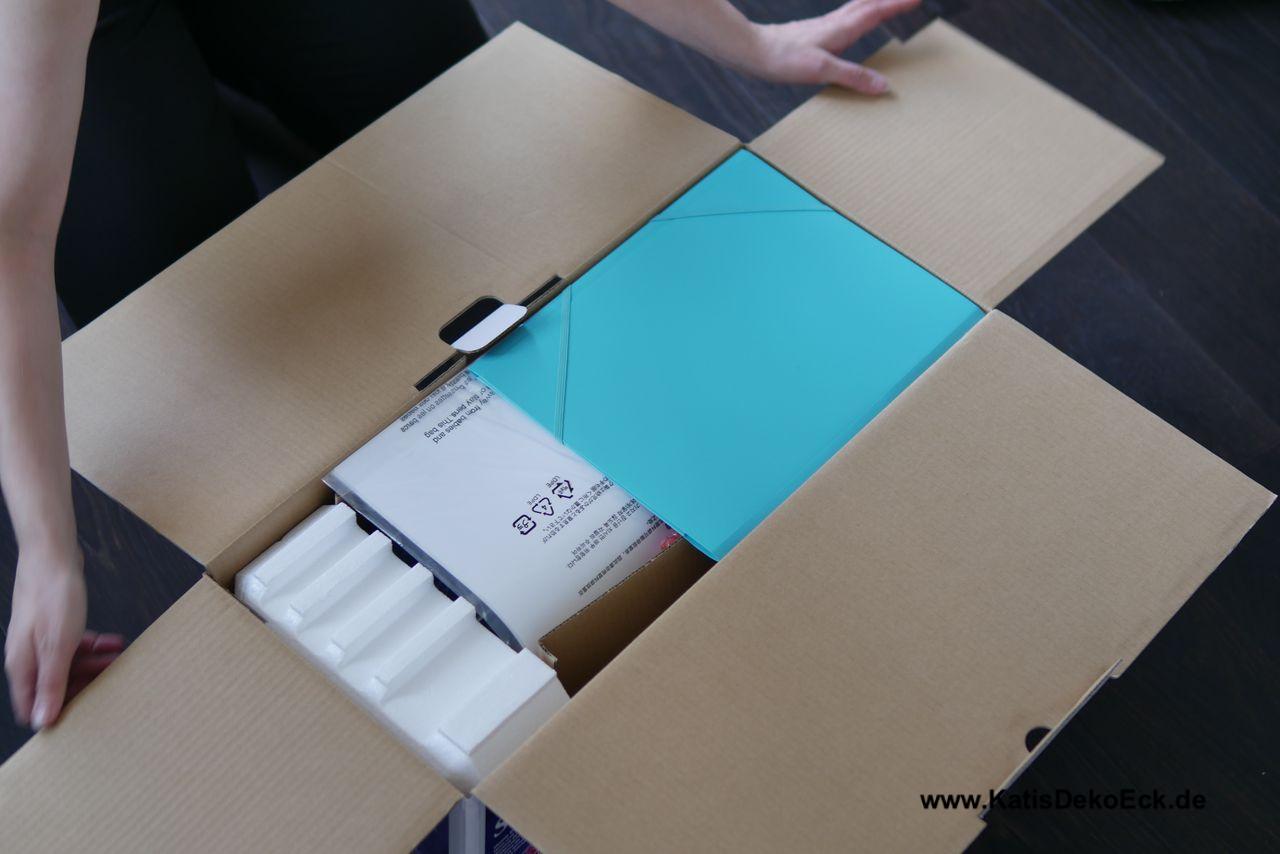
Ok, let’s hurry up with unpacking and finding out what’s inside. The CM900 is the top model of its kind, sent from Brother with so much equipment! And that shows:
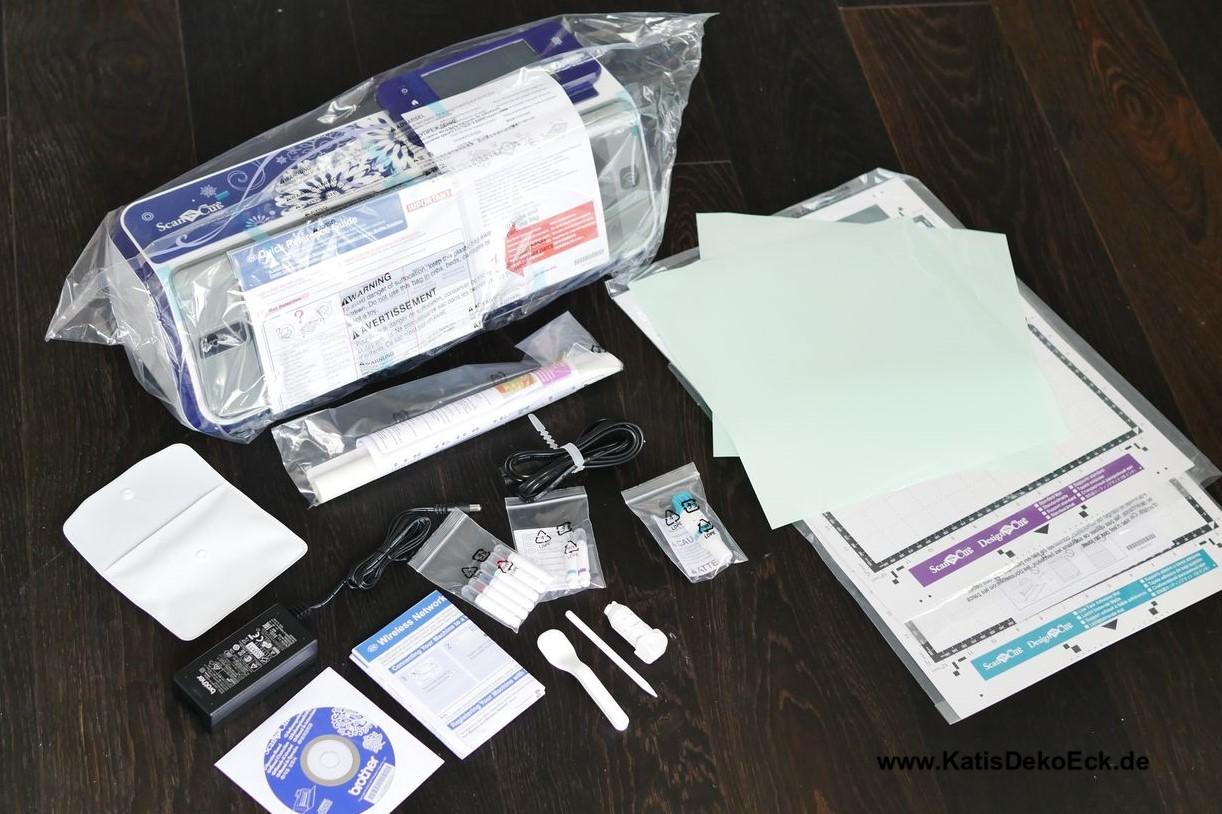
Oh, and by the way, did I mention that the machine is purple???
The manual on CD? Start the PC before getting started? Yikes! I’m here to try this thing! No time to be wasted with reading! But thanks to a brief „getting started“ kind of manual you can do just that instantly.
And, first impression, how is it?
Well, the Brother Scan&Cut CM900 is….PURPLE!
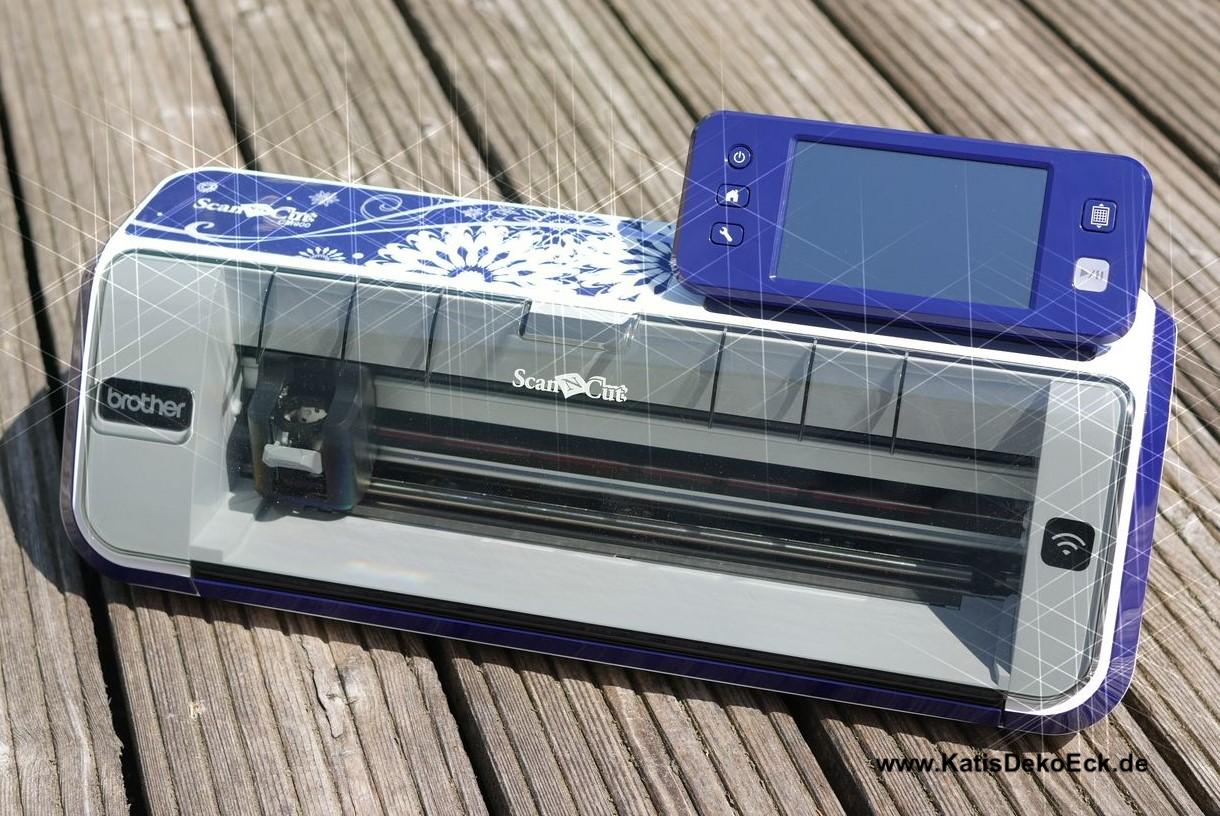
Besides that it is surprisingly handy. To be precise, it measures approx 50 cm in widths, approx 15 cm in depths and is approx 15 cm high. Should basically fit the smalles of craftrooms. But only generally, because there is one thing you will learn very fast while using it (assuming you haven’t read the whole manual in advance, and who would confess that): the machine needs as much space on the backside as it needs in the front. Because – and I will show that later on – when you apply something on the mats to scan, the whole mat with its measures of at least 30.5 cm (there even exists a 60 cm long mat) will be scrolled through the scanner from front to back completely and thus will clean up everything that stands behind your machine. That means: either give this piece of purp… aaah, gold the space she needs from the start or grab her and bring her to an adequate space when using it. The latter shouldn’t be a problem, though, as it is not heavy at all and easy to carry around.
Of couse she needs energy. But that’s it. If wanted, she can function completely without any connection to a PC. Scanned patterns and pictures can be saved directly on the drive of the machine as well as on a USB stick or, if wanted, via Wireless on your own computer or mobile device.
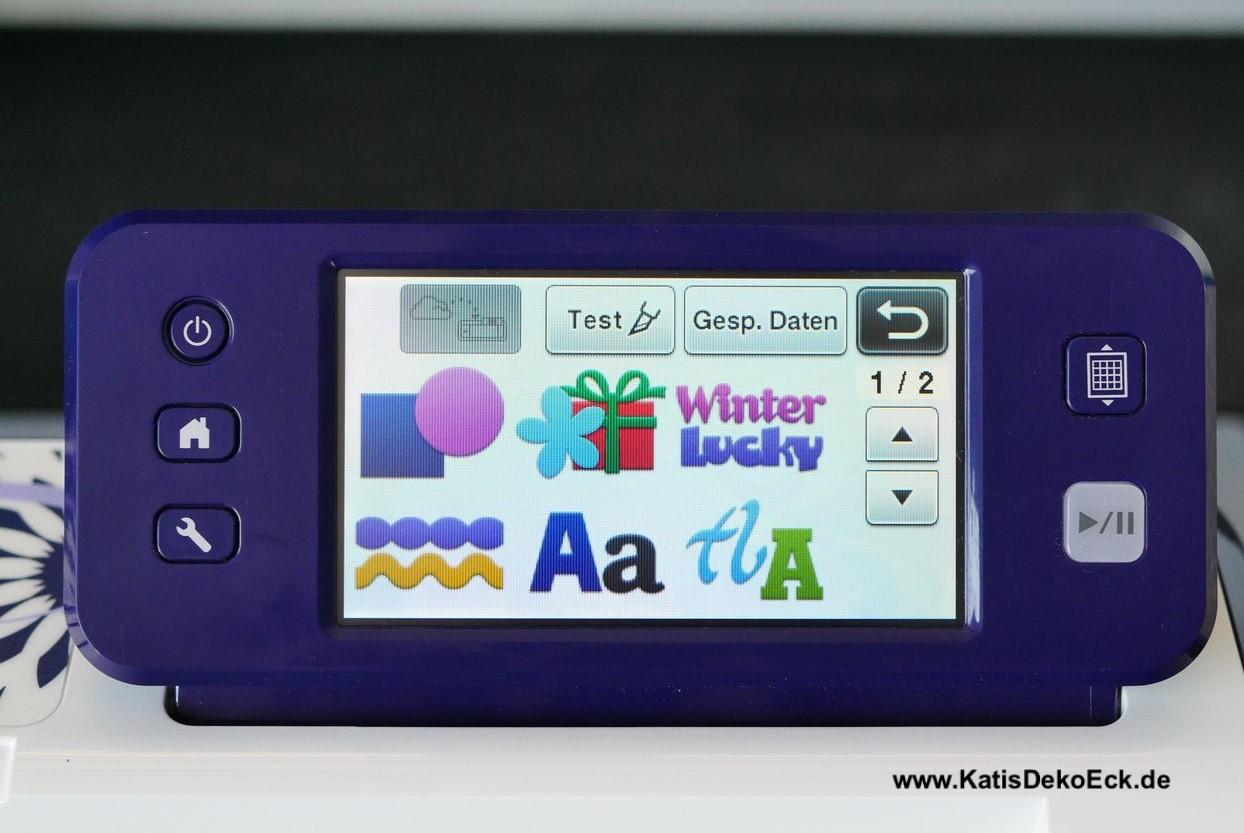
To make that happen, it features a beautiful user console, intuitively useable and in decent purple (yeeeees, I know, but it is what it is and truth needs to be told…) it is as versatile as Spock’s workspace on the Enterprise. Woken up by a touch of your finger or with the touchpen, it opens up a whole world of scanning and cutting:
As already mentioned, the usage is more or less self-explanatory which – of course – doesn’t relieve us from dutifully reading the instructions offered the manufacturer. But it is not really necessary to always keep the guide at hand while working.
Enough small talk, get started!
Yes, of course, I am… But it is simply a matter of fact that this machine needs to be admired at the beginning. Just enjoy the smooth surfaces – previously protected by foil and thus still very shiny and nice – ( only a handful of days later an open window and a vast amount of tree pollen will see me cleaning and dutifully de-pollen everything, but thats life again…)
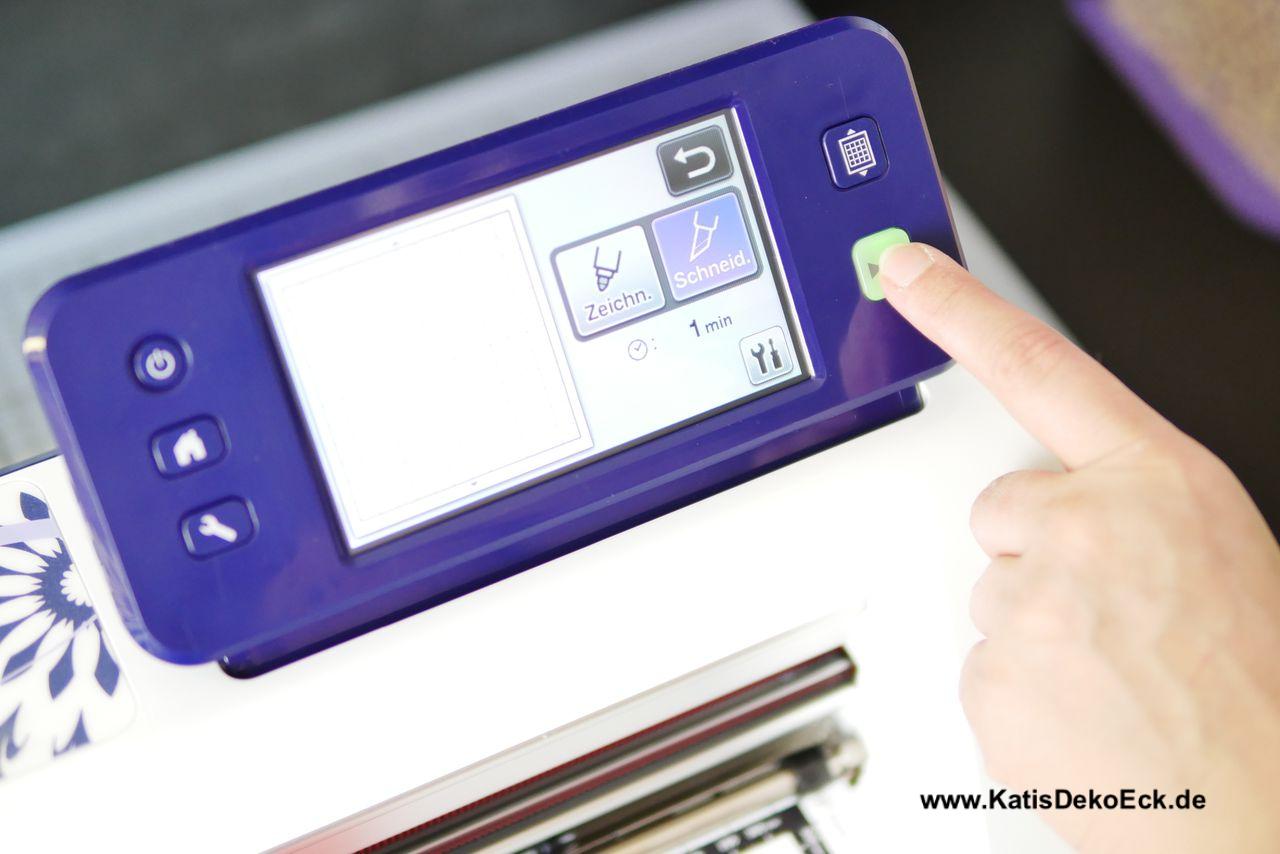
Good, back to the topic. The first cut… I had read a lot about it before getting started: how exact and absolutely on the spot the cutting knife needs to be configured to cut the desired paper correctly. Fortunately, here again, the one pager short usage guide came to rescue – it turned out to be not so difficult a expected in the end.
The short guide contains a table which exactly shows, what material require which cutting mat and which knife and knife configuration:

I stuck to what the table showed me and to get started as proposed, I followed the steps for a first trial-cut:


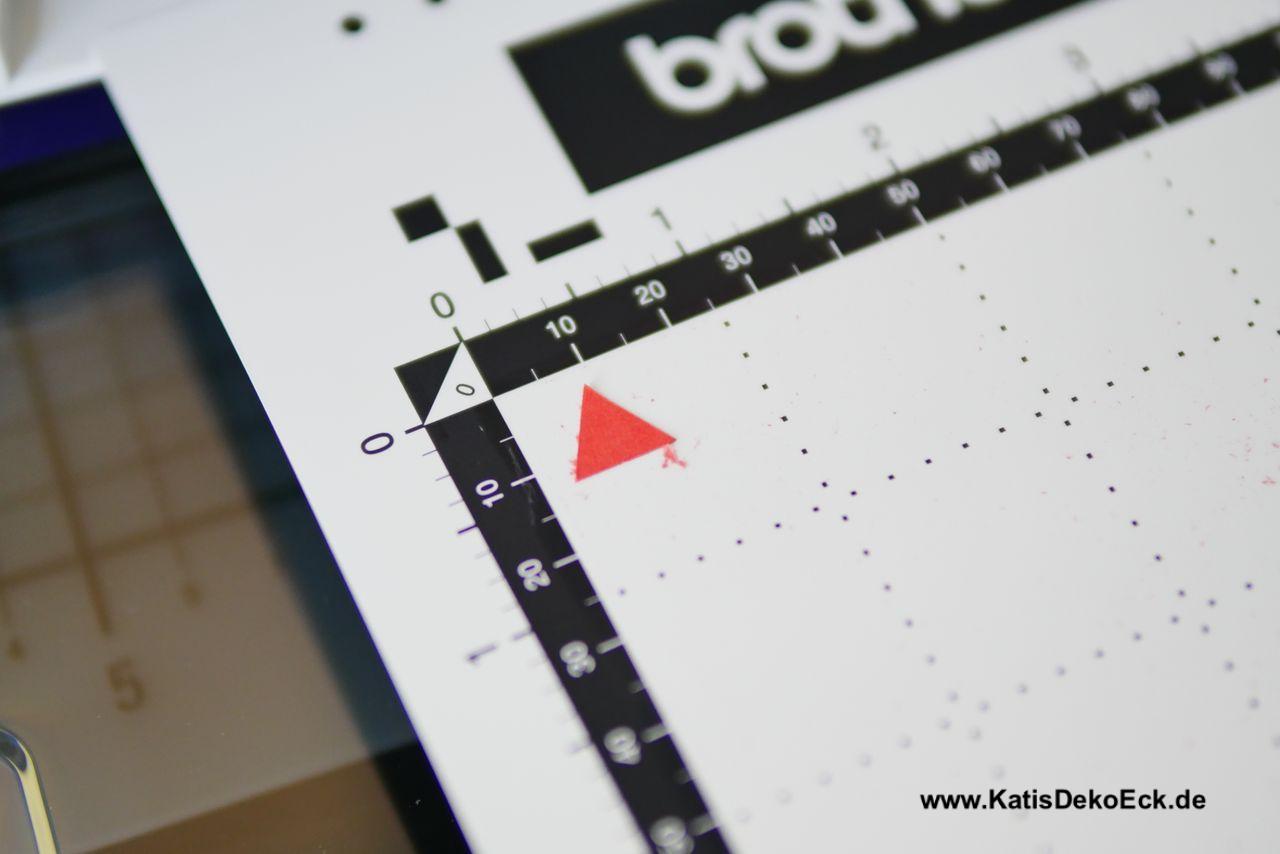
Wohooo, remember what Tom Hanks said in Cast Away? „Yes, look at what I have created! I have made fire!“ ahem, no, even better I have made a triangle!
Just kidding…Actually I had to start somewhere … But at that moment it was already well past midnight and thus time to call it a day, take a break and go to bed as grown-ups should do. But guess who almost didn’t sleep that night…
First real challenge: I need Italy, and that fast
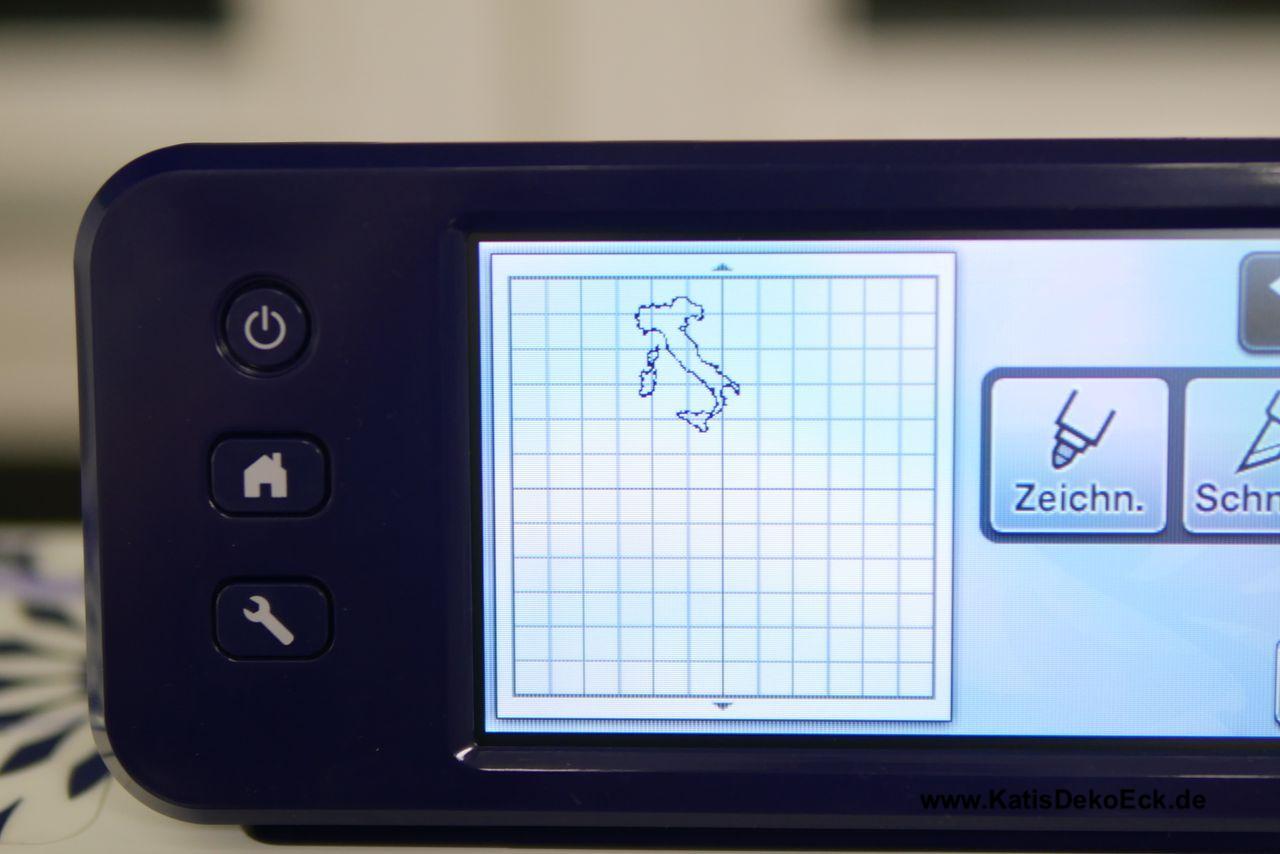
The next day started out with a real task: First time creating and scanning something myself. And what could be a better inspiration than La Bella Italia?
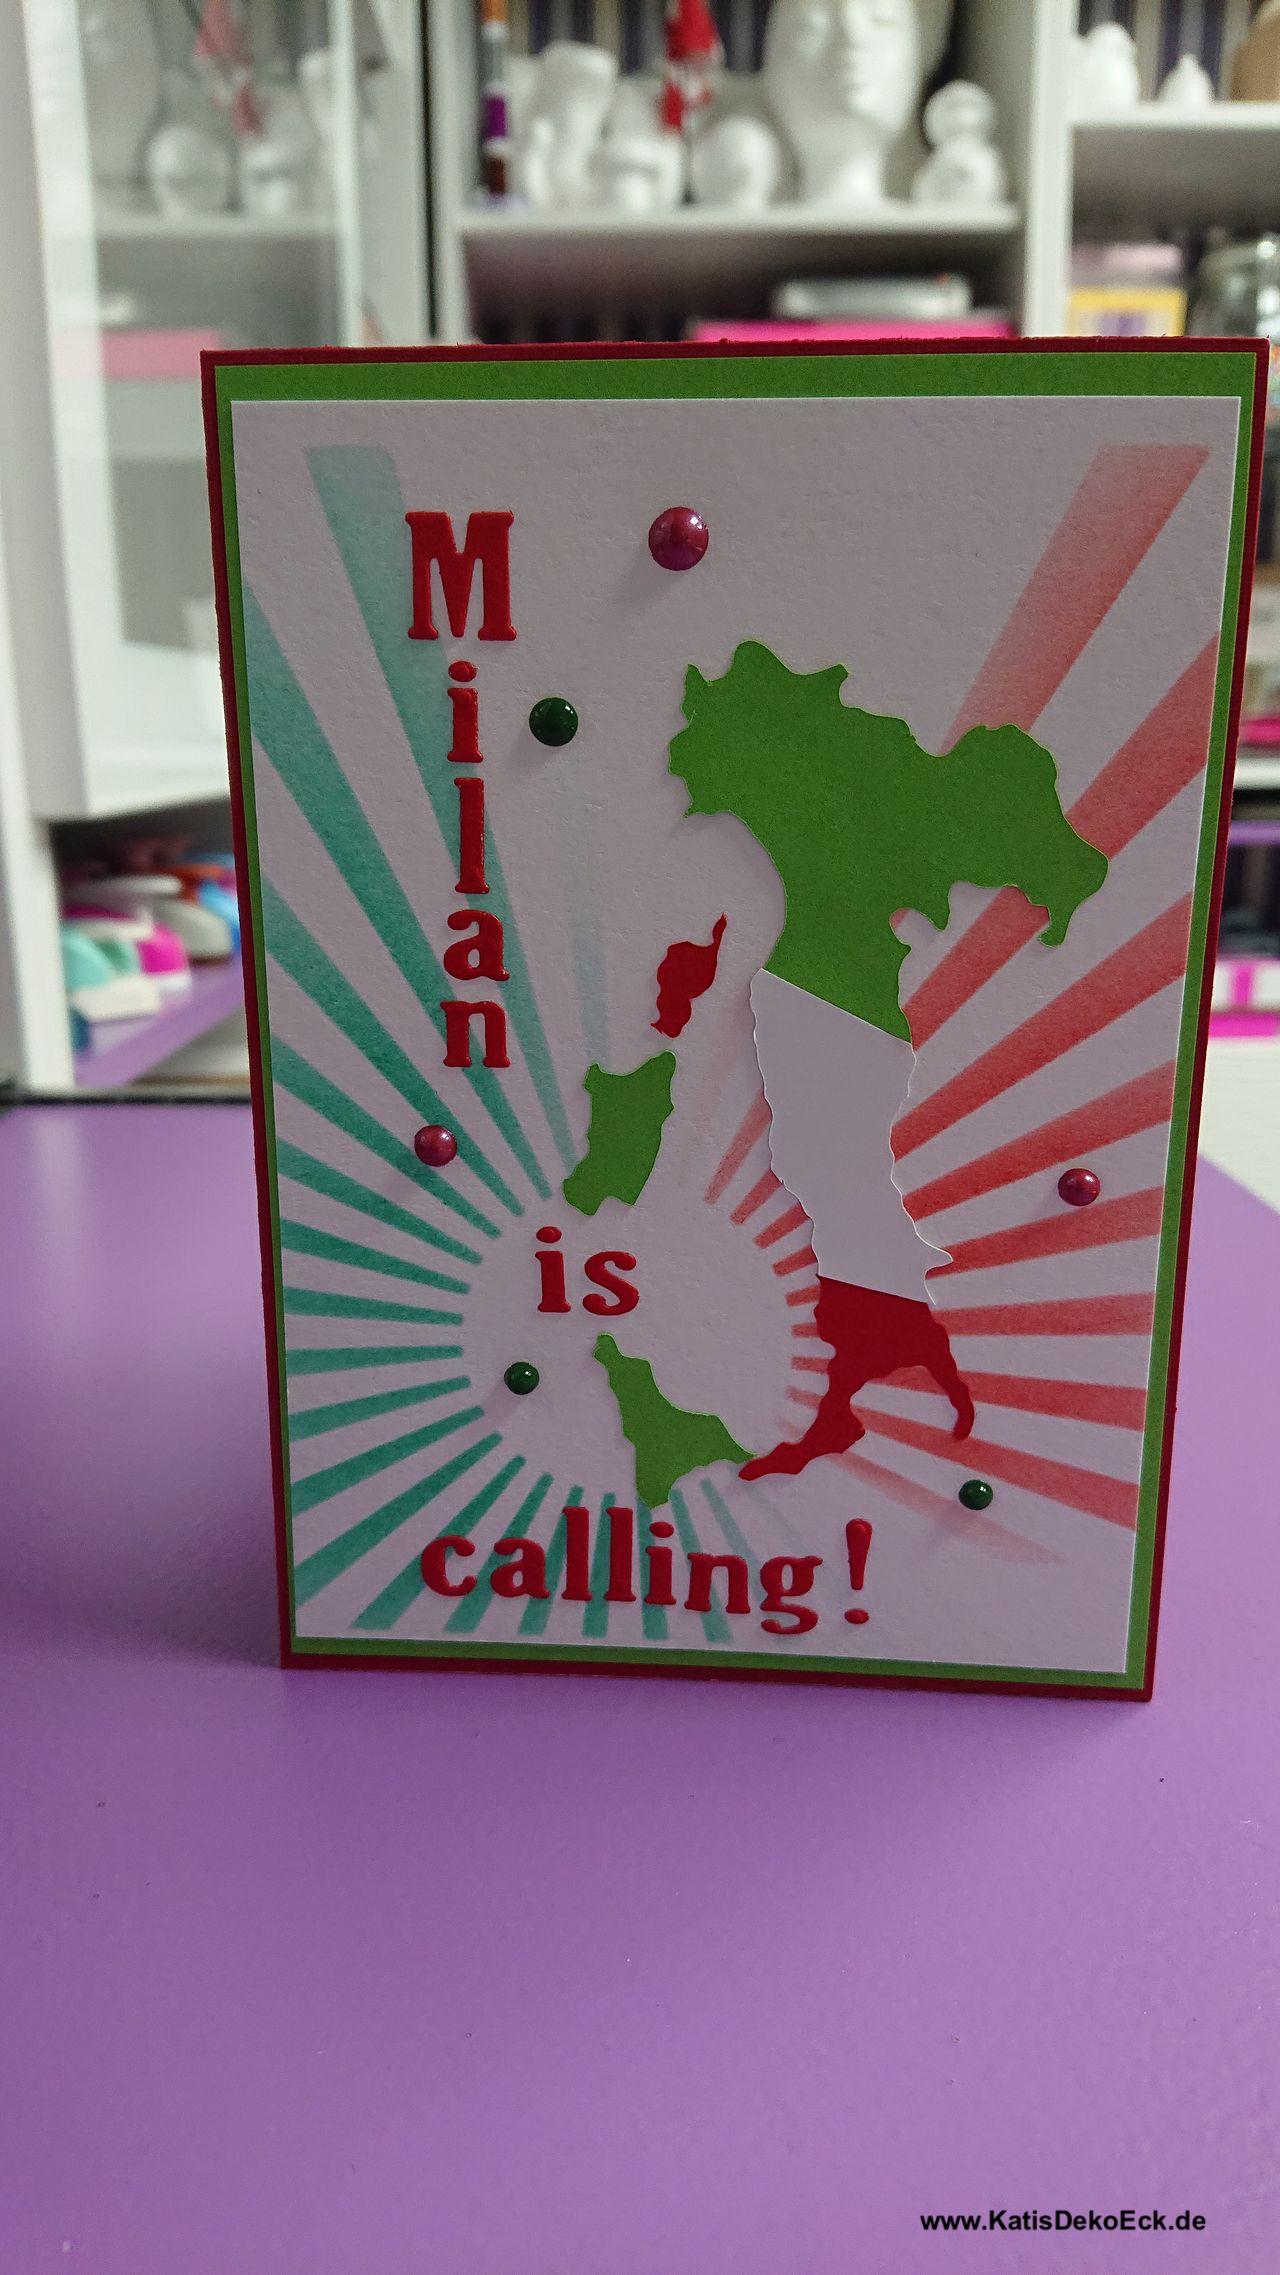
As chance wanted it, I needed a greeting card for a colleague about to leave us to move to Milan. So I first created a lovely Italy-ish background using Distress Inks (you can find an article on these here, just in case you are wondering…) but I was missing one tiny thing for a cardmaker’s heaven: Italy… But hey, there was this super machine standing in the middle of my craftroom waiting to make me speechles!
Ok, lets take a world map, trace Italy with pen and paper as we used to do in elementary school and scan the result. That worked amazingly well. Even though I only took a pencil and some vellum paper, the little gridlines on the scan mat didn’t show in the display and the scanned image shown on the console really resembled a decent Italy!


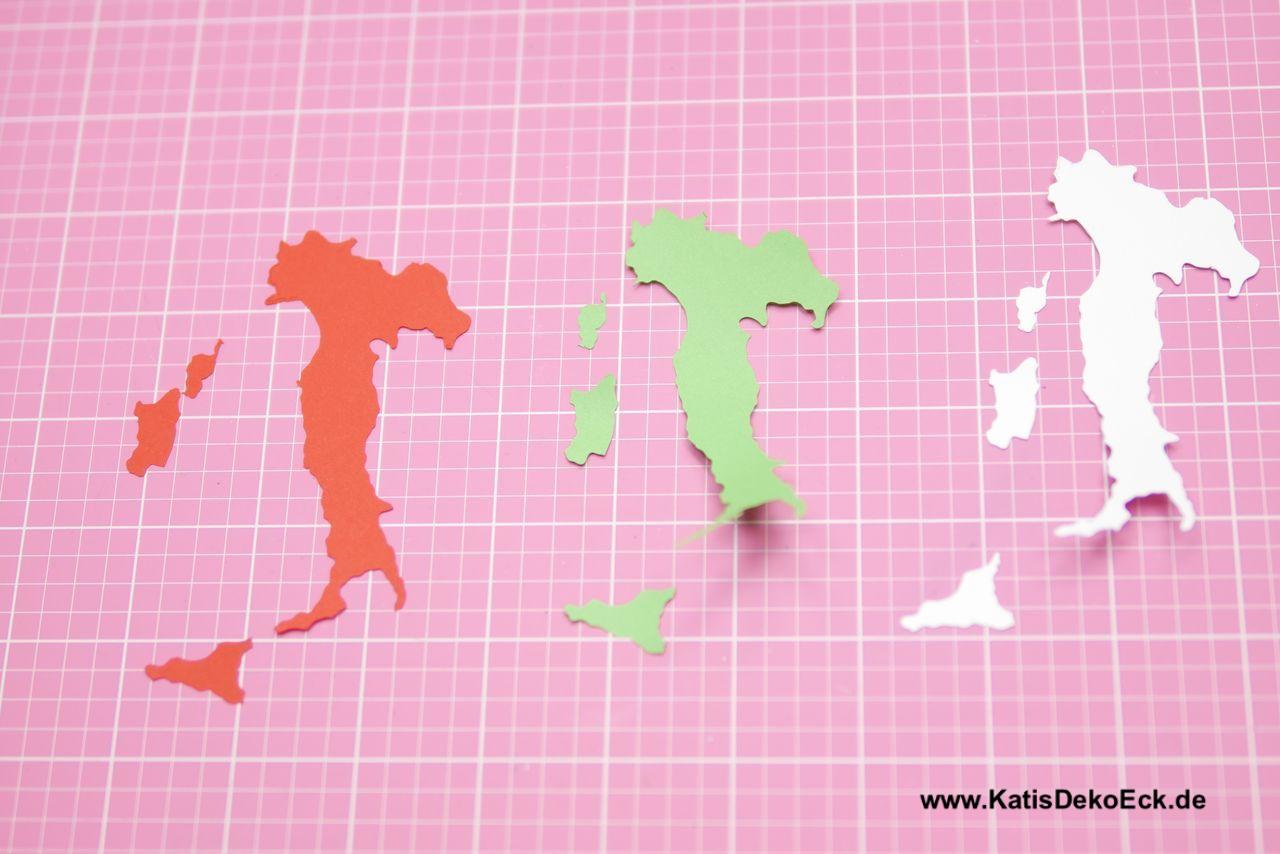
Next step: Italy times three, per favore! Three sheets of colored paper run through the machine in three times a minute (!) and I got three absolutely identical pieces of Italy(s?). Just cut and adhere them in flag-equivalent order and the greeting card was finished superfast:
Just imagine fuzzycutting these pieces by hand… and this acurate? No, I can do many things reasonably well, but this would not have turned out that nice…
First test: passed with excellence!
So, what’s next?
I may play! I will continue trying out what this purple princess can do, will cut paper and test to see, if I can find her limits. I will try to design and cut my own stamps and the like.
And you may join me on my journey, you can watch and see and then decide, whether this machine is just a toy,a nice-to-have or a must-have necessary to keep life worth living. So, stay tuned while I keep testing this Brother Scan&Cut CM900!
* For fair consideration: this machine has been provided to me for testing purposes without payment for a limited amount of time by the company nähPark Diermeier. I will not get any money for this test and I will write down my honest and personal opinion and experiences. This review has neither been approved not verified or influenced by the company nähPark in any way.
Deine Gedanken zu diesem Thema