Eine deutsche Version des Artikels findest du hier:
Every now and then it just happens… A card design comes into my mind , I try it and then… I want to make more of it. Many cards more, but still individual and handcrafted, and of course, as always, made with love… That really works. And today I show you how by taking you along.
First things first: I wish you a happy and healthy new year!
Uhm, yes, it took me a bit longer to post again, but I got a perfect excuse, 2020 was just a crazy year. But I am convinced that 2021 will be way better and so I made the resolution to write more articles on this website this year, to inspire you, share my projects with you, to show you how-to and hopefully entertain you along the way.
Well, how do we get started?
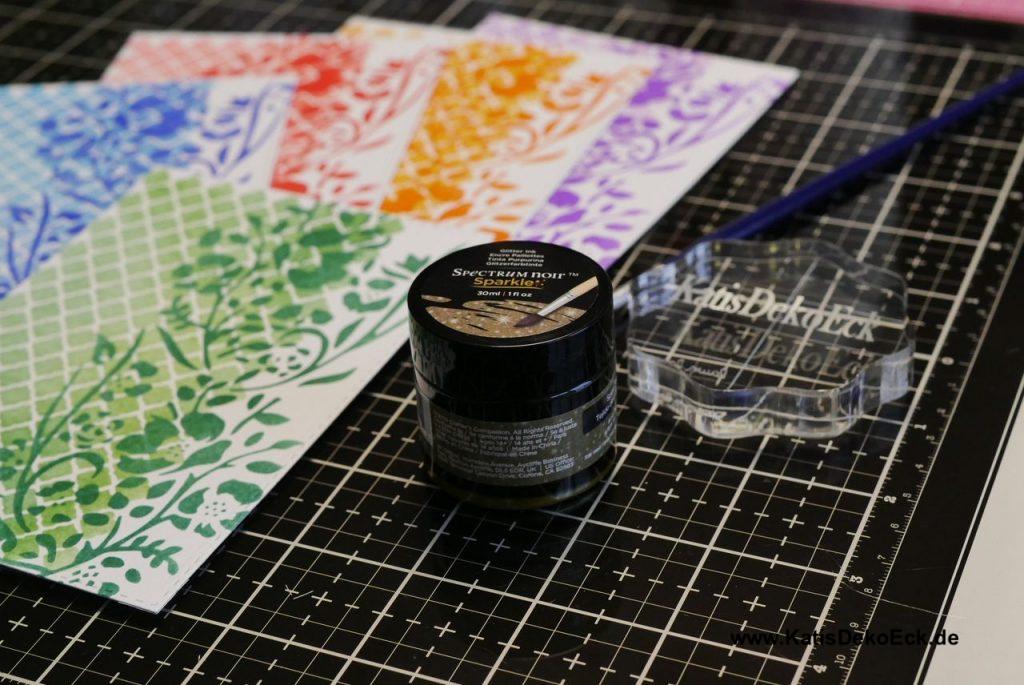
Herewith… *
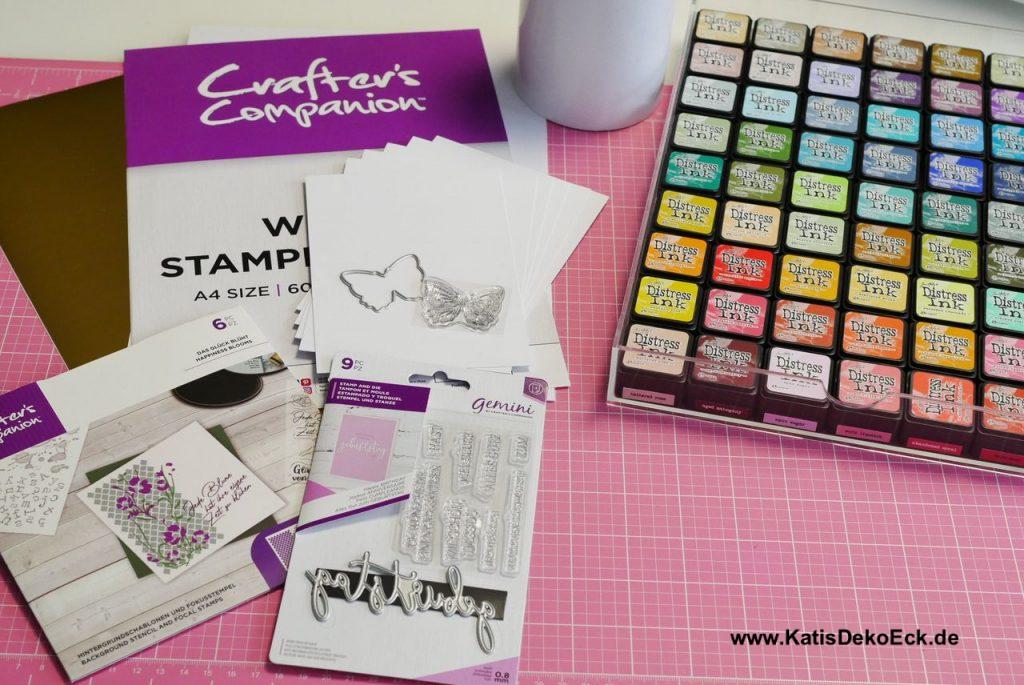
I will be using these materials to show you how to use a single, rather simple but beautiful card design to create multiple cards, each and every one unique but all a comparable as well. And it won’t take us too long. .
Ok … A card design… What is my idea?
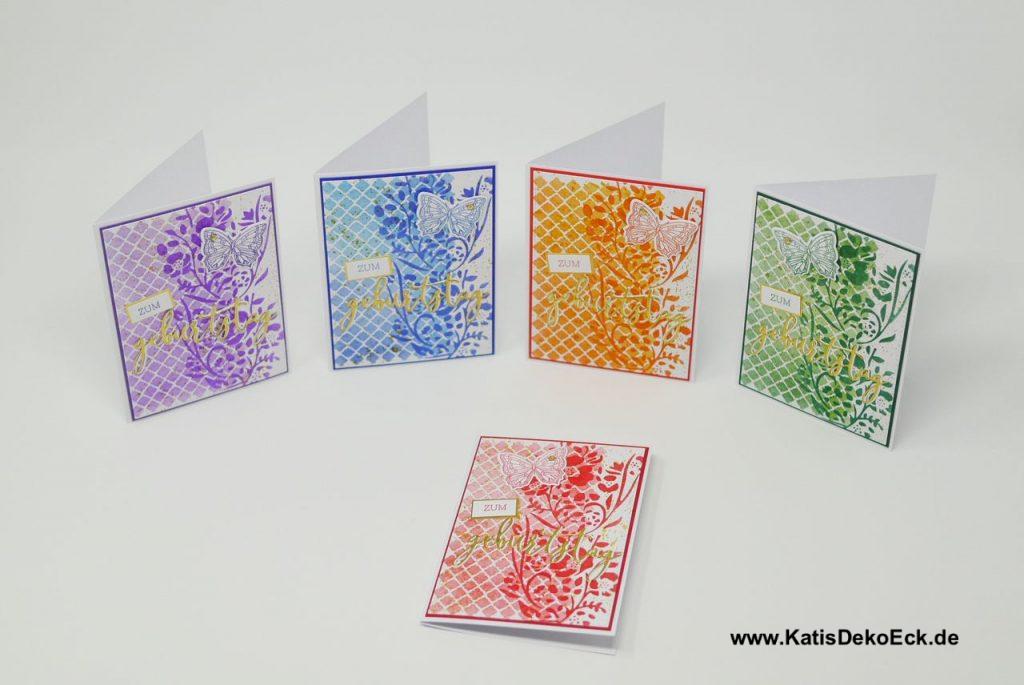
I want candy… No, cards! They don’t end up on my hips… I hope… Many cards… Birthday cards… And colors… And I have an exact idea what these should look like. I recently woke up in the morning and knew what I wanted.
So I will show you here and now how to create multiple cards, step by step and how to make your life easier and the production faster by working in batches.
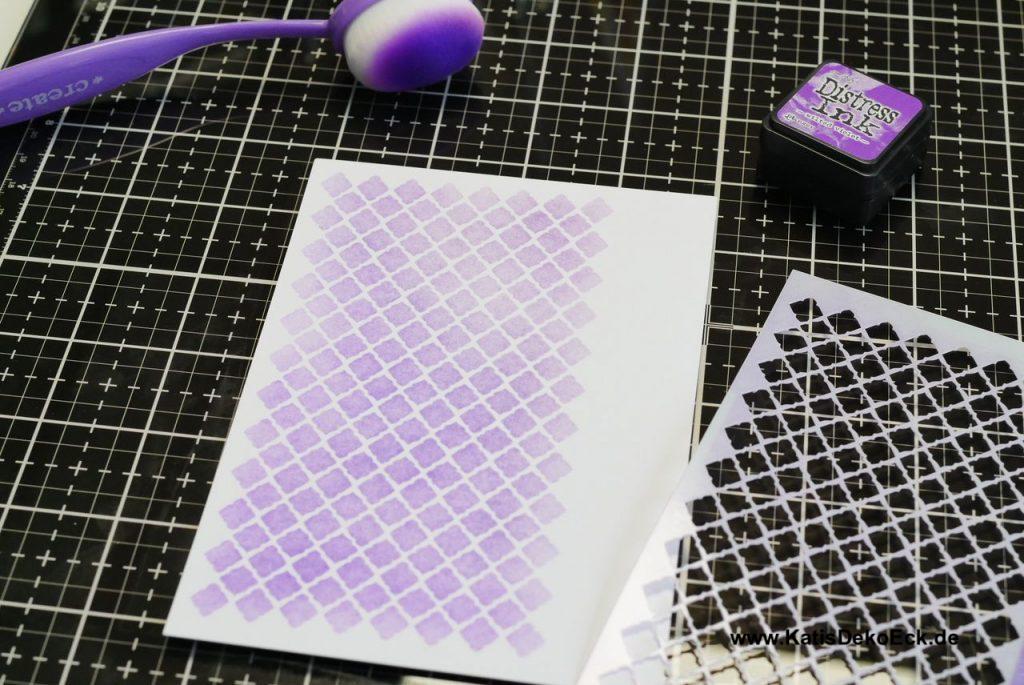
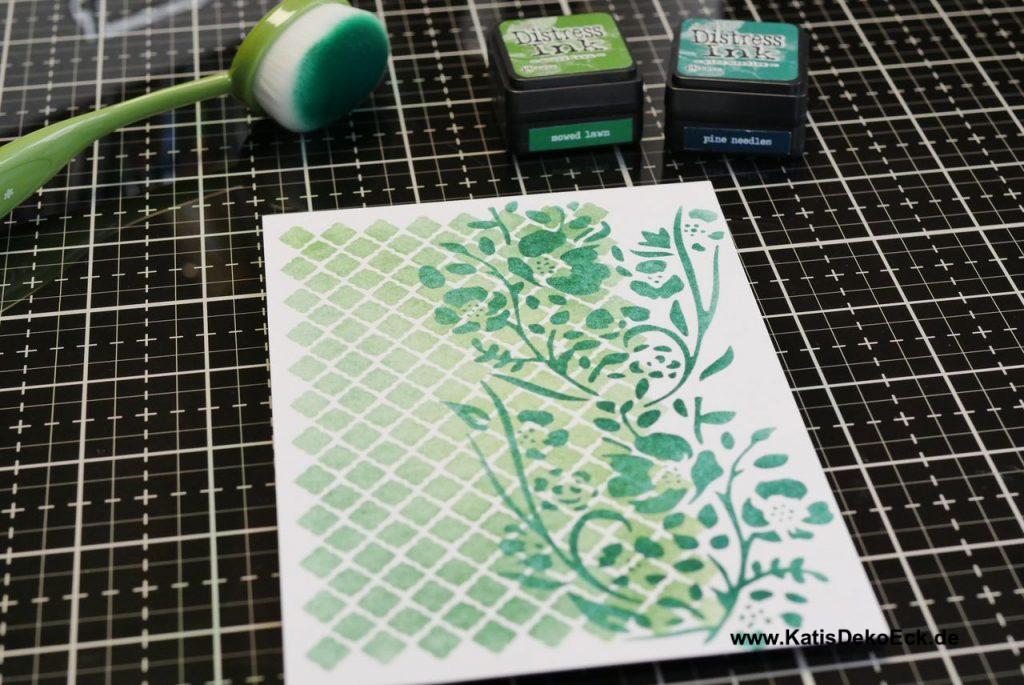
As a basis for the background of my card I decided to go with a stencil today. I chose one from Crafter’s Companion*, of course you can use, whatever you’ve got and like. I like this one especially, because you get a background and a floral element in one. But I will show you later, what exactly I mean:
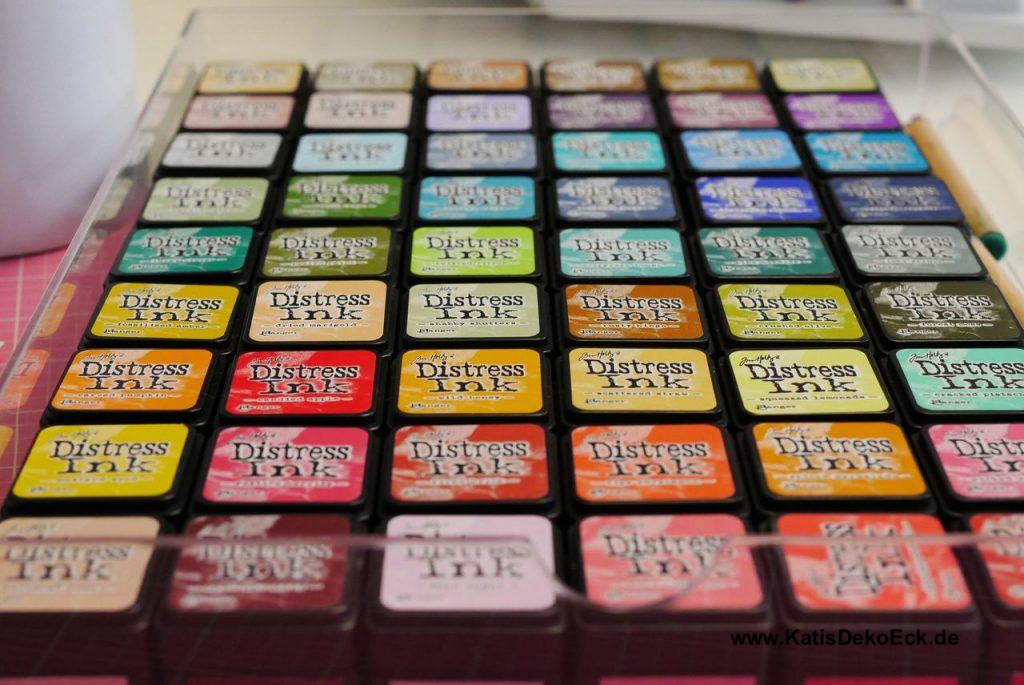
To color my background, I will use Distress Inks. A long time ago, I told you about these inks here . The color choice of these is just convincing and the water-reactiveness makes cleaning so easy.
As a first step I choose my colors. For today’s design I need two shades of one color for each card. Which color I use in detail will be visible on the pictures later.
Stencil chosen, check. Inks chosen, check, so let’s grab our paper and fix the stencil thoroughly with a removable tape. Of course you can also fixate your stencil with a removable spray adhesive, magnets or band, however you like best. Me, I prefer the tape, and not just because it is purple. Of course this helps, but its not the only reason…
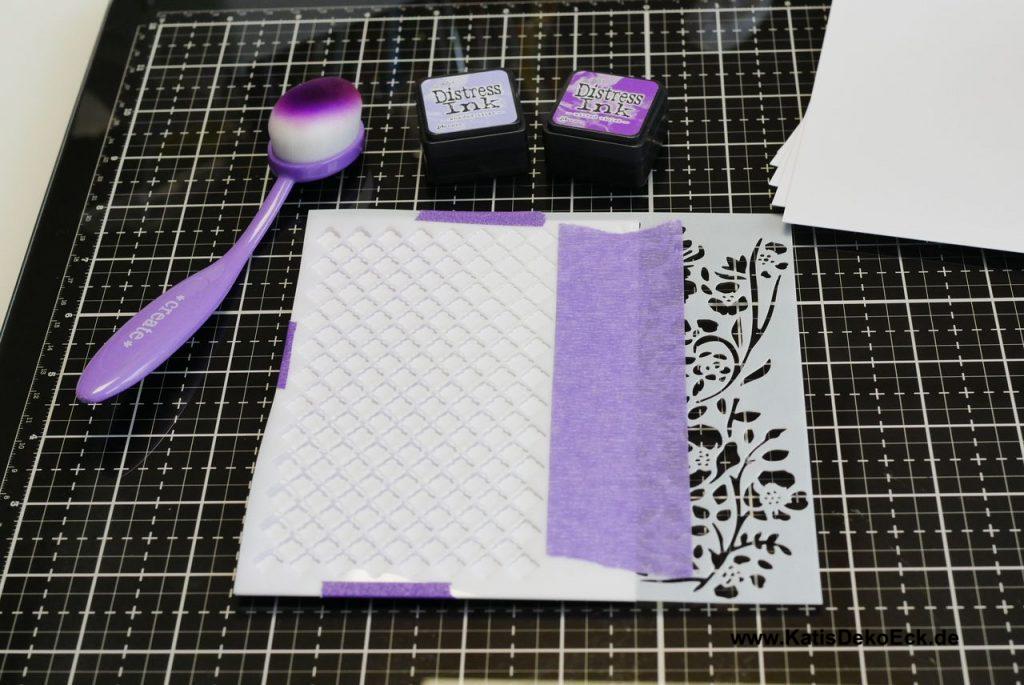
My little piece of luxury as a christmas gift for myself were the Taylored Expression Blending Brushes and they are perfect to use with such fine stencils. And their handles come in the colors of the rainbow. So perfect for my 2021! Again, you can use what you have and like.
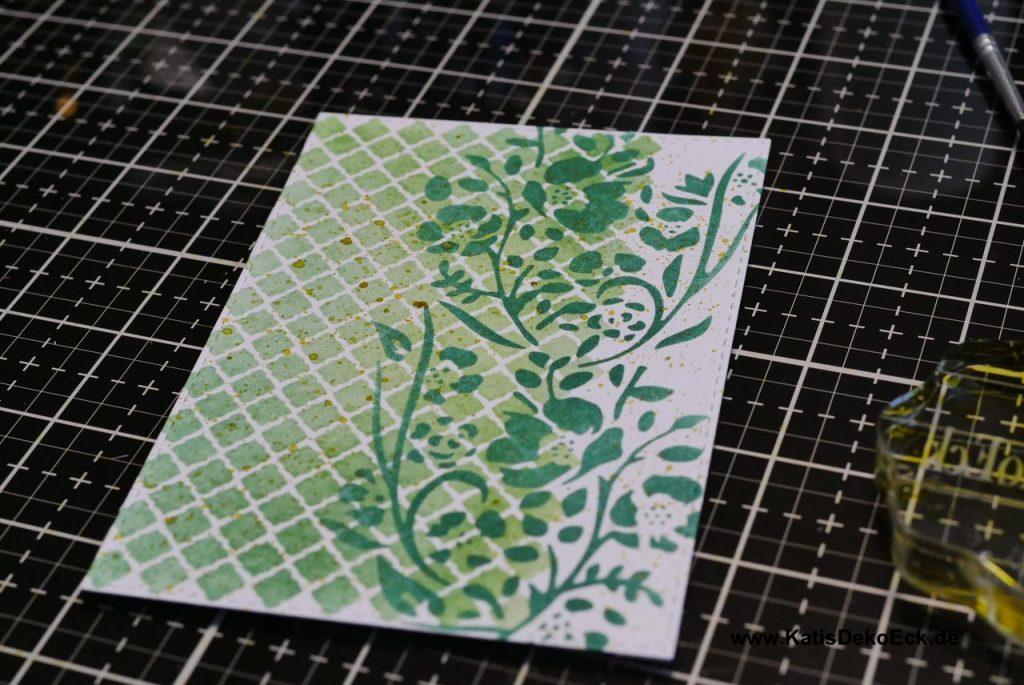
Now onto the simple task: applying the ink softly with the brush (or any other blending tool) onto the paper by circling around. Don’t use too much force, or the color will not be smooth on your paper. I decided to work with two shades of each color today, so I start with the lighter color and then apply darker one on top of it. I am not too careful about making these evenly, I want the colors to be a bit unregularly. This is what my design requires. And by not being overly accurate, I don’t need a lot of time until my cardbase looks like this:
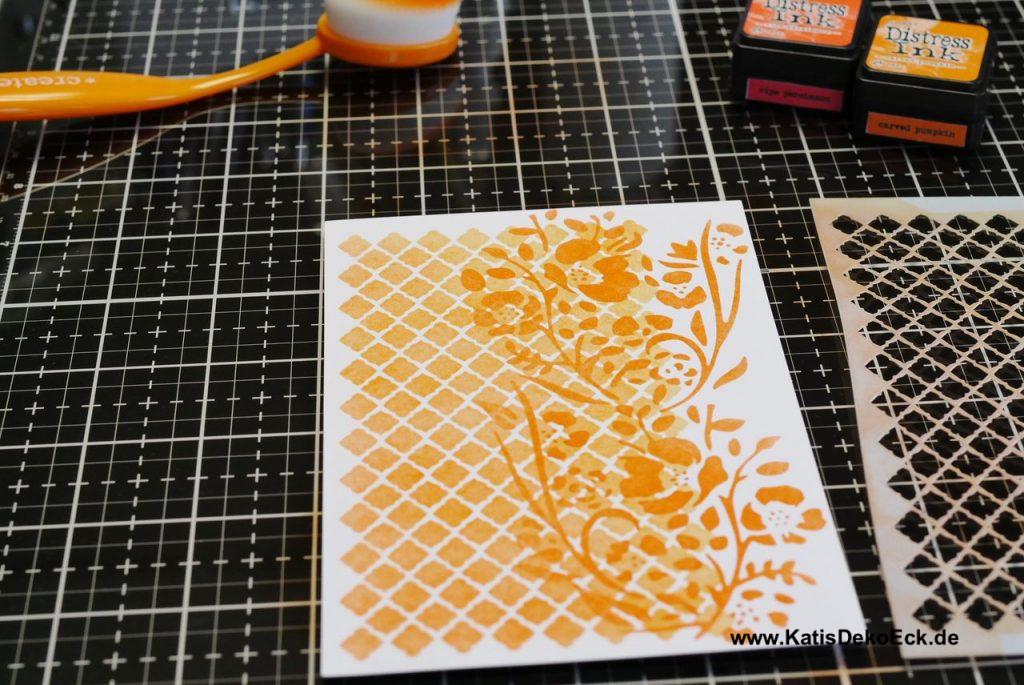
Next I want to add the floral element on top of my background. As already mentioned, my stencil consists of both parts, but you can easily just use another stencil you like:
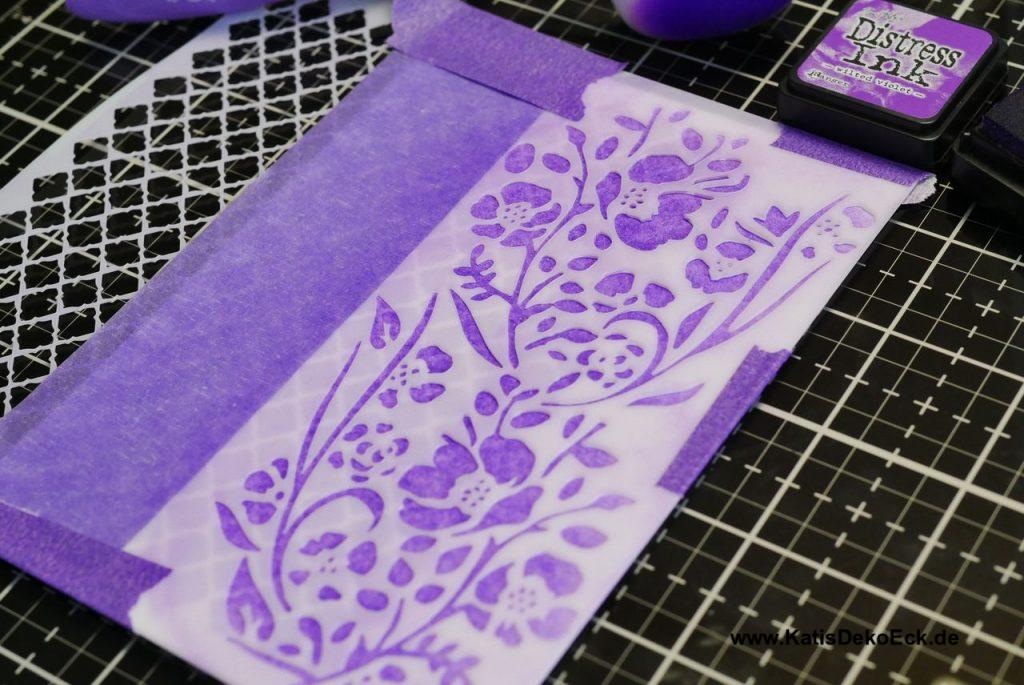
For my chosen card design I want the colors to match perfectly. So I simply take the darker shaded ink again. One of the nice things about Distress Inks: the more you apply, the more satuated the color gets and the darker. So, I use a lot of the darker ink to make sure my element stands out against the background. And see:
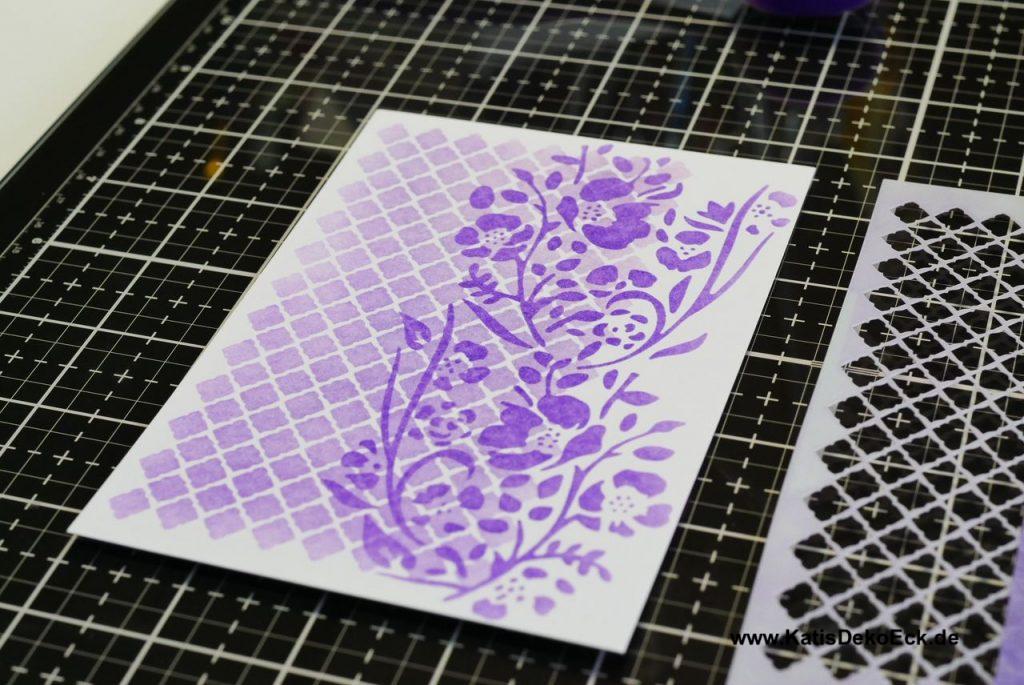
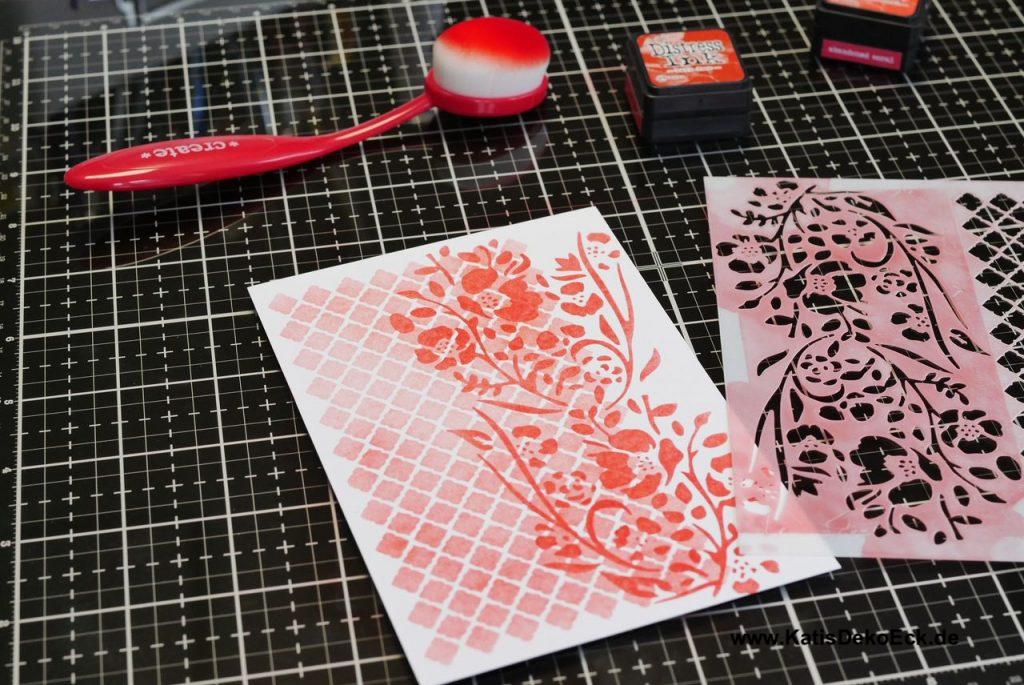
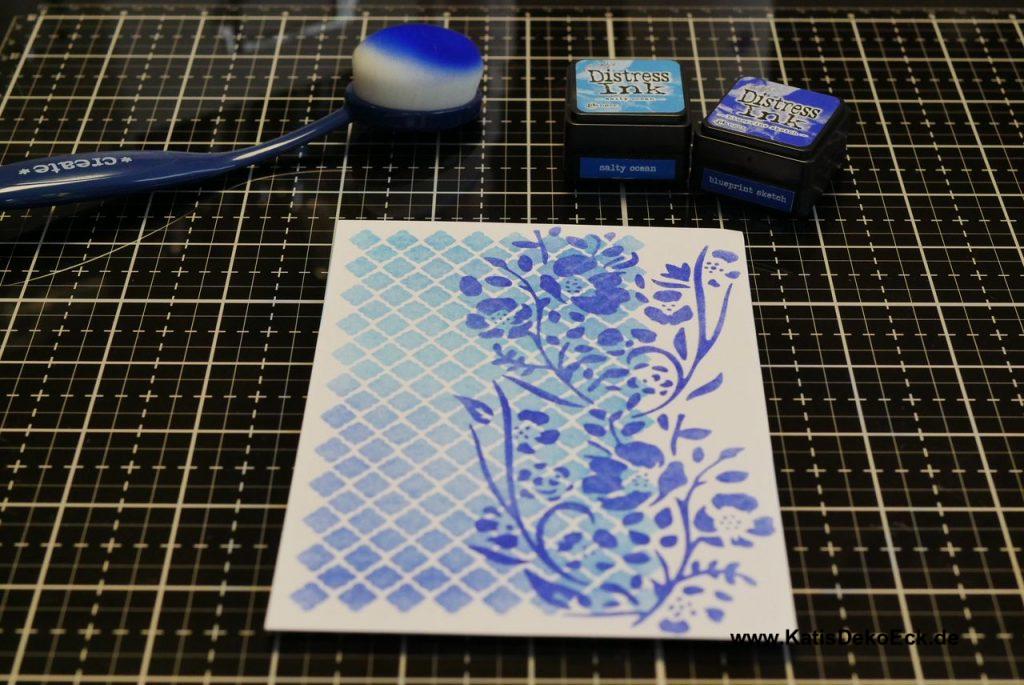
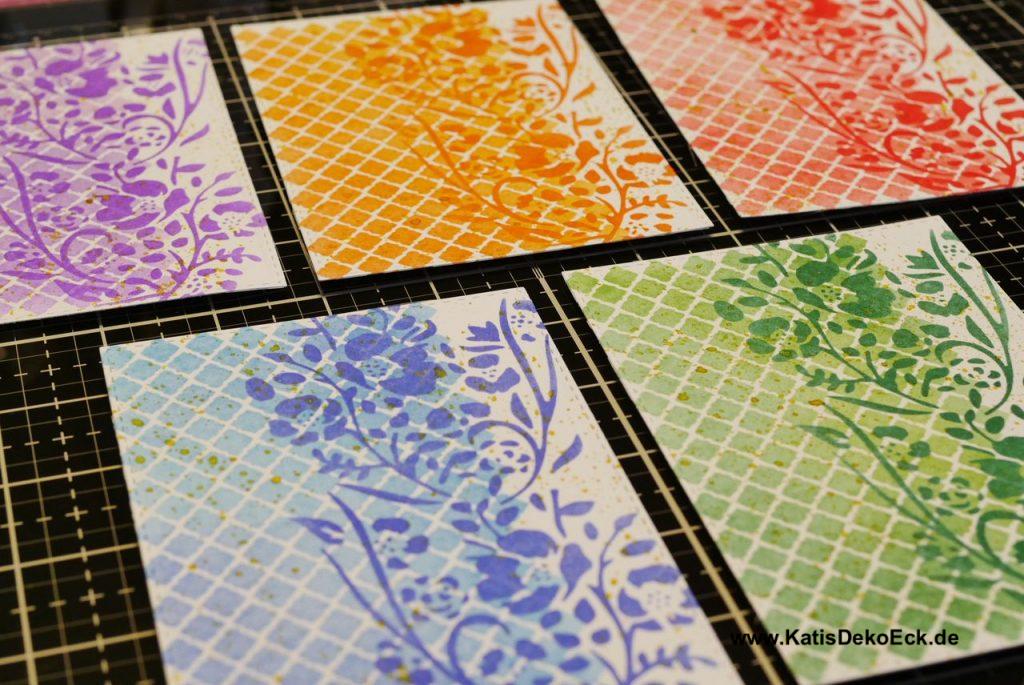
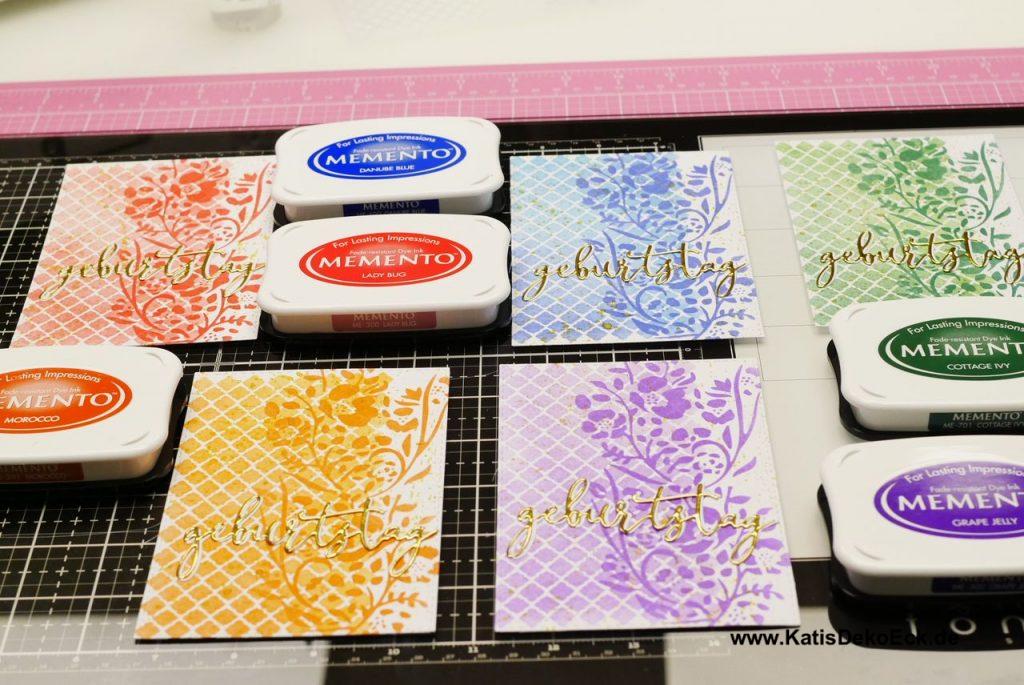
Cool, isn’t it? I like it. And therefore I make the same again in different colors, one after the other while I am in a flow:
.
Dont forget: In between the colors, always clean your work surface! As Distress inks are water reactive, a little spray bottle and a kitchen paper cloth are enough. Oh, and remember to clean your fingers in case yours look like mine… Else your fingerprint on the card will make it easy to identify you…

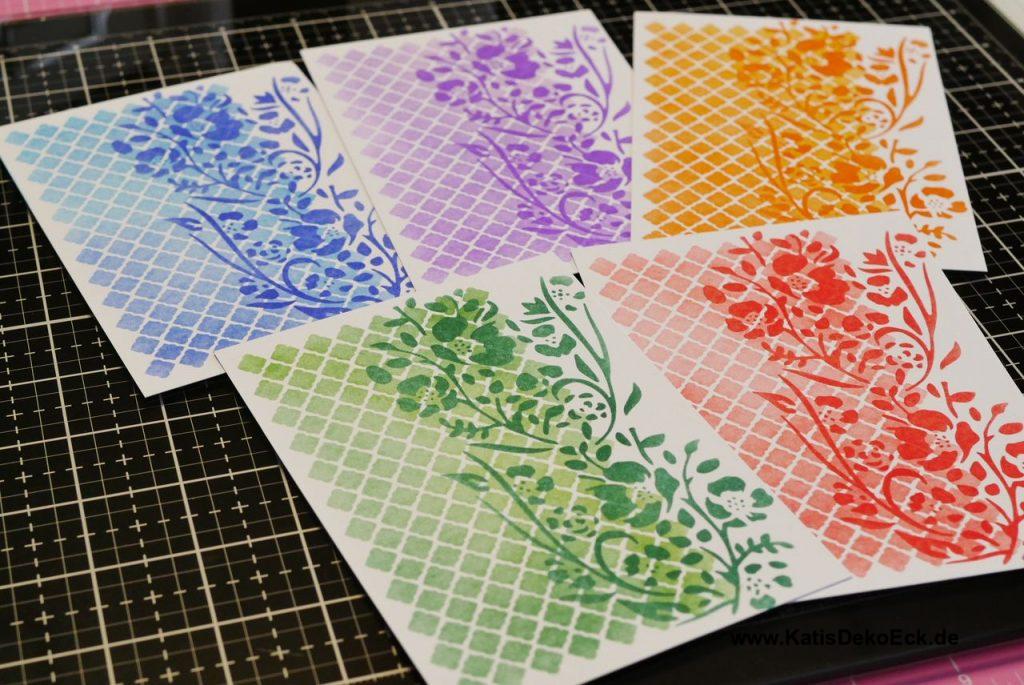
That’s how quickly it can go and the first step to creating multiple cards with one card design is done: backgrounds are finished.
But… but… glitter!!
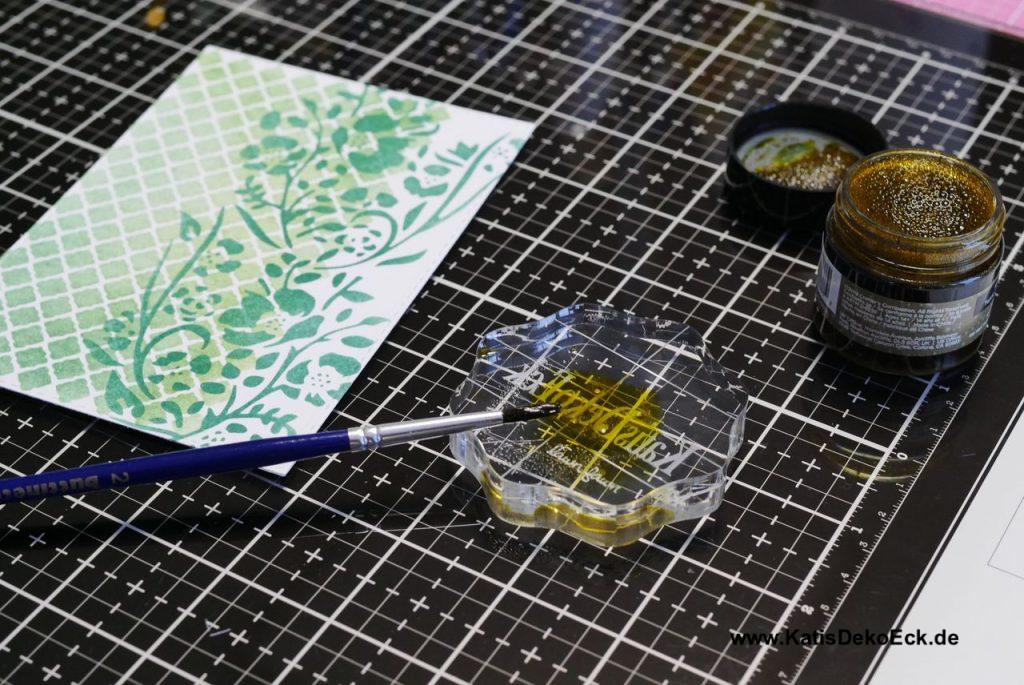
Sure, is missing. Definitely, and thus I reach for something not planned in advance: some liquid Spectrum Noir Sparkle Ink in golden. With a brush, an acrylic block and a drop of water it is very easy to splatter it across your backgrounds and then it sparkles and glitters… And again, as I am splattering the ink over all backgrounds at the same time, I only need to cleanup once afterwards.
.
Sentiment please!
You are right, every card needs it’s sentiment, else no one knows what it is for.
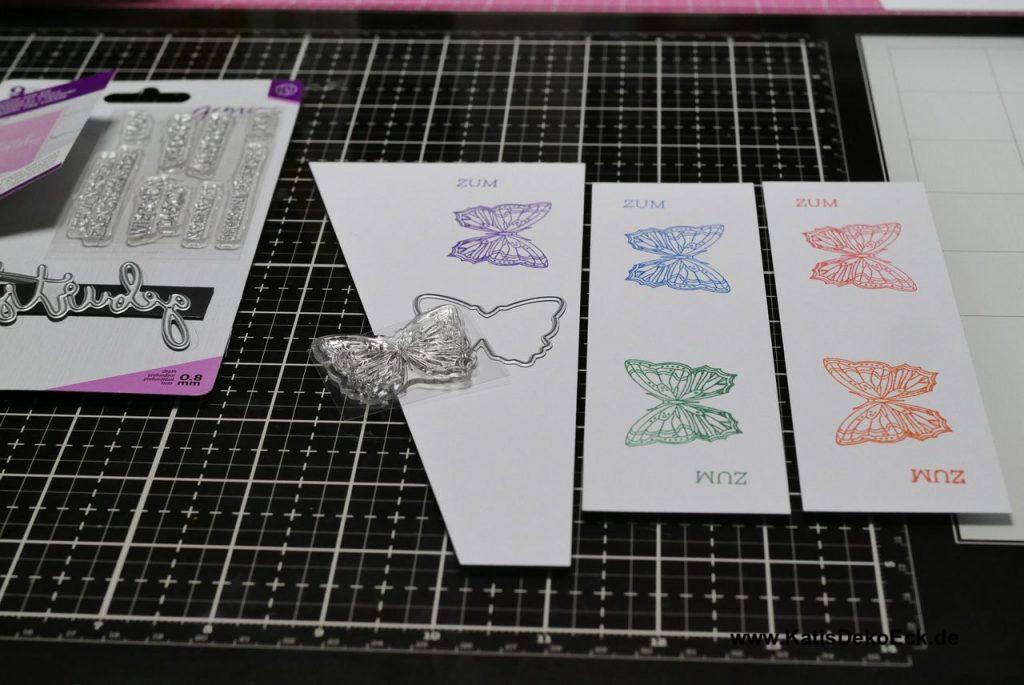
I don’t want to spend too much time on the sentiment and so I decided to reach for a word die. Mine comes in a set with some stamped words as well, and one of these I will use later.
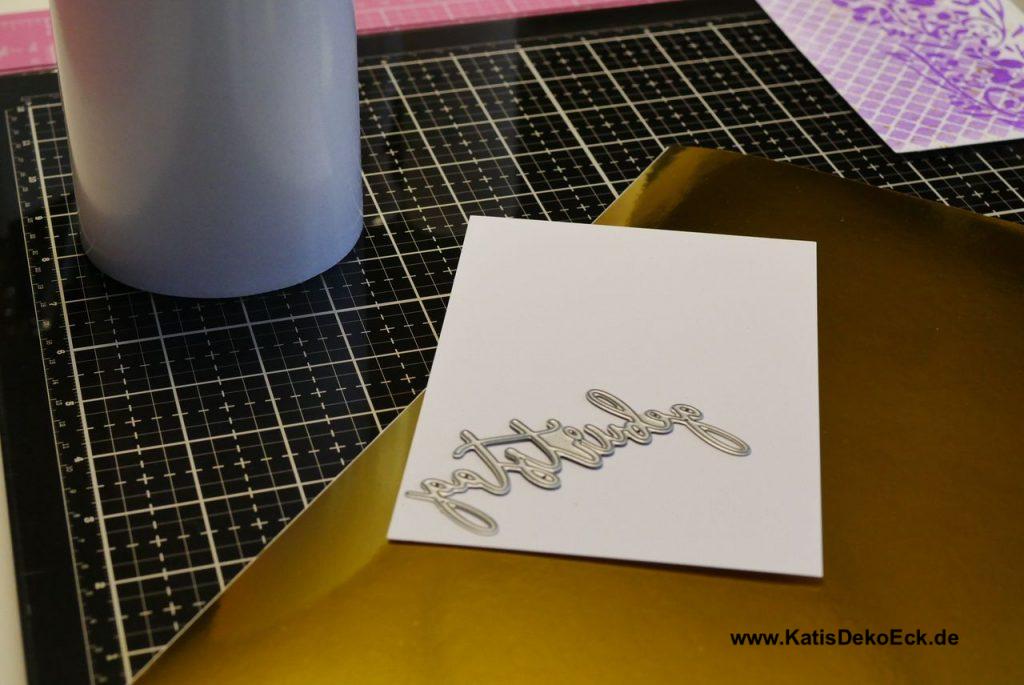
Once again we reach a point where personal preference decides, how you proceed. Every paper crafter in the world has their own idea about how to adhere fine thin diecut pieces to a card, such as this sentiment. Some use liquid glue with a very fine tip, others prefer spray adhesive.
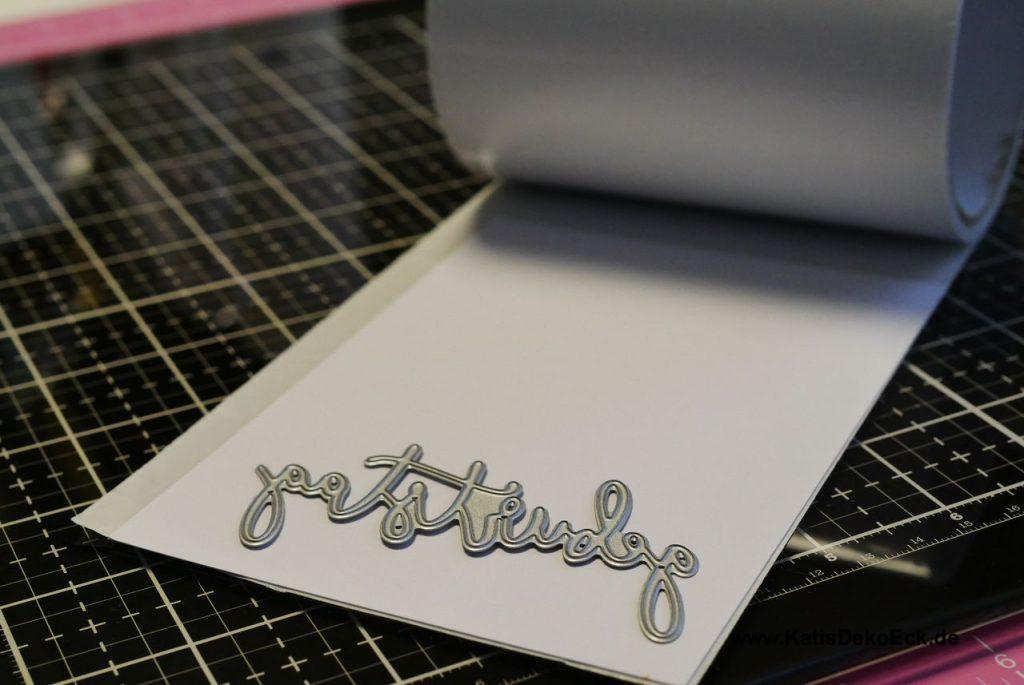
I, for my part, I am a huge fan of doublesided adhesive tape. Always … For everything… Like here. In cases like this, I take the paper I want to cut from, and adhere a piece of doublesided tape on the back of it that’s as small or large as my die (in this case approx 10 cm). I do that before diecutting and then use my diecutting machine. Do not worry, the machines usually cut easily right through it. After rolling it through my diecutting machine, the complete back of my diecut piece has adhesive on the back, like a sticker. Supereasy and super not-messy. That’s how I like my crafting:
.
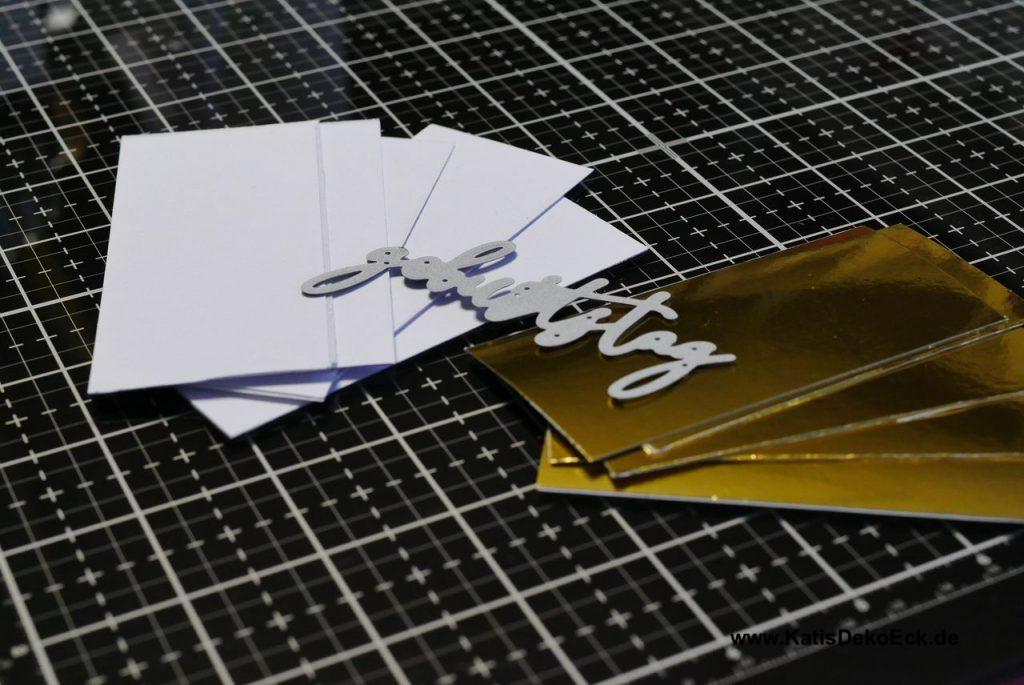
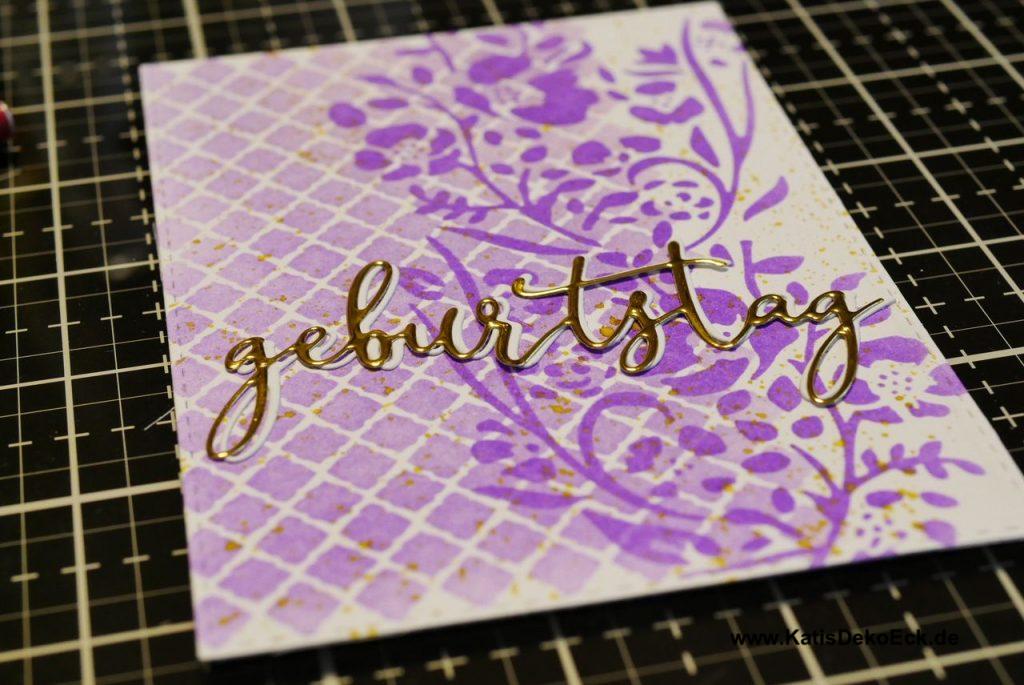
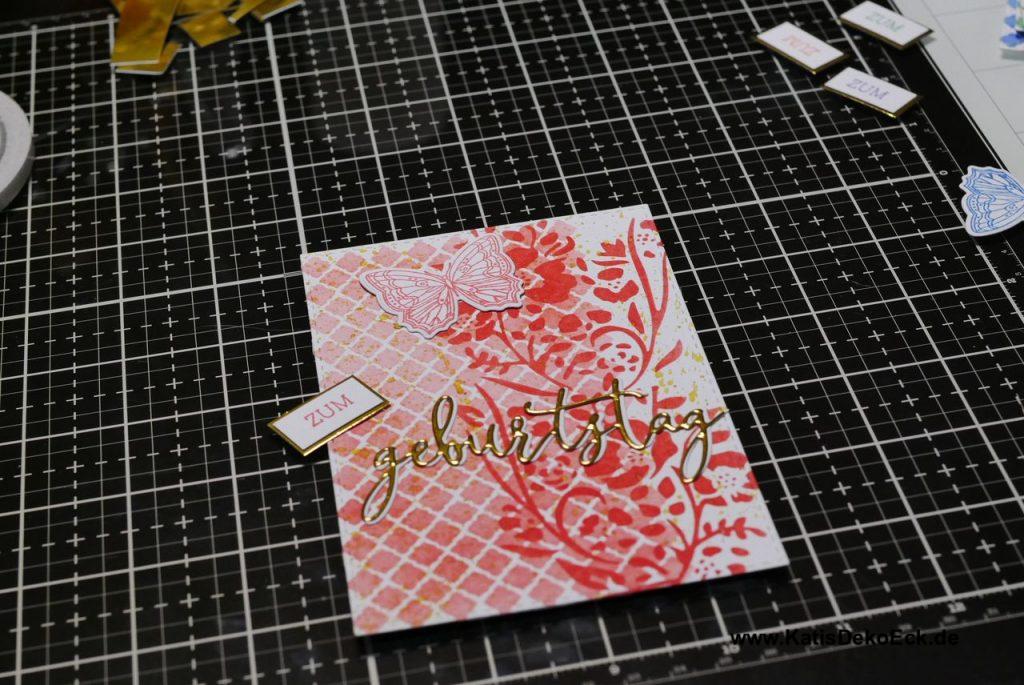
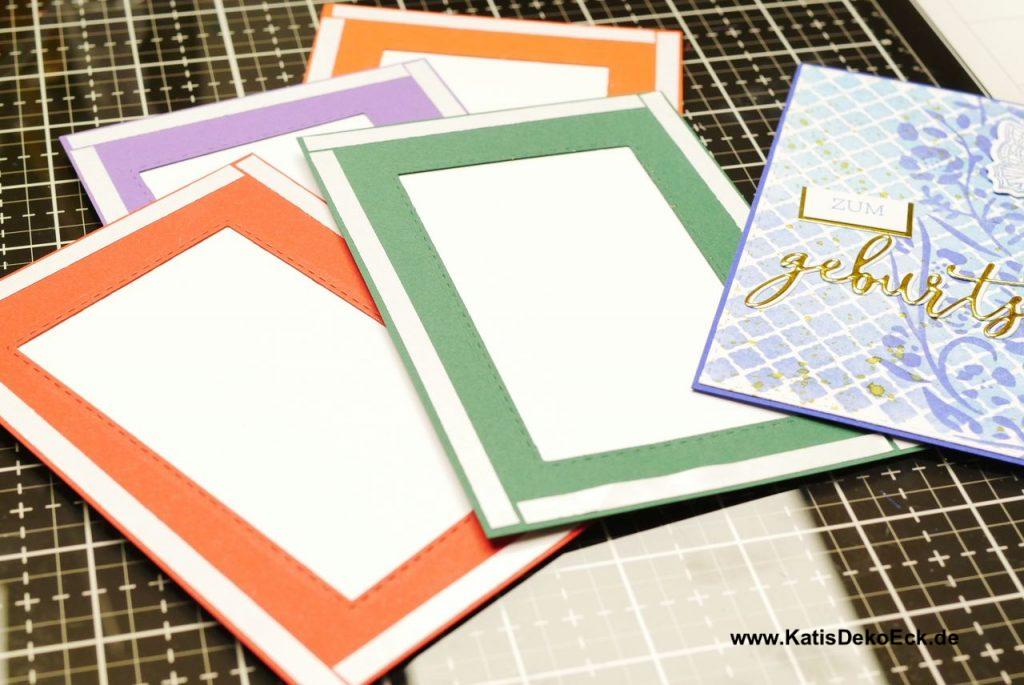
I want my sentiment to stand out from the background, so I decided to cut it twice, once in white and one in golden and top them up a bit offset. This makes it look more three-dimensional:
More Sentiment, please!
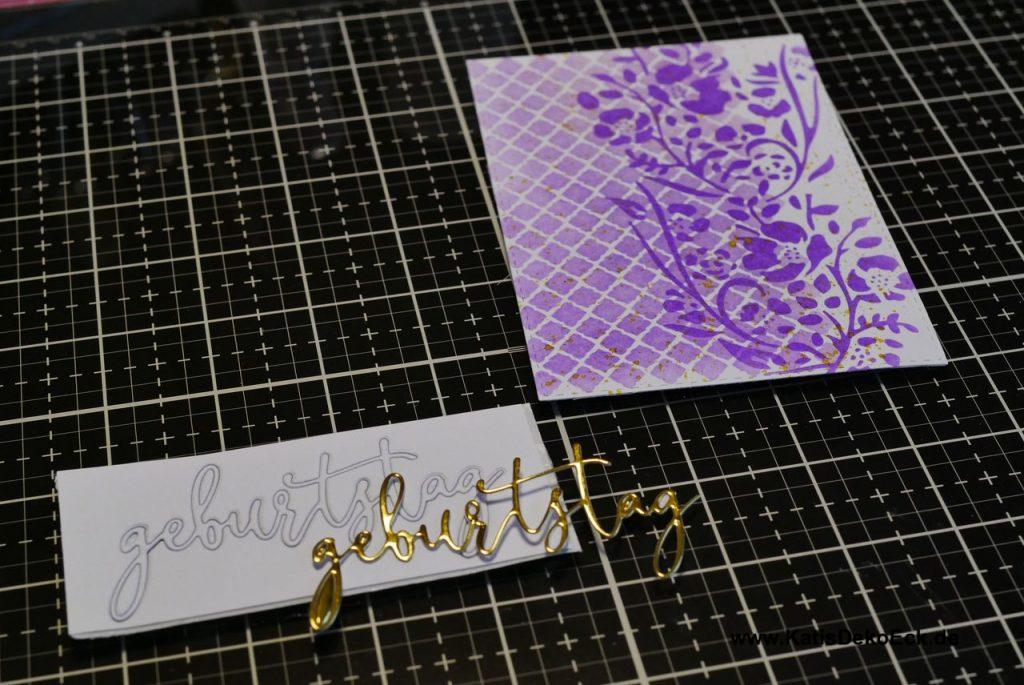
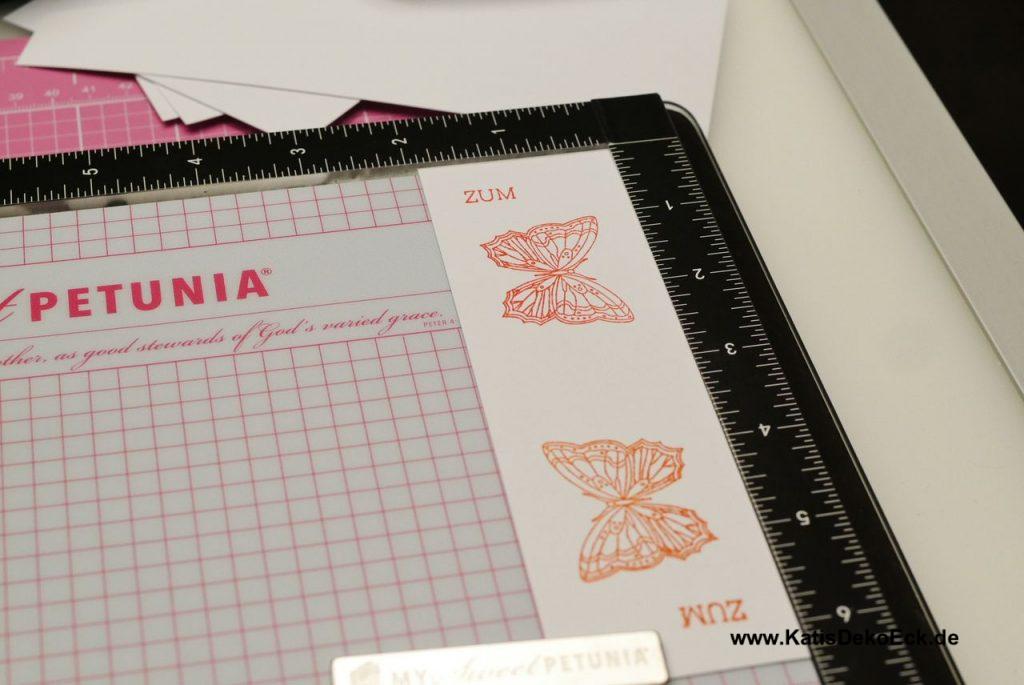
Right, just a „birthday“ doesnt say enough, it needs the German equivalent to „Happy“. Which is „Zum“ / “ On your“ . And luckily exactly this is one of the stamps belonging to the die. But I want more. This card with the flowery motif, for me it also needs a butterfly.
Well: lets choose colors to stamp with:
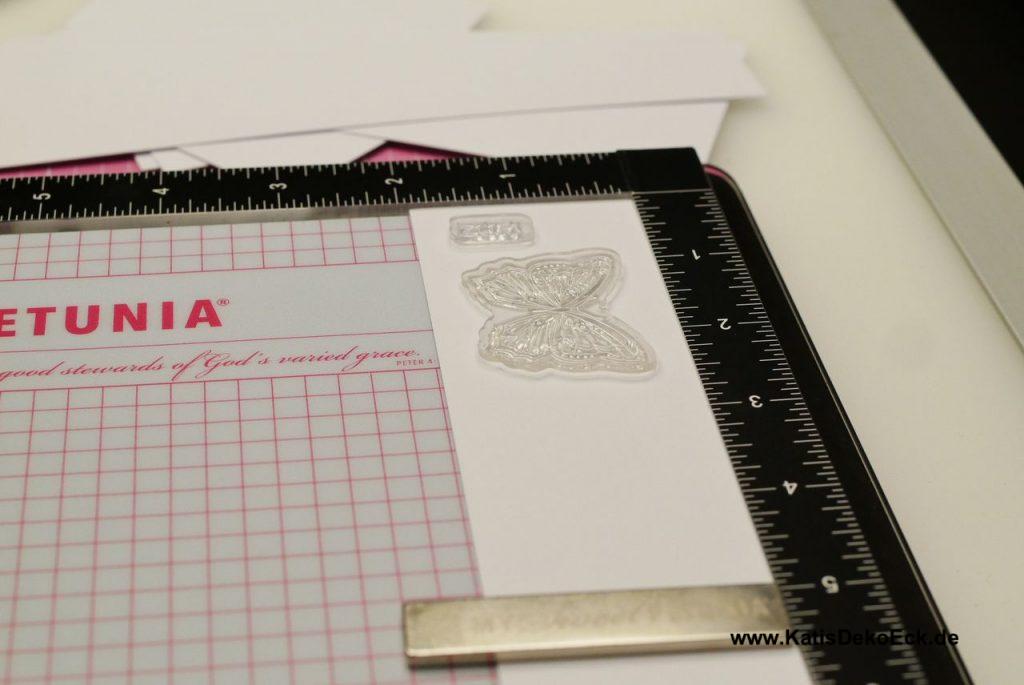
My butterfly stamp was part of the 2020 Crafter’s Companion* advent calendar and it also comes with the coordinating die. That makes it perfect for my cards today.
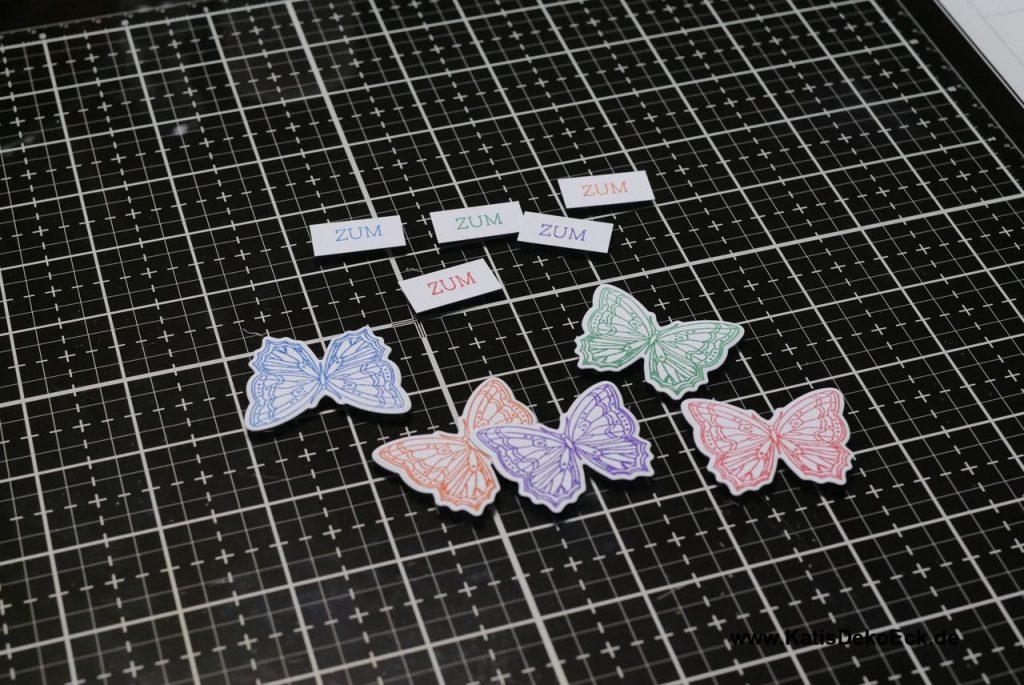
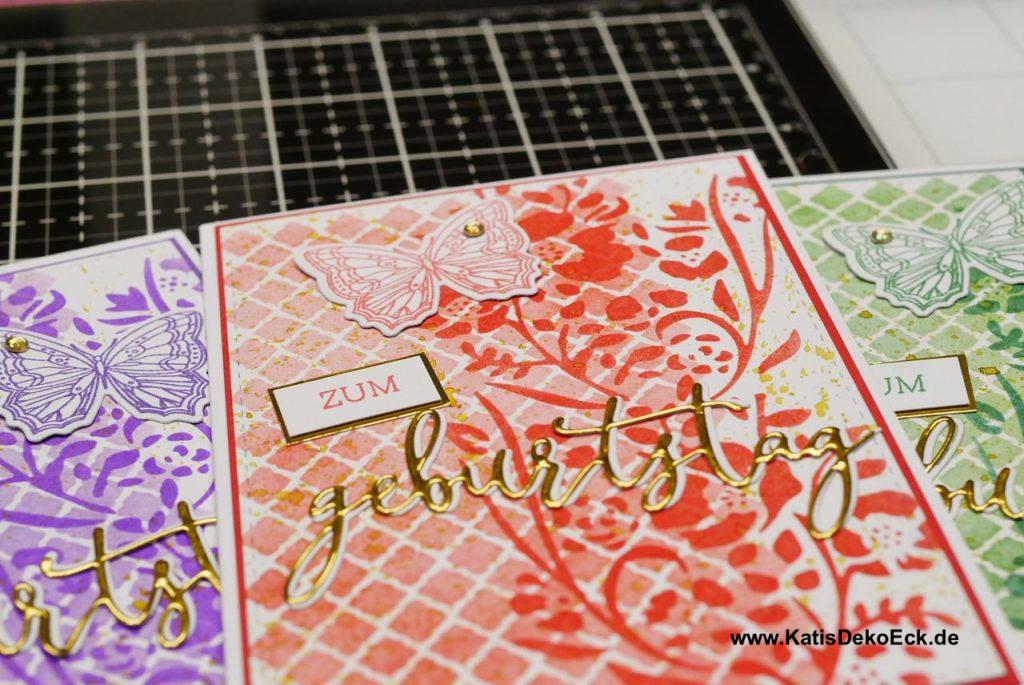
Let’s do it: align stamp and sentiment in the stamping tool and stamp your heart out in all these beautiful colors while saving time, because once aligned you can stamp as often as you want:
.
So I decide spontaneously to matt the sentiment with another layer of gold to make it really stand out. And oh, I like the result:
Are we done, yet? … No…
Next I adhere all butterflies and sentiment pieces on my backgrounds, but the finished card somehow doesn’t really look complete…
Matting, my secred weapon when a project needs even more color…
This is the knack I reach for whenever I feel like a card and the card base „flow“ into each other more than I like. I reach for a piece of colored cardstock and matt it. And, as an avowed fan of waste-not, I usually cut a piece of the matting layer that will not be visible to use on later projects. Nobody will see it, and I am prepared for the next time, I want to matt a sentiment or diecut a little piece:
.

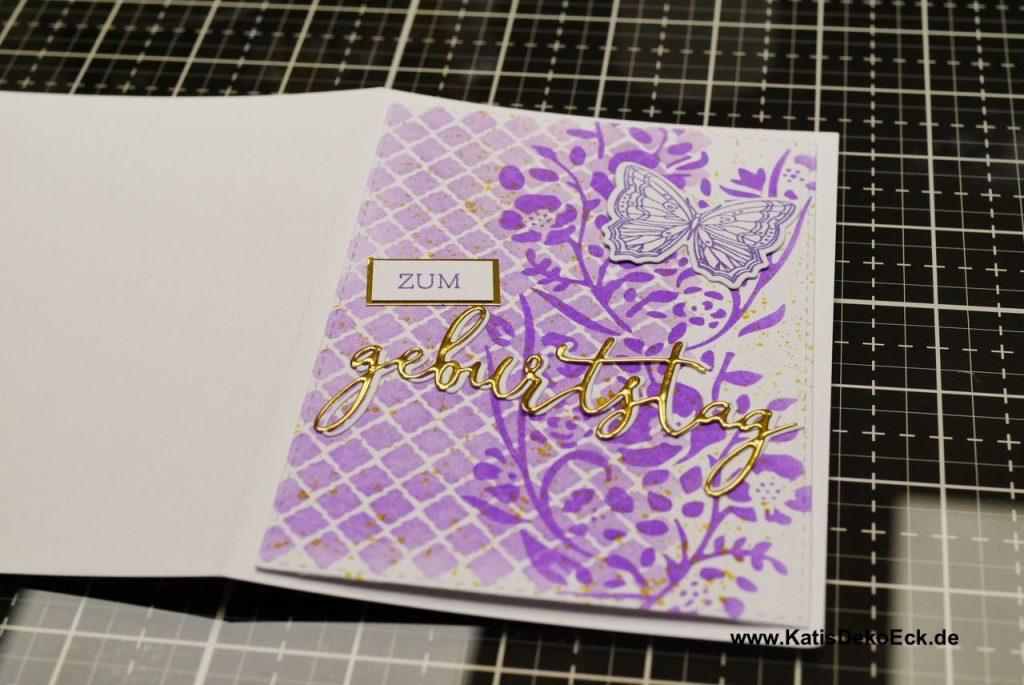
But now finally: Finished!
Yes, finished now, finally. That didn’t take too long, did it? I mean, it was less than 1.8 thousand words, not much to read…
I like my cards really well. I am even a bit proud of this design. And so I will offer these cards as a set in my ETSY shop. Honestly, I hope they sell quickly, so that I have a reason to make more of them…
That means for you: If you like these cards, but you don’t have time, mood or materials to re-create them, stop by my Etsy shop KatisDekoEck here for the listing to buy them. And just in case they are sold out already, but you want them, just drop me a message!
So, what’s next?
More frequently … and colorful … At least that’s my goal for 2021.
If you have a wish for a topic to cover, a technique that you saw me using on one of my projects (as always, you can see all my creations daily on Instagram) that you want me to explain or if you simply got a question that I might be able to answer (please don’t ask me to explain the theory of relativity), please comment here or send me a message. I would be delighted to make sure this page covers what you are interested in.
And the next thing I will do is: check out social media and hope, you get inspired by my tutorial. And if so, and you craft along with me, please tag @KatisDekoEck, so that I can see it and enjoy your projects!
Stay Crafty!
* For fair disclosure:
I have the great honor to be part of the Crafter’s Companion designteam. I am not financially compensated for this nor are my post sponsored or directed/requested by the company. But I do receive certain products for free or with a discount. This does not influence my article. I use the Crafter’s Companion products whenever I think they are the right tool for the project I am working on and my opinion is solely mine. The result is what counts for me!
Deine Gedanken zu diesem Thema