Is that necessary? A calibration of the ScanNCut? Why and How?
Ok, it’s me talking. As always I turn out to be very picky, full of perfectionism and never satisfied with what I got. And therefore it is time to play again- not with my machine, but on it…
Hier geht’s zur deutschen Version dieses Artikels.
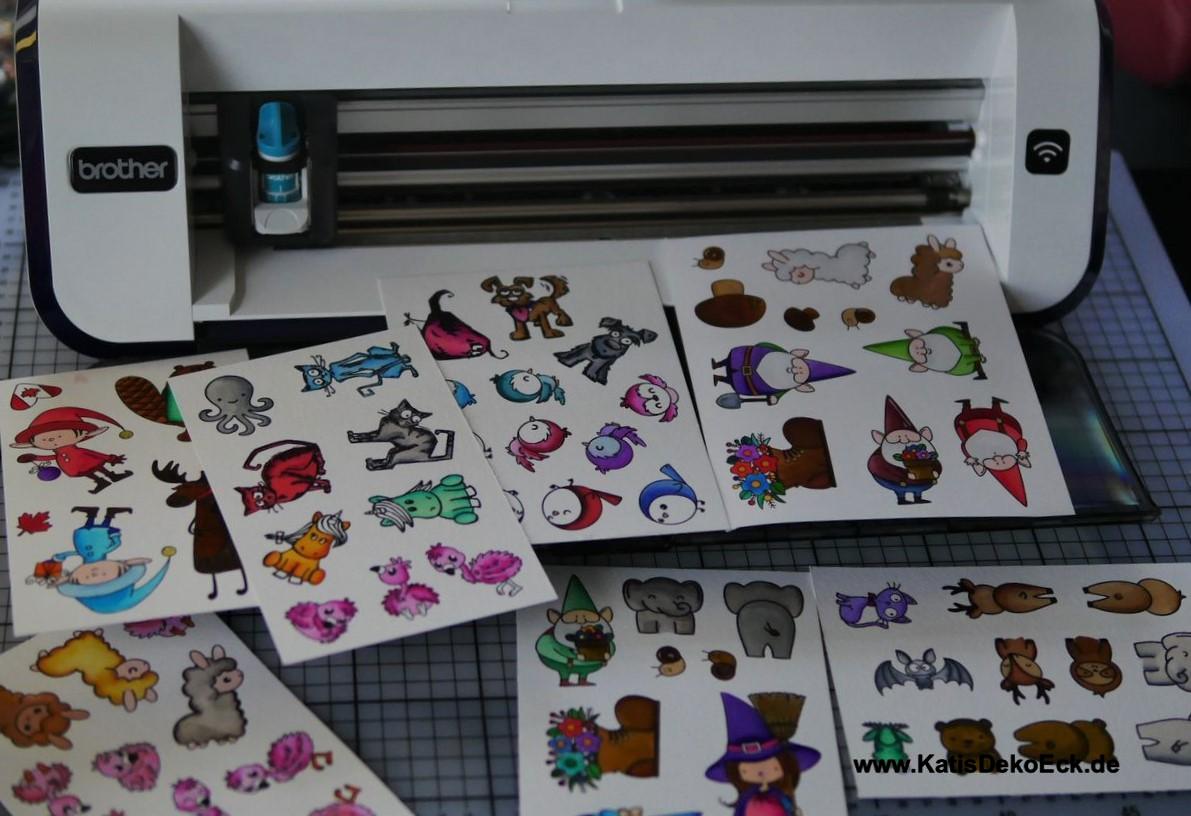
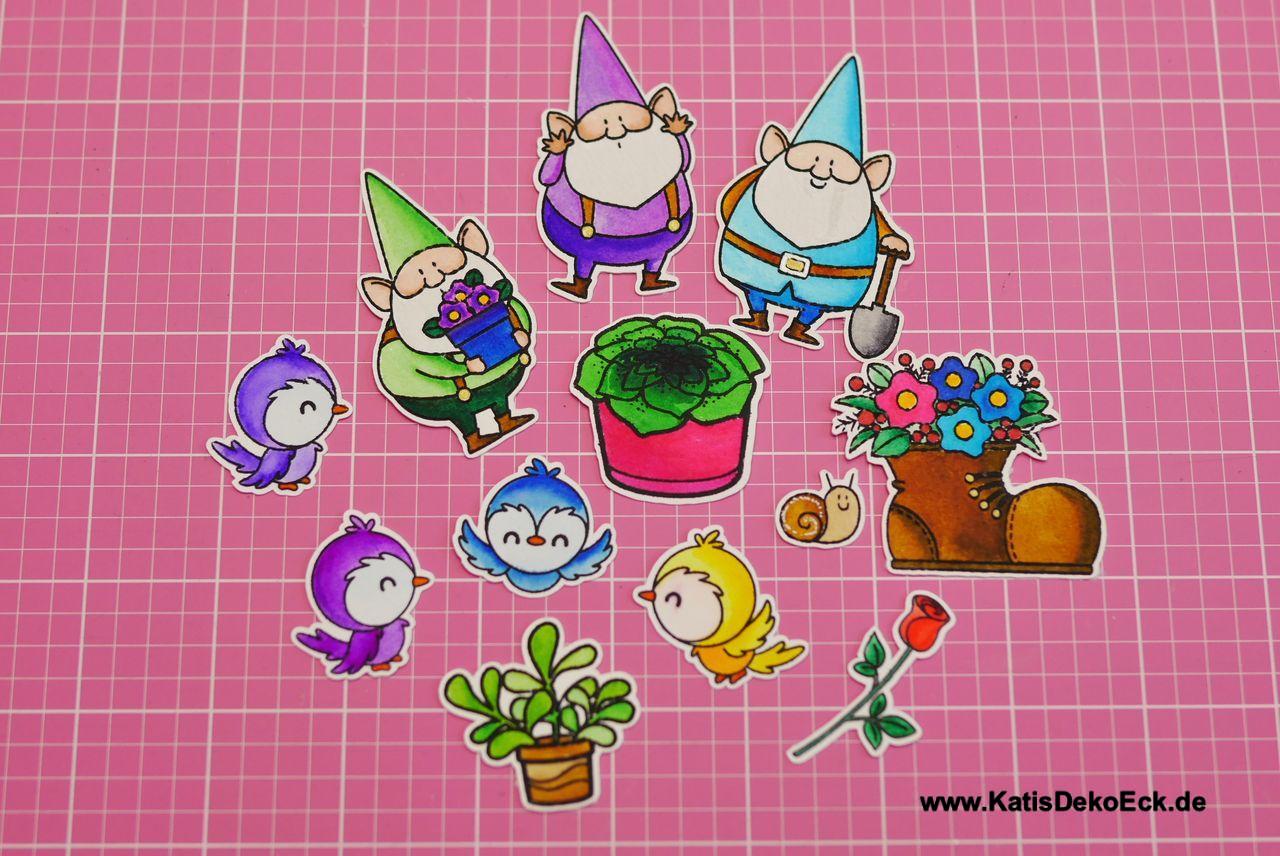
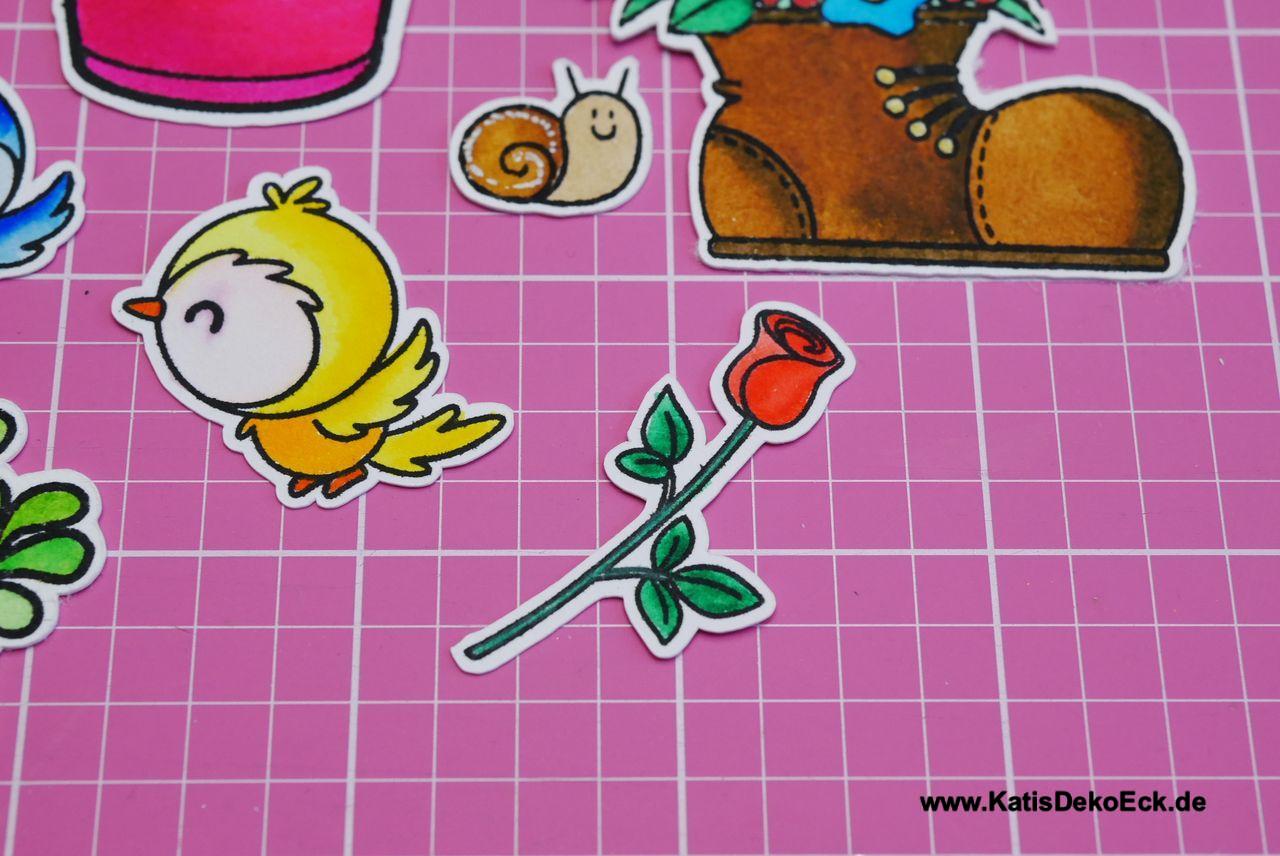
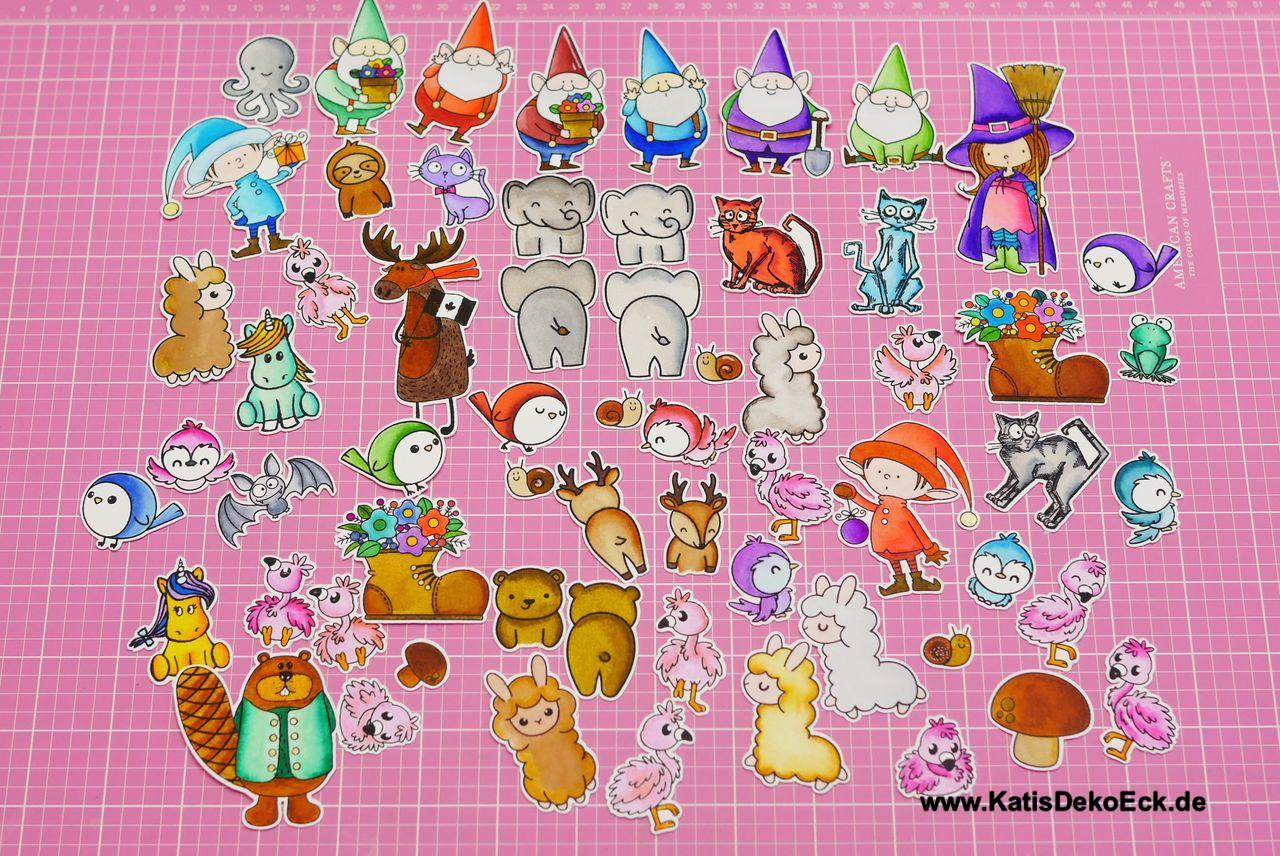
Actually, I expected it to be easy going and nice: cutting stamped and colored images with my ScanNCut (how to do that is shown here) and have fun while doing it. And ultimately the result was supposed to look like that:
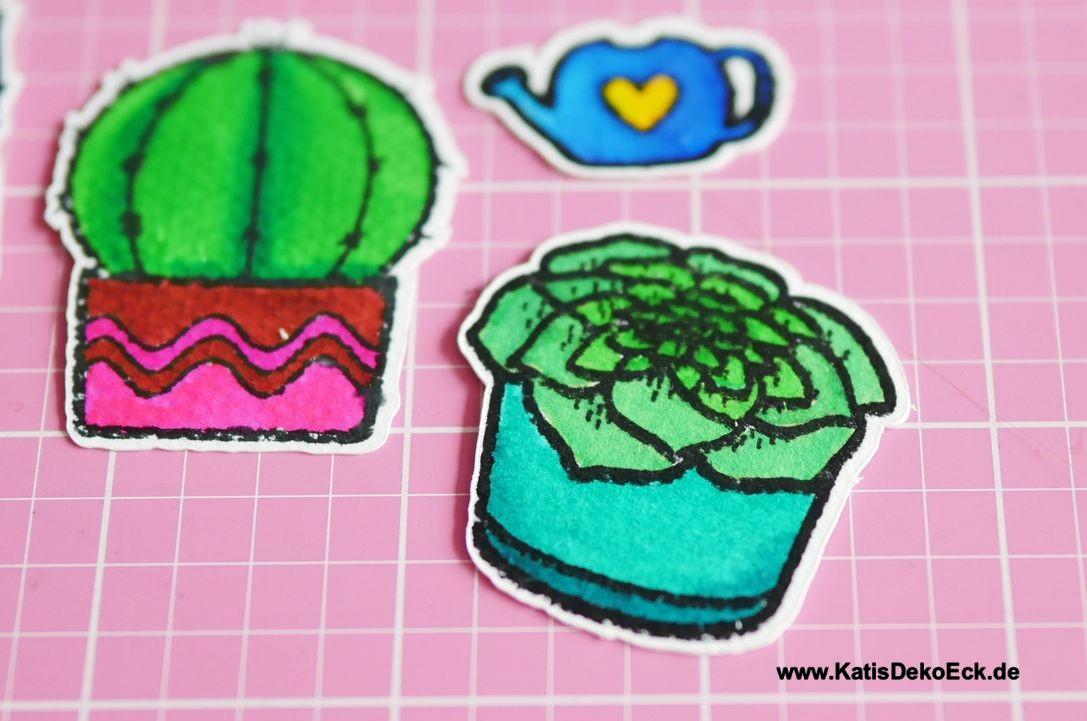
But somehow it was not meant to happen today. Every cut image looked a bit … let’s say off, Honestly, who wants to have an uneven white frame around her images?
A quick research brought a veritable explanation :
Time for a calibration of the ScanNCut!
Every once in a while the machine is in need of some maintenance and/or calibration. I will write about the maintenance some other time, because such a short time after getting my test machine* this is not due yet.
But, as already said, I am picky and I wanted my images to have a perfect frame and so I dared to try the calibration of the ScanNCut. The exact tutorial of the producing company can be found in the user manual on CD, but I want to guide you through the process step by step and in color here:
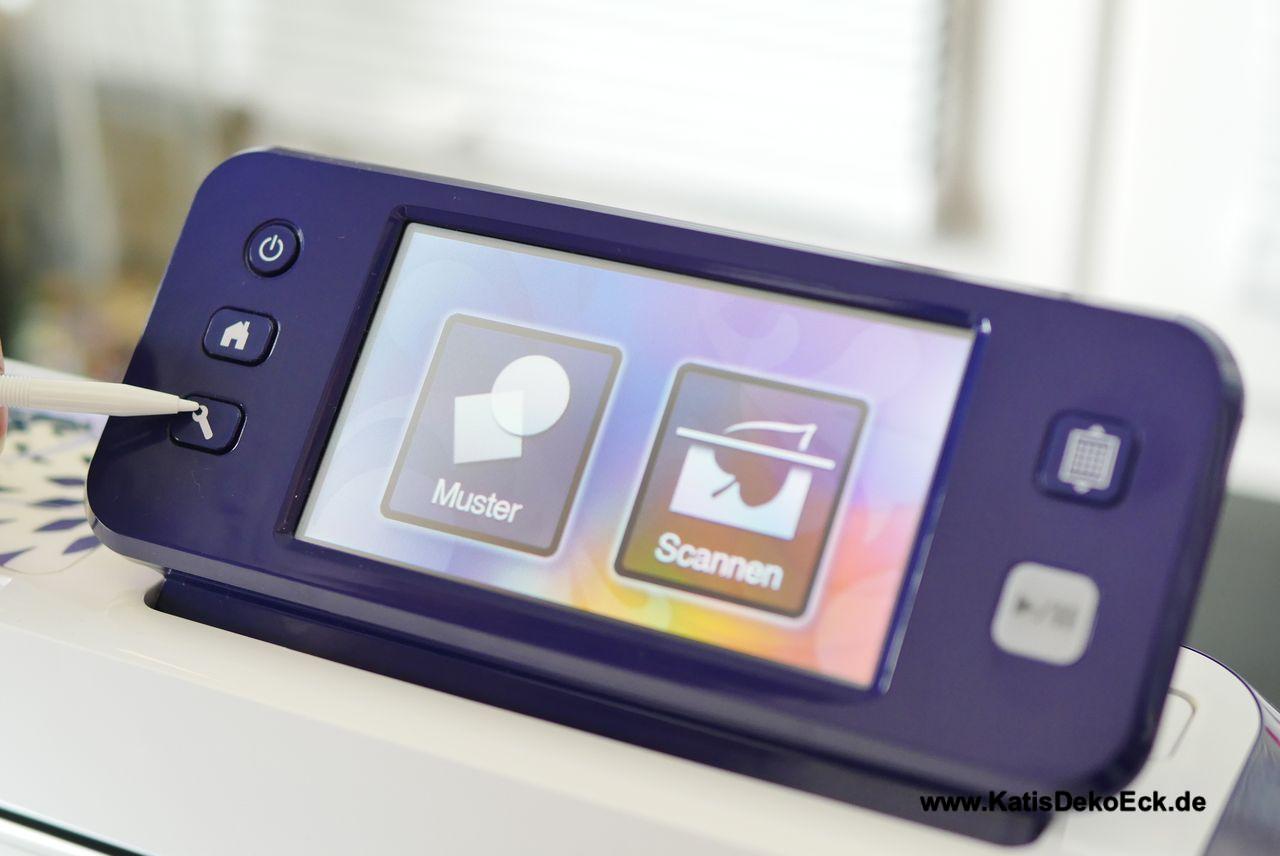
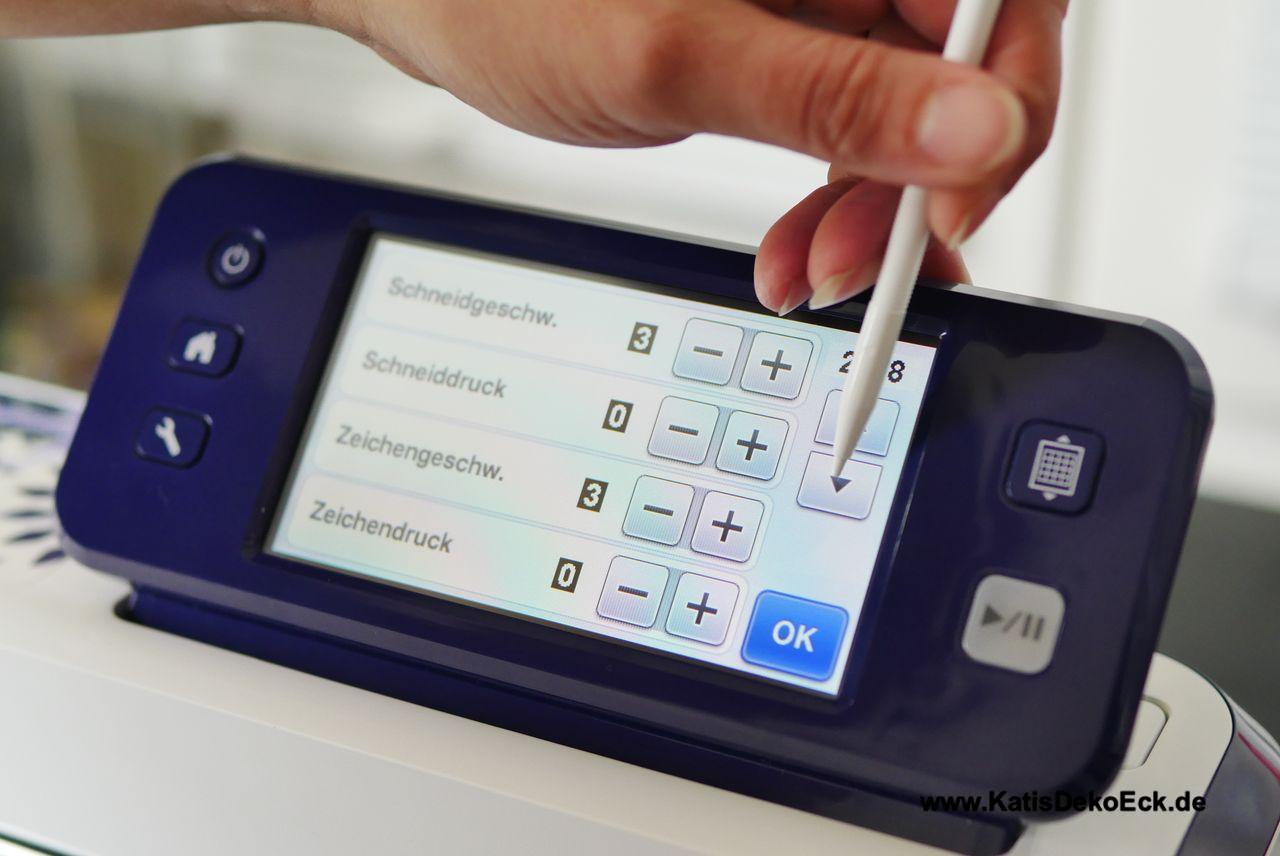

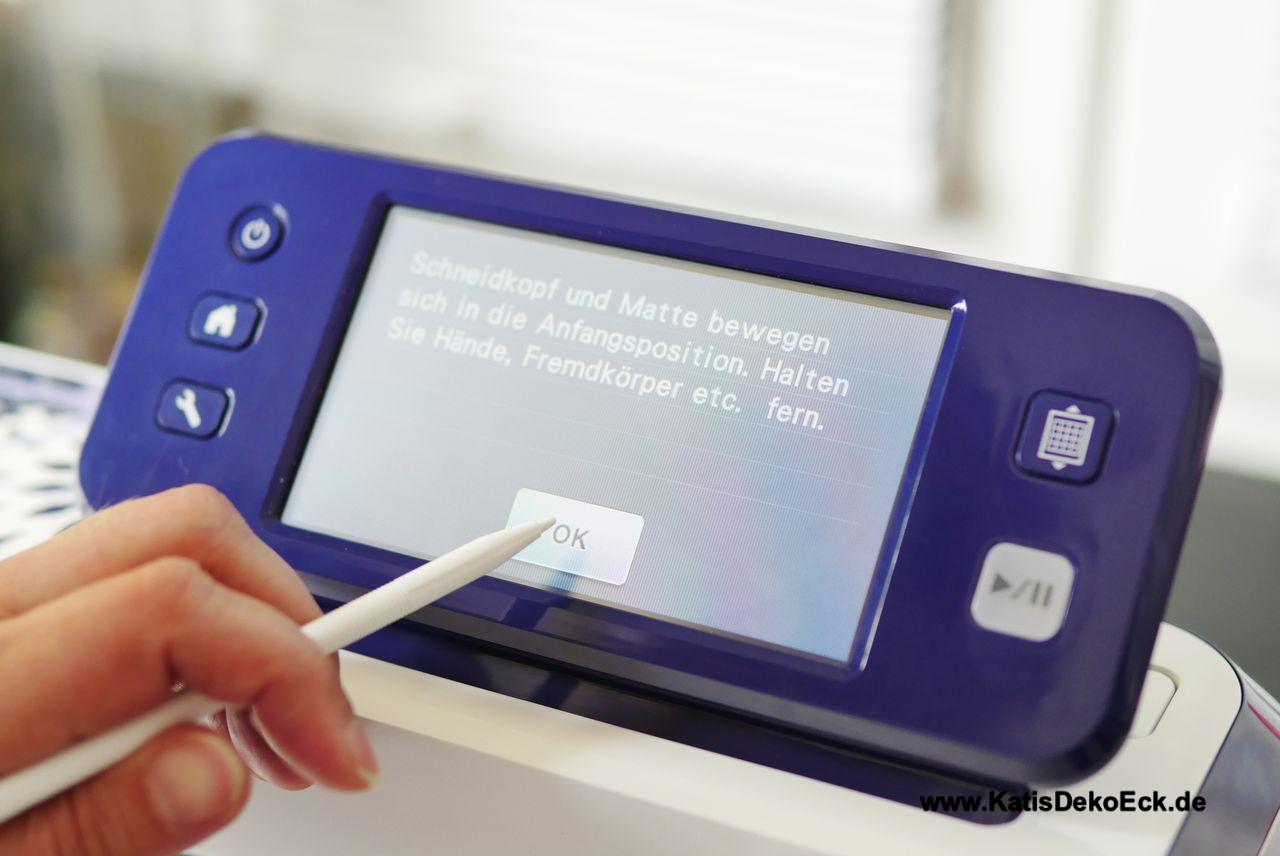
You know the display of the machine already. Navigating to the right spot in the program is really easy: Options (easily recognised by the tools symbol), then go to page 4 and chose „Options for Scan/cut position“). The cutting knife will move to it’s basic position right now.
One hint in advance: for the calibration of the ScanNCut you will need a white sheet of paper, so prepare the debth of the cutting knife already for this sort of paper!
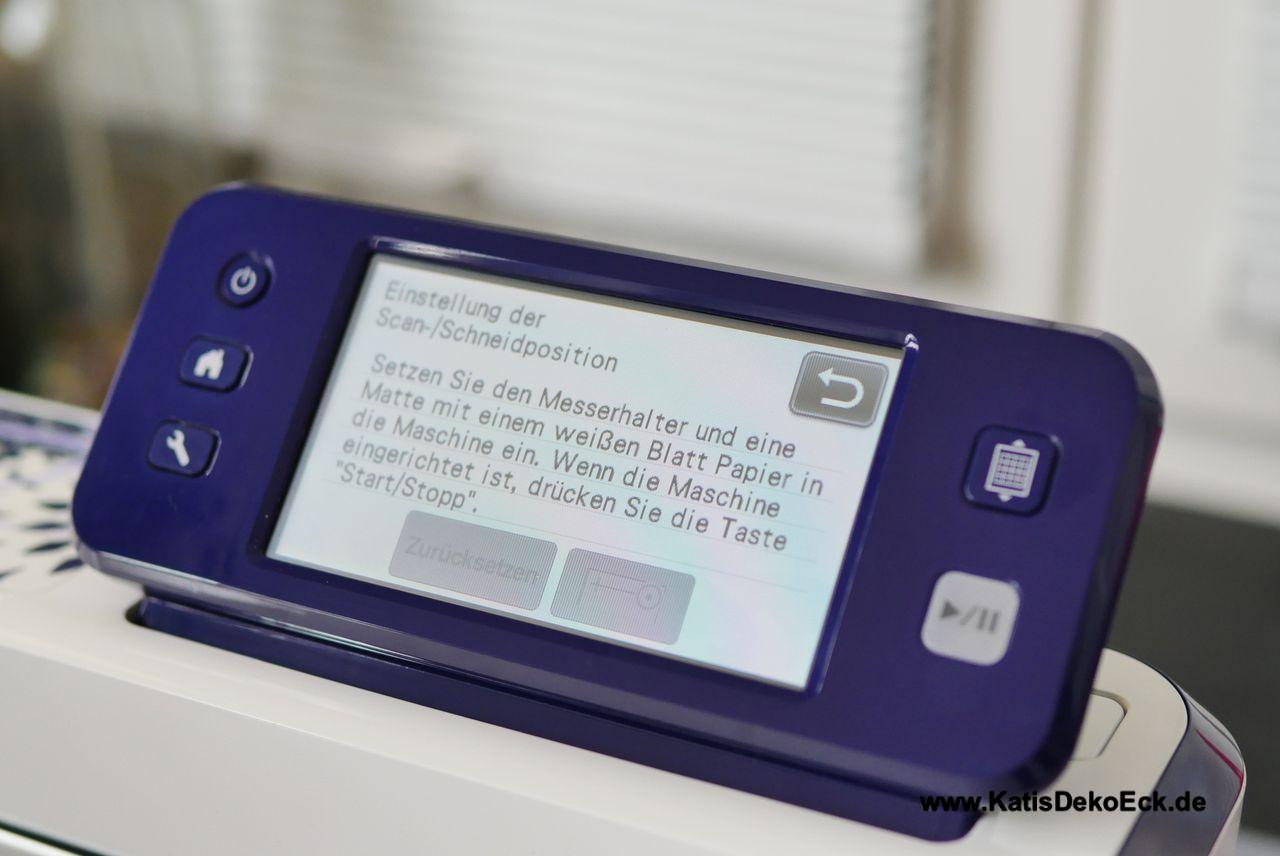
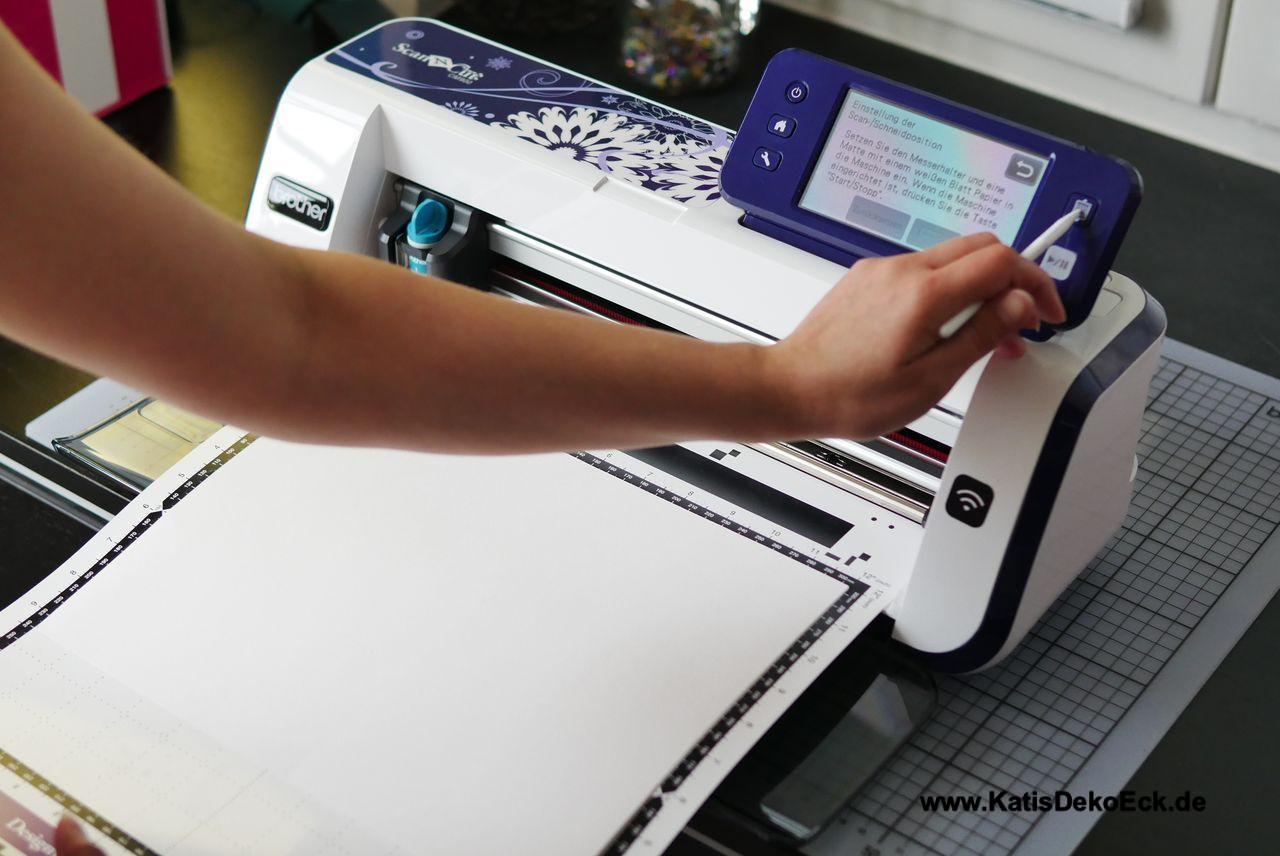
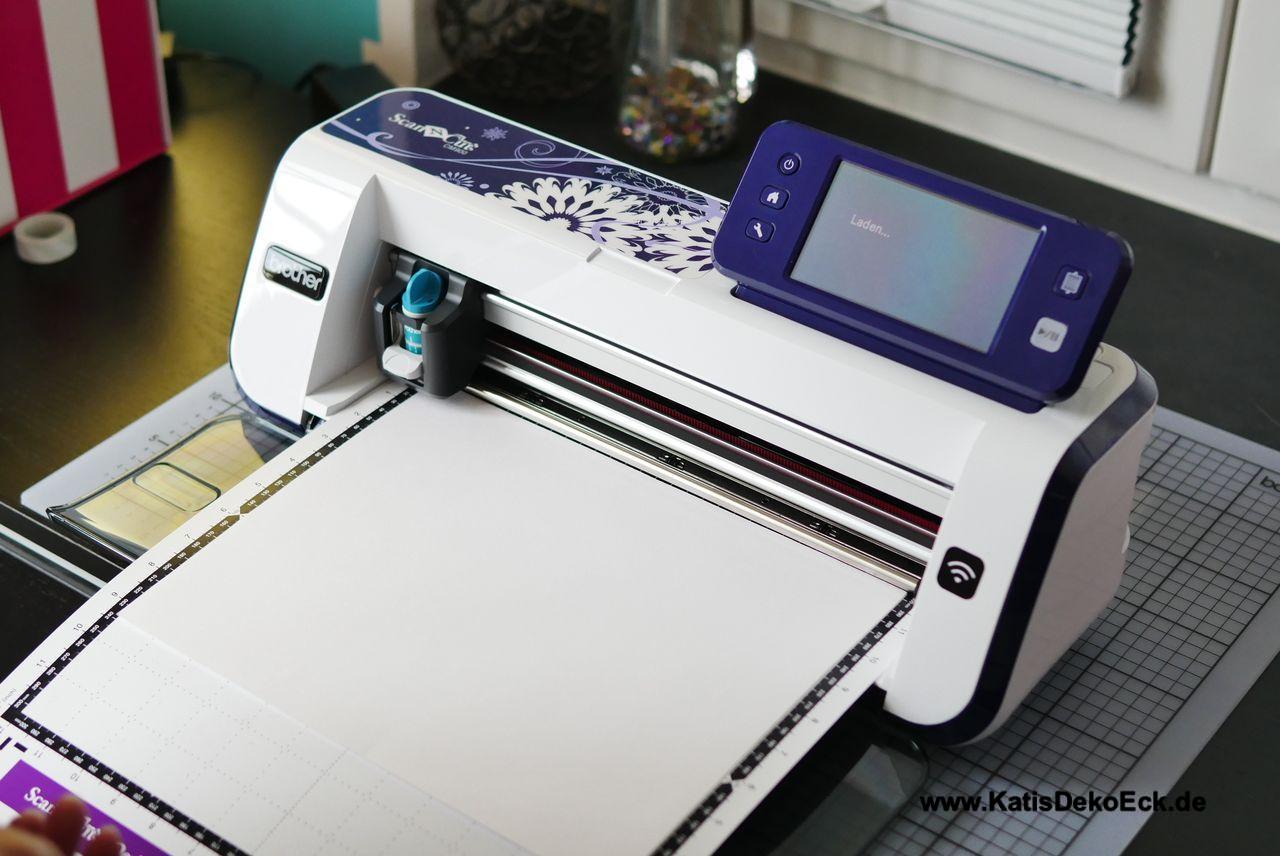

Well, now, take the said white paper, fasten it on your cutting mat and start the machine. It will now cut some trial-cuts on the paper to show, how it would cut under the current settings.
And this cut is what you want to correct by calibrating the ScanNCut.
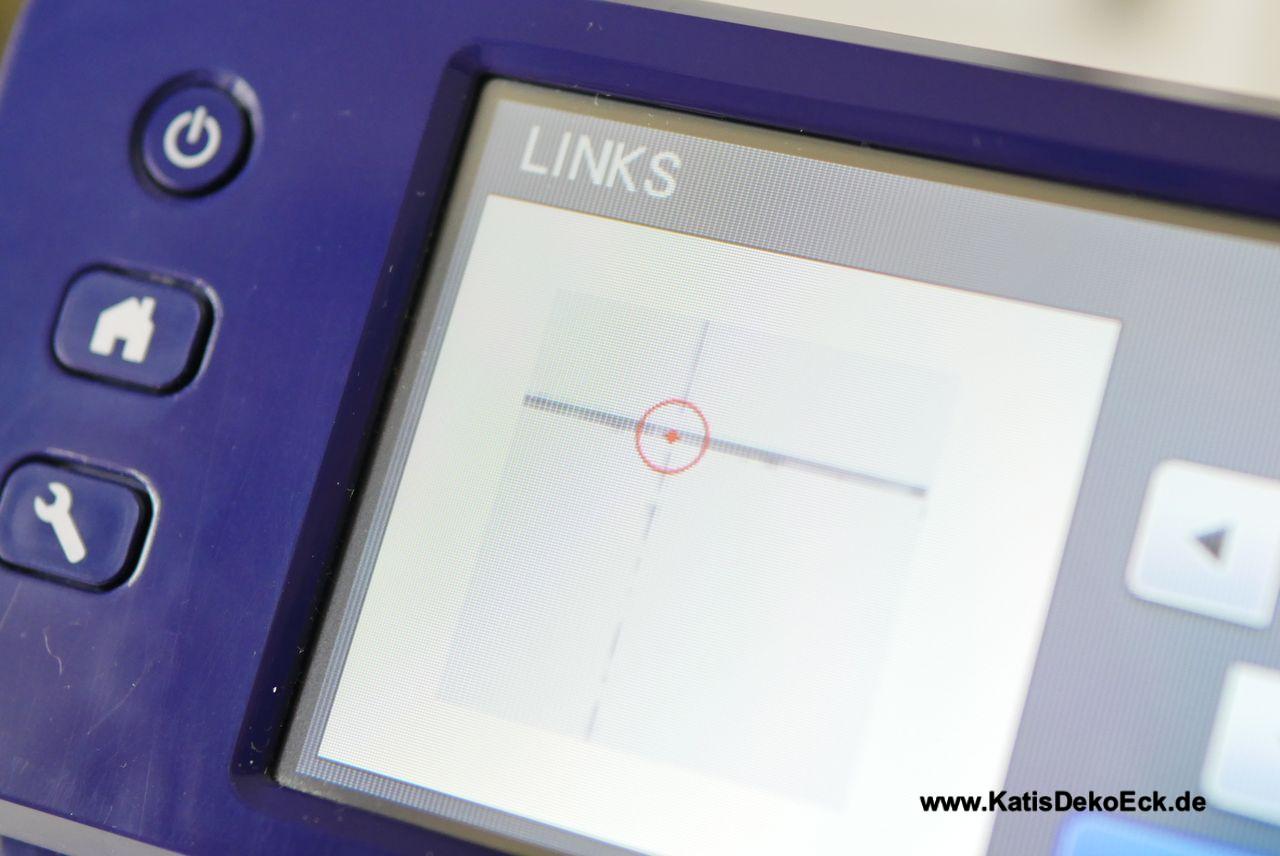
In the next step you can adjust the exact cutting line by moving the trial spot on my display using the navigation keys to match the exact spot where it should be:
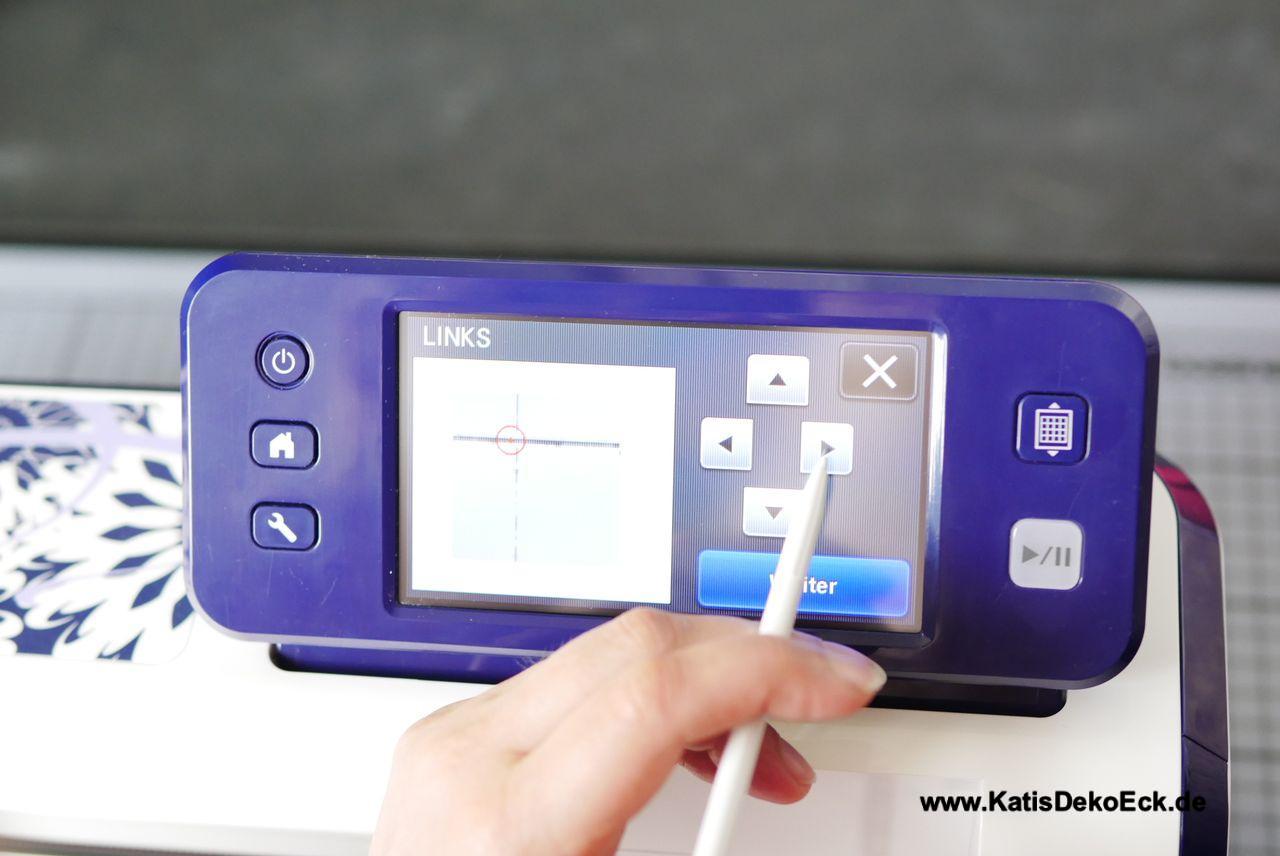
These adjustments can be done for the left as well as for the right side of the display:


Alas, and so the calibration of the ScanNCut is already done. Now: take a trial cut and if all is perfect, keep cutting happily ever after… Sort of!
So, that’s it?
Basically, yes. But maybe the calibration of the ScanNCut cutting position is not perfect yet and you are not satisfied with the result of your trial cut. If that’s the case, you can still adjust the exact position of the cutting line manually. For that keep opening the cutting options and adjust the little dot step by step until you find the perfect result you are looking for. This might be bit of cumbersome fiddling, but in the end you will find your ideal cutting settings!
So, what’s next?
Finally what I am here for: stamping, coloring, cutting and creating something nice. .
Wow, that will become a lot of cards and mini albums, I am looking forward to finishing them! The results will be found – as always – on my Instagram acount under @KatisDekoEck.
* For fair consideration: this machine has been provided to me for testing purposes without payment for a limited amount of time by the company nähPark Diermeier. I will not get any money for this test and I will write down my honest and personal opinion and experiences. This review has neither been approved not verified or influenced by the company nähPark in any way.
Deine Gedanken zu diesem Thema