Für eine deutsche Version des Artikels, klickt hier
Part 1 of this tutorial can be found here:
In my latest article I showed you how to create the basic of this photo album – the cover pages as well as the pages for the inside. Today everything is about the interior and decoration.
First I decorated the cover pages inside and outside with the deco-pages I had cut for them. Not much choosing here, because they had their extra size.
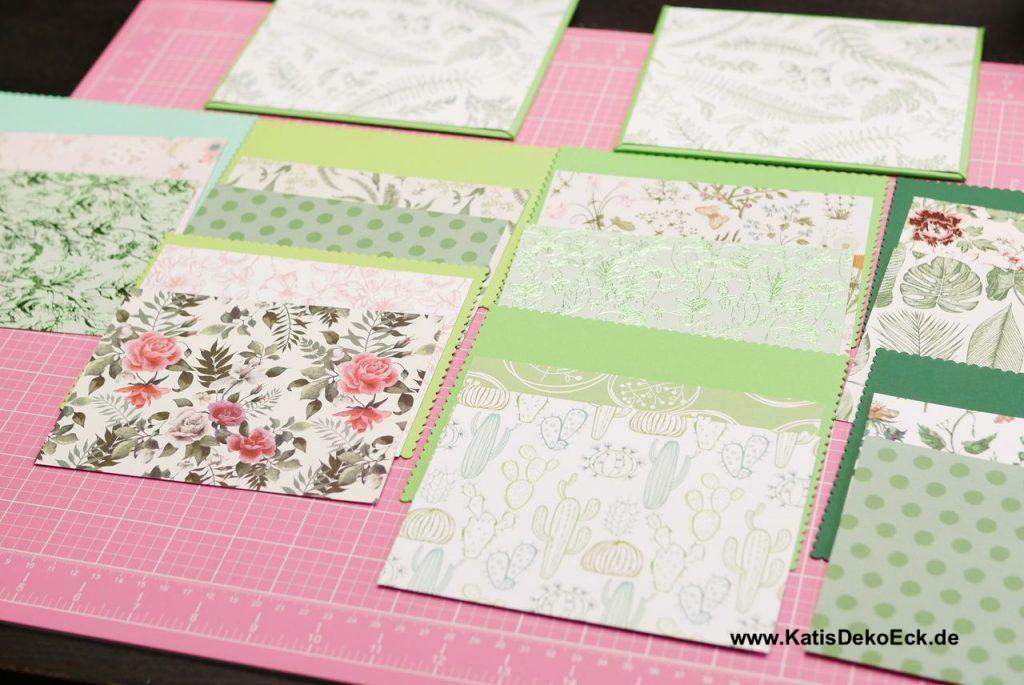
Next I selected the matching deco pages for all inner album pages. Maybe you remember I had chosen to make life more complicated by cutting them from different shades of green. So, all needs to be sorted with love and dedication:
Let’s get started in earnest!
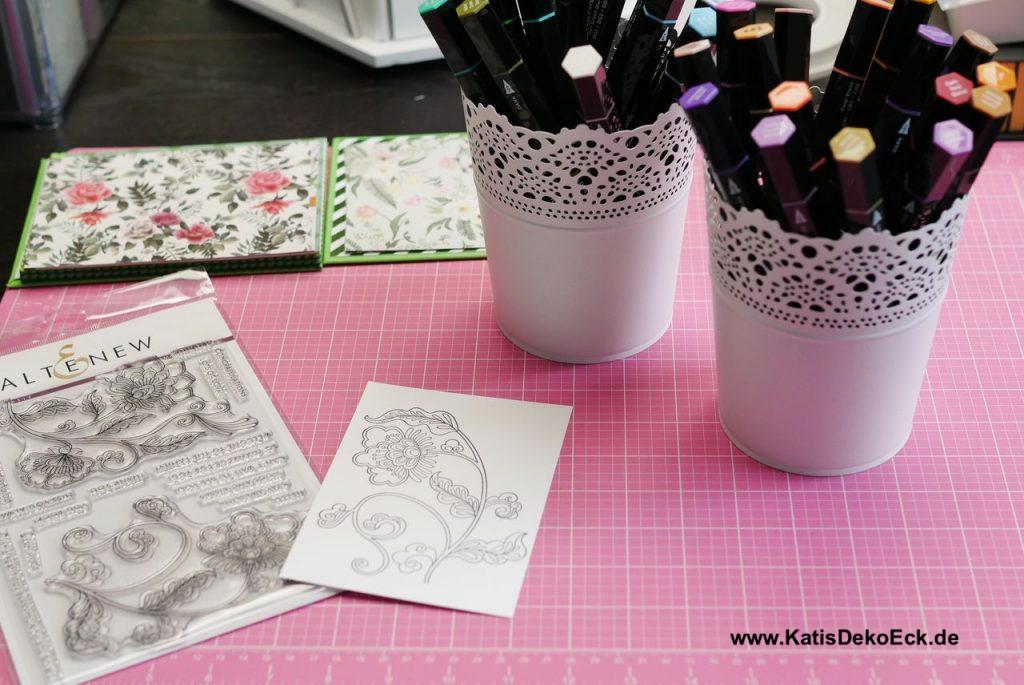
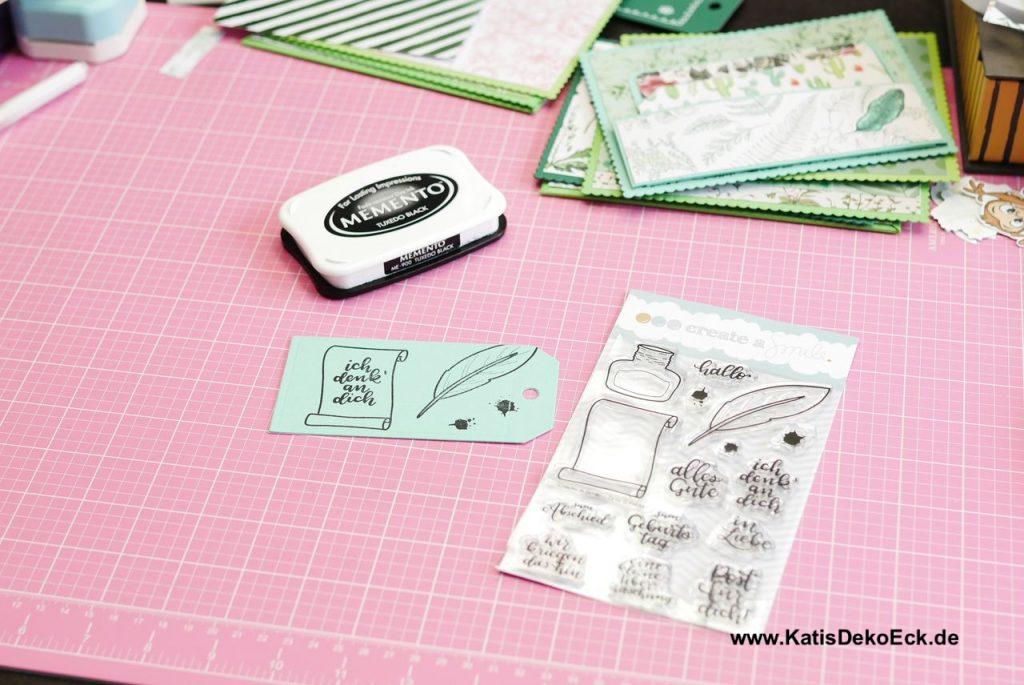
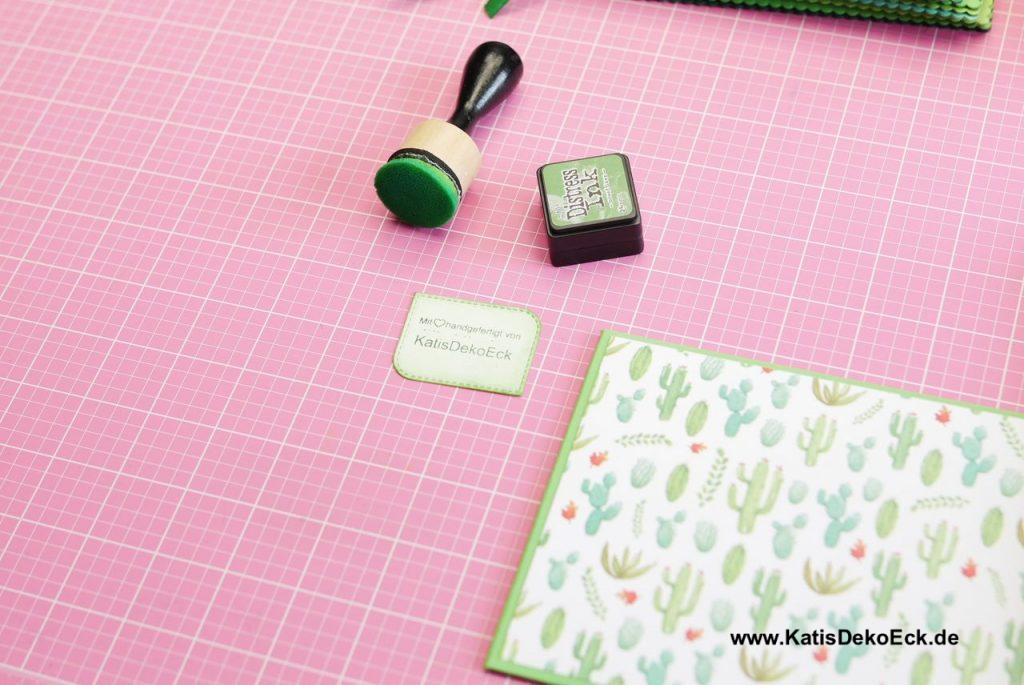
About time I get to the point where my album becomes really unique and special. For that I chose to decorate a page with a stamped and hand colored flower motif. If that doesn’t give a real personal touch, I don’t know what could…

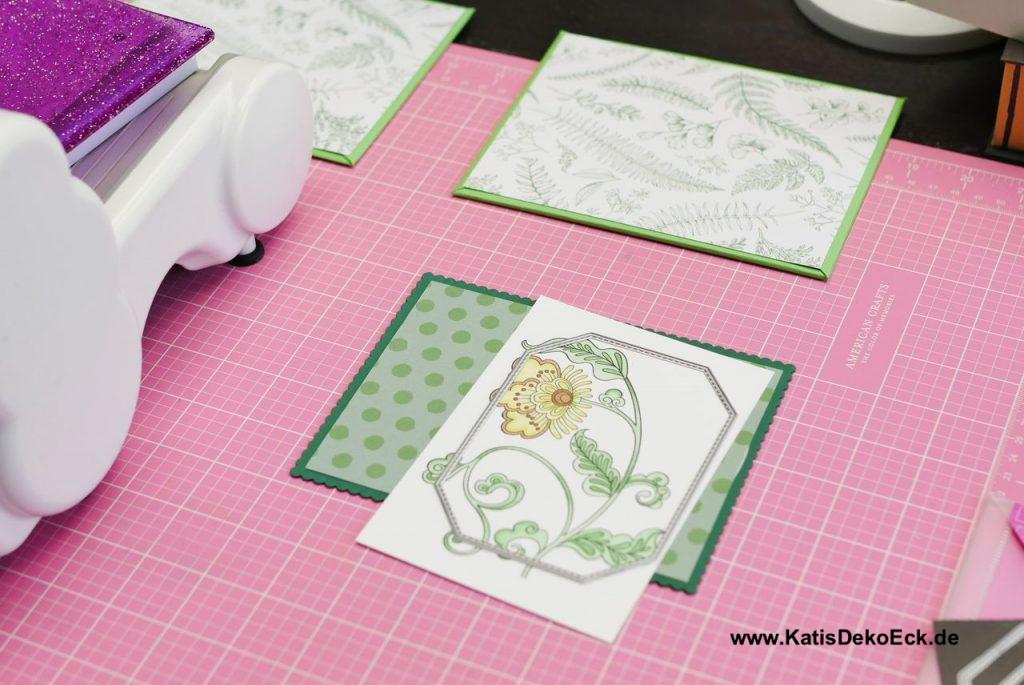
This page is done! Onto the next.
Page for page, in the end I will have a complete album!
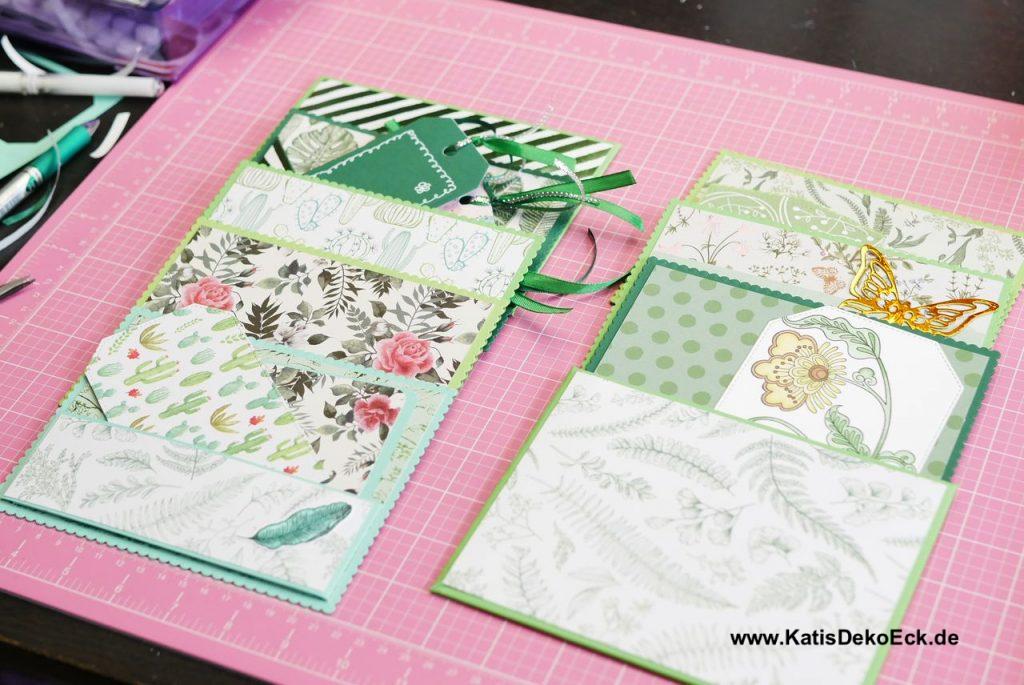
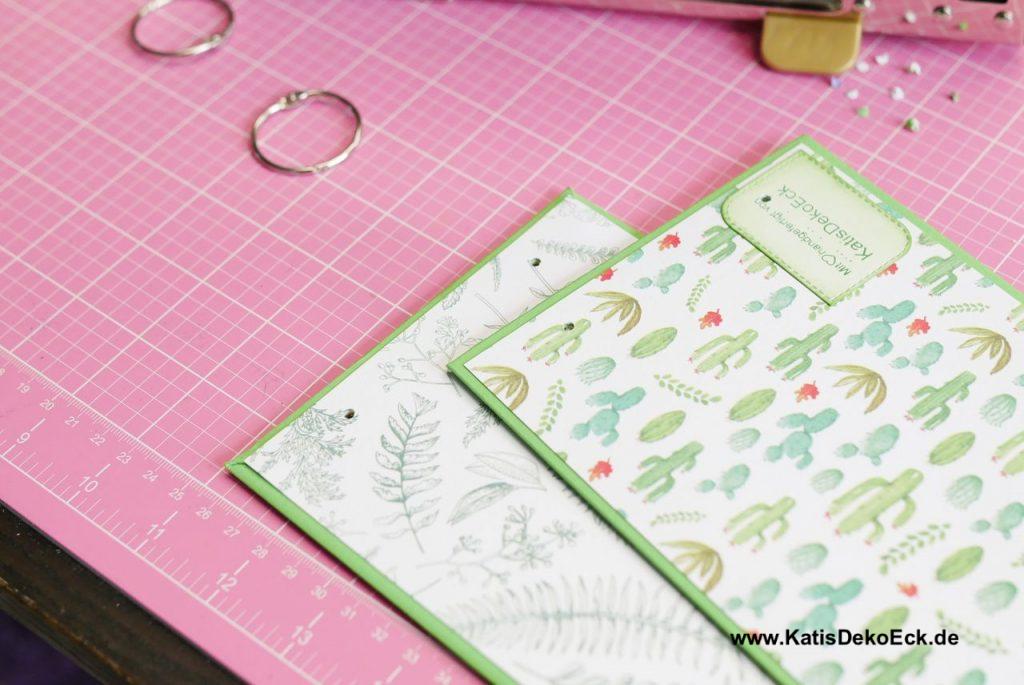
For the decoration of my ring bound photo album I will go easy on some of the pages and just uplift them with some decorative paper. For others, I will make tabs to hold pictures and ephemera, like this:
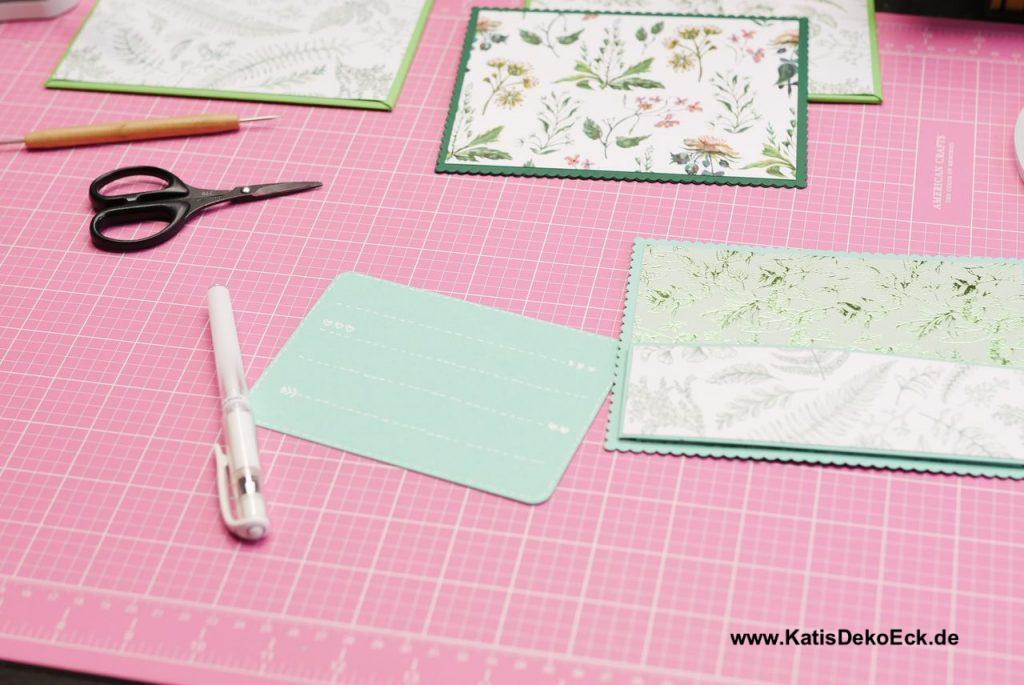
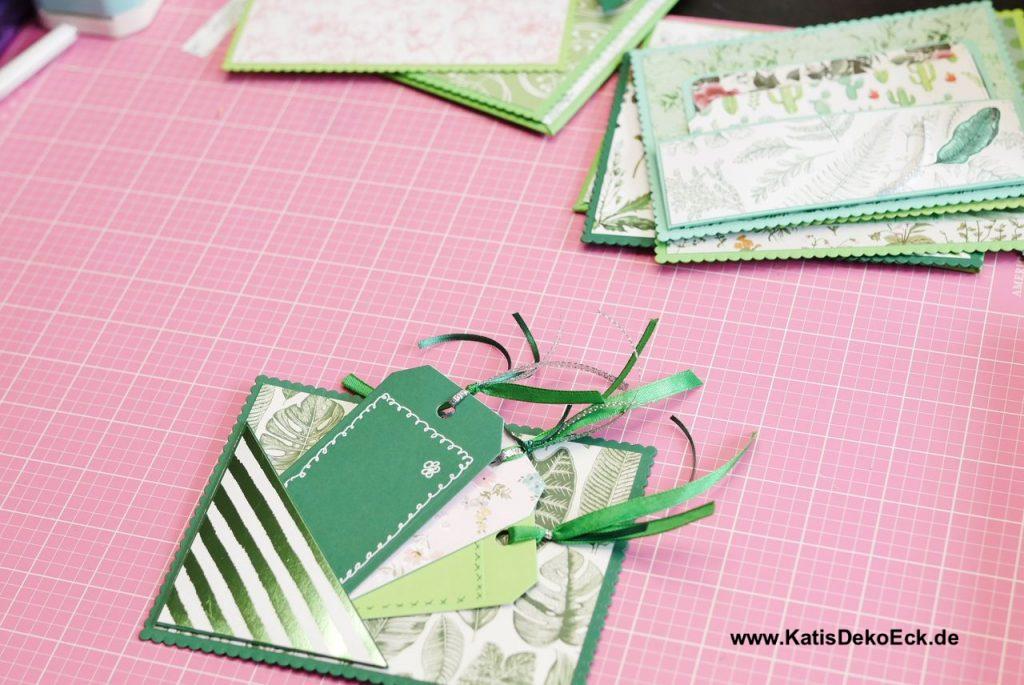
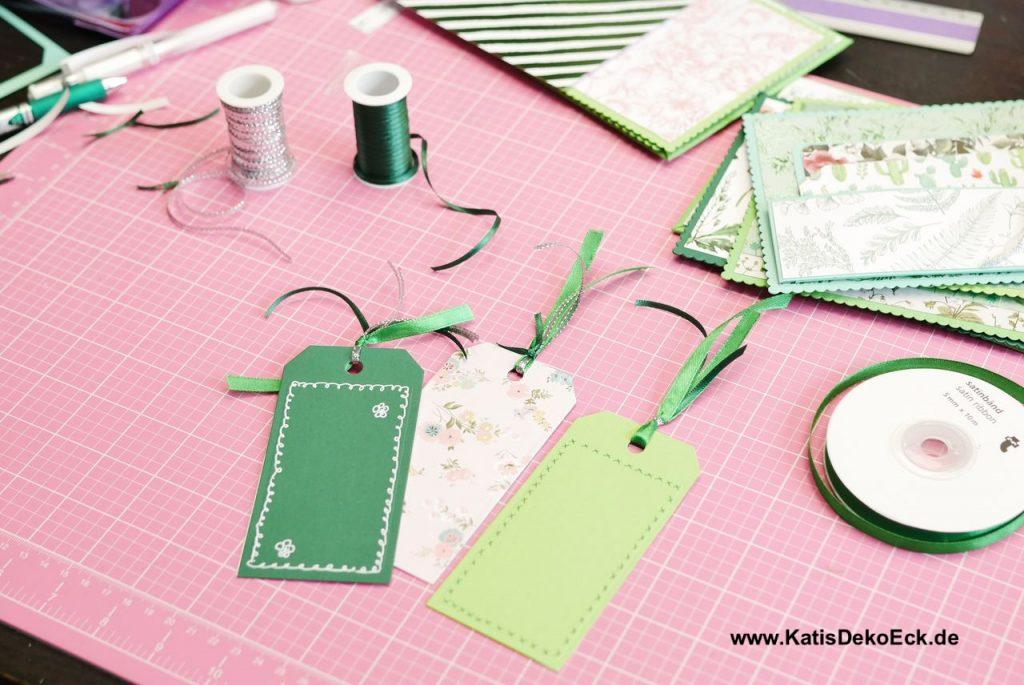
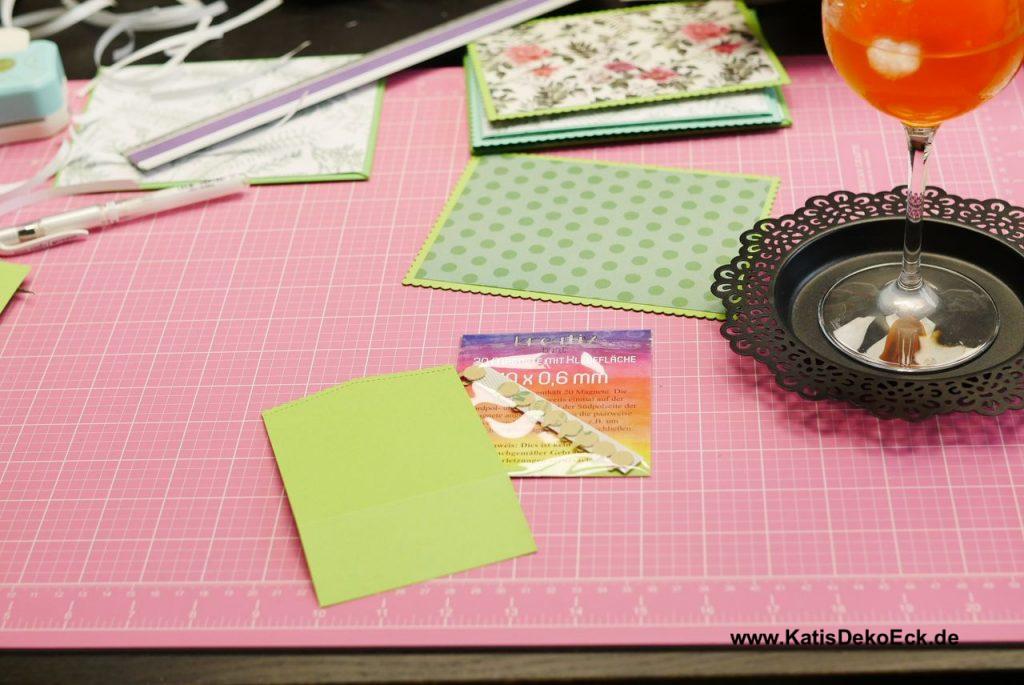
And I will create some spaces dedicated to insert tags. One side is decorated with paper, on the other side I put space to write on to add some quotes, memories or dear words. Photos are a wonderful extra here, I leave that completely up to my customer:

More ideas?
Always! How about a magnetic closure on a flap?
Oh, and note the energy drink… It was a high summer temperature Saturday afternoon. Some Italy feeling was needed…
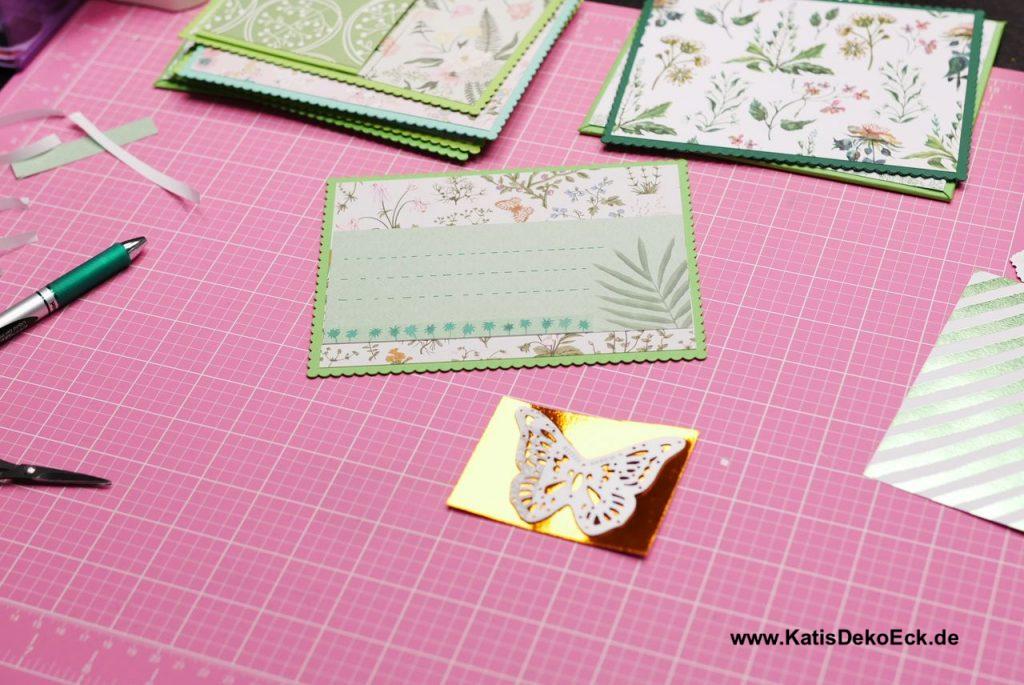
Or would you rather prefer a butterfly. I just can’t make a botanical themed album without one…
Slowly and steadily I decorate page by page until all are done:
Inside top, outside flop?
Nooooo! Never!!! About time to also take care of the decoration of the photo album cover pages
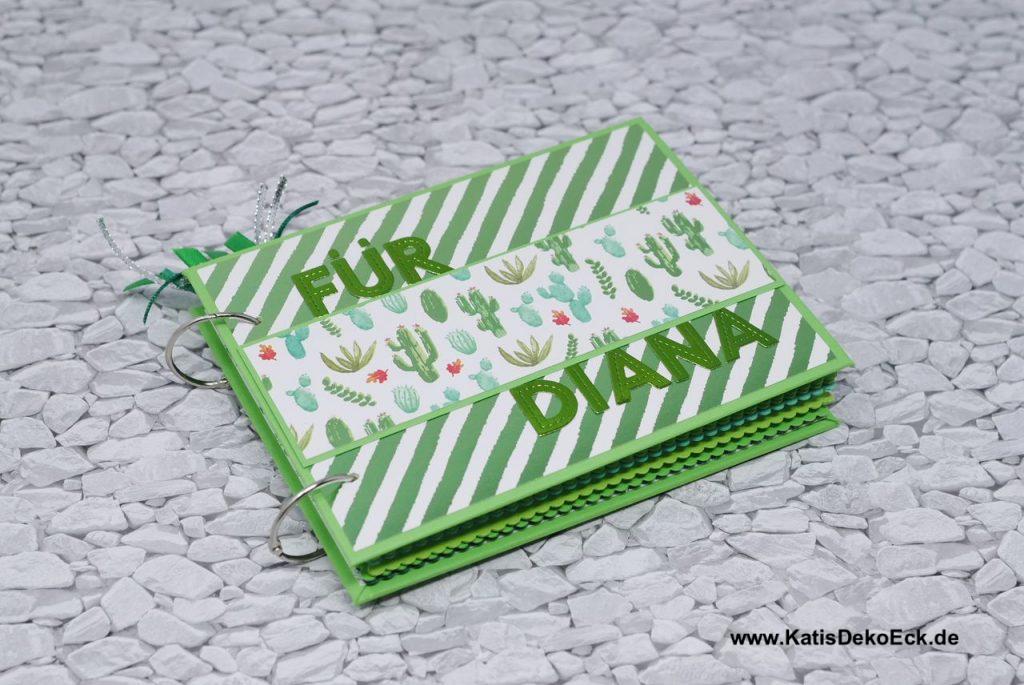
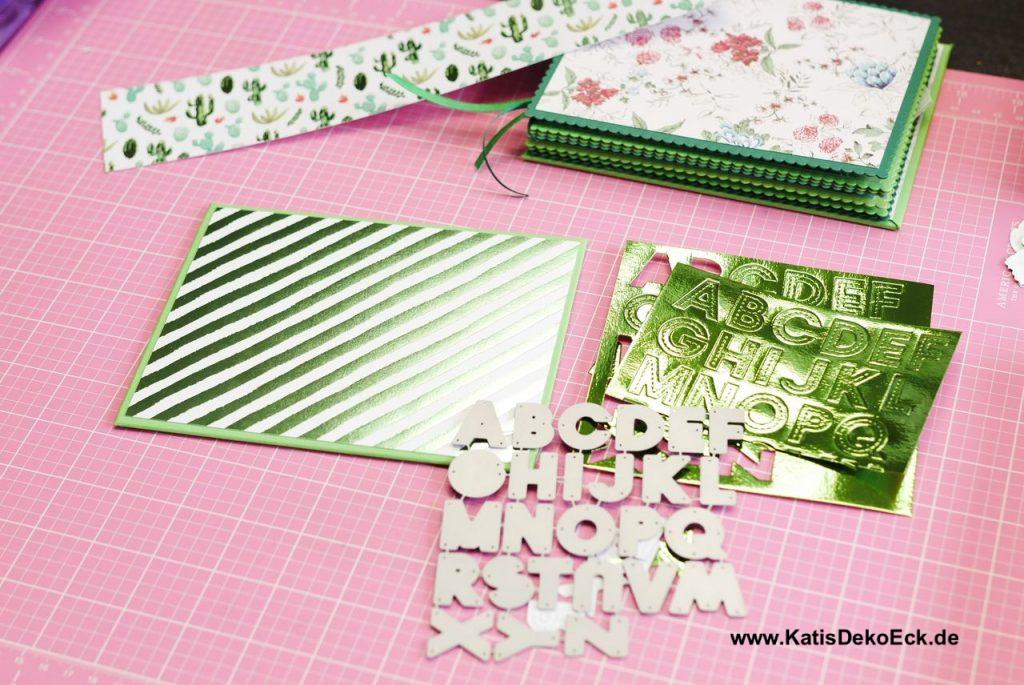
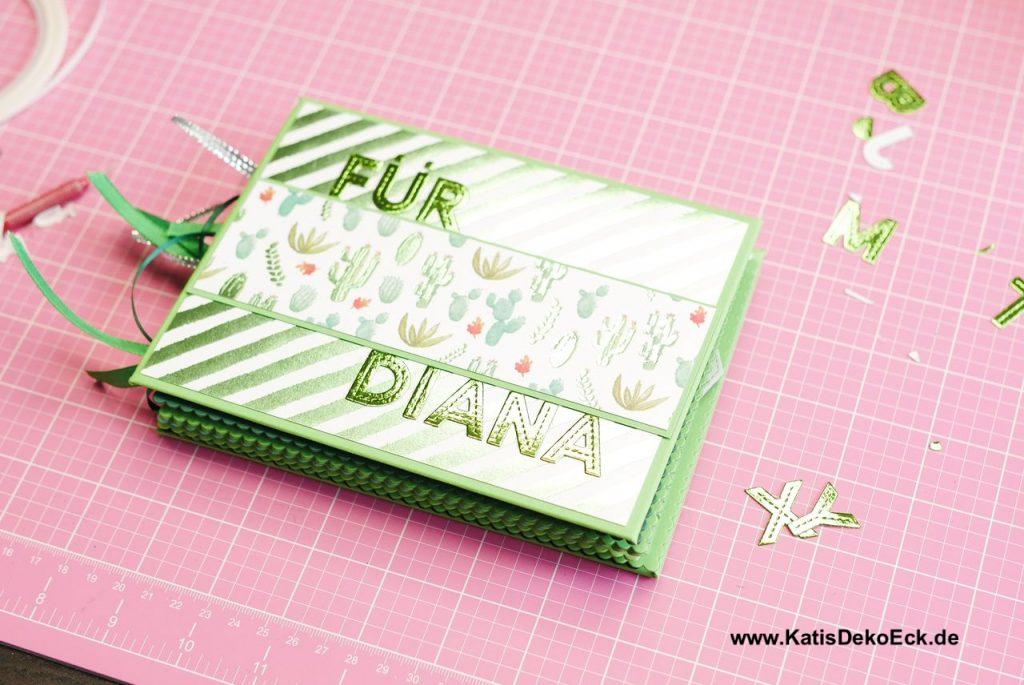
For the front of the coverside my customer had asked me to include the name of her godmother. She should be able to see that it was completely and happily done just for her.
My pleasure! and so the next important incrediants: mirror cardstock and letter dies from LawnFawn. What a combination for everything super-customised!
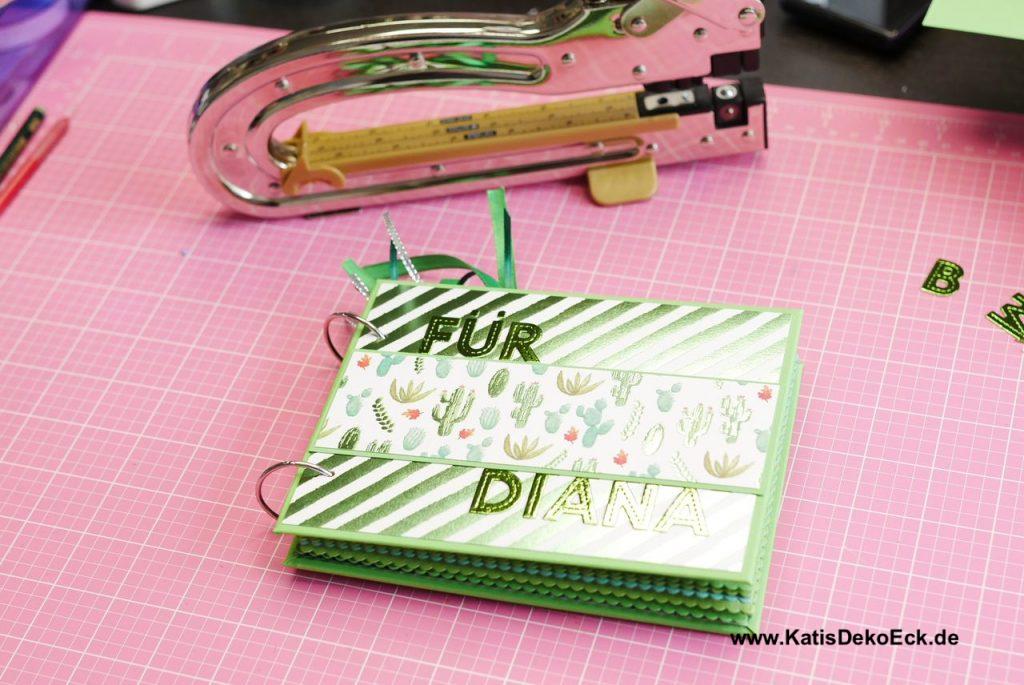
Ok, single pages are nice, but they are so… single?…
Right! And thats exactly why I will now use one ring to bind them all (ok, I will use two, just to make sure, one doesn’t end up in the fires of Mount Doom …)
Time to reach for the heavy tool: My WeRMemoryKeepers – Big Bite Cropadile. This is a very useful tool, and amongst the things it can do is: punching holes in thick paper and these on spot:
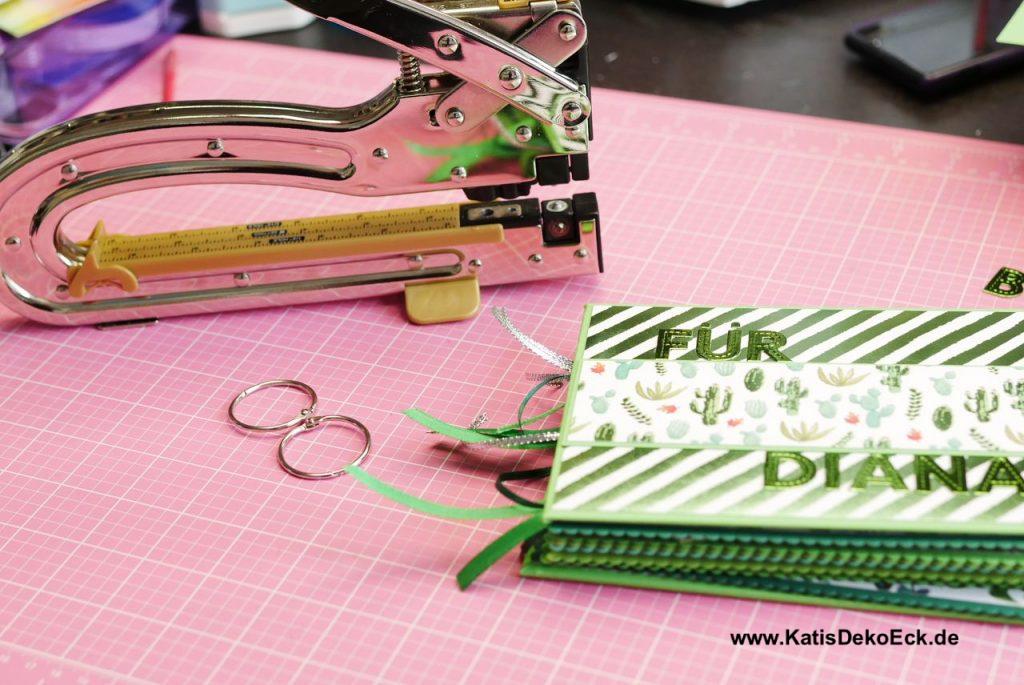
And yes, that’s it! My ringbound photo album is decorated and finished!
And here it is: a page by page overview on everything:
")
")
")
")
")
")
")
")
")
")
")
")
So, what’s next?
Me on my part: I will call my customer to tell her she can come and look at the album and then will hopefully love it enough to buy it…
And then I will stalk the social media and hope you will create an album following this tutorial and tag @KatisDekoEck. I hope you show what you create for me and all the others to see.
What more? Well, you tell ME!
What do you want to see here next?
I want to write articles on this website about crafty things you are interested in. So, please, tell me in the comments what you want to see/learn/try next.
More tutorials? Finished projects? Tests and trials of new stuff? Storage and Organisation ideas? Did you always wonder how I use which markers for coloring or are you interested in how to use scraps? Tell me!
* For fair disclosure:
I have the great honor to be part of the Crafter’s Companion designteam. I am not financially compensated for this nor are my post sponsored or dircted/requested by the company. But I do receive certain products for free or with a discount. I got the markers used in this artikel as part of my designteam work. This does not influence my article. I use the markers whenever I think they are the right tool for the project I am working on and my opinion is solely mine. The result is what counts for me!
Deine Gedanken zu diesem Thema