Für eine deutsche Version des Artikels bitte hier klicken
Sometimes it must be a bit more individual…
A customer asked me to create a very special photo album as a gift for someone special. And that made me think… I have neglected you on this page for a bit, let’s make this right by showing you a step by step tutorial following my voyage to the perfect album to try yourself and get inspired.
The task for today:
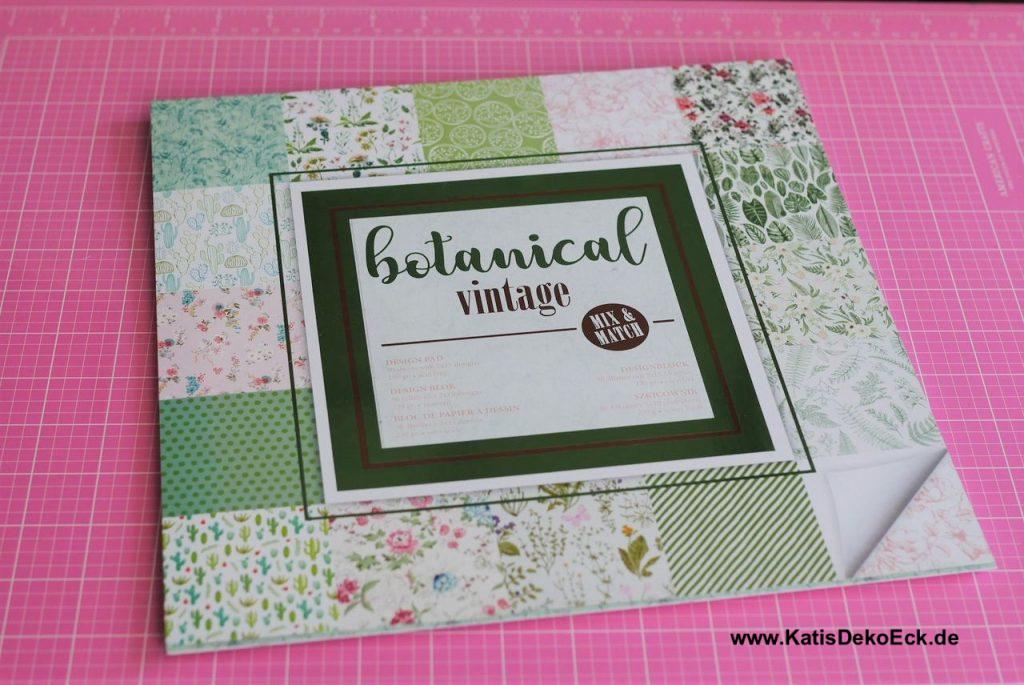
My customer chose this paper collection and asked me to prepare a very personalised photo album to be filled for her godmothers’s very special birthday. My utmost pleasure!! And today I take you along with me on the journey, so buckle up and expect a lot of photos. In the end you will have read a tutorial that should enable you to try it out yourself and make your own ring bound photo album.
Ok, get ready and grab…
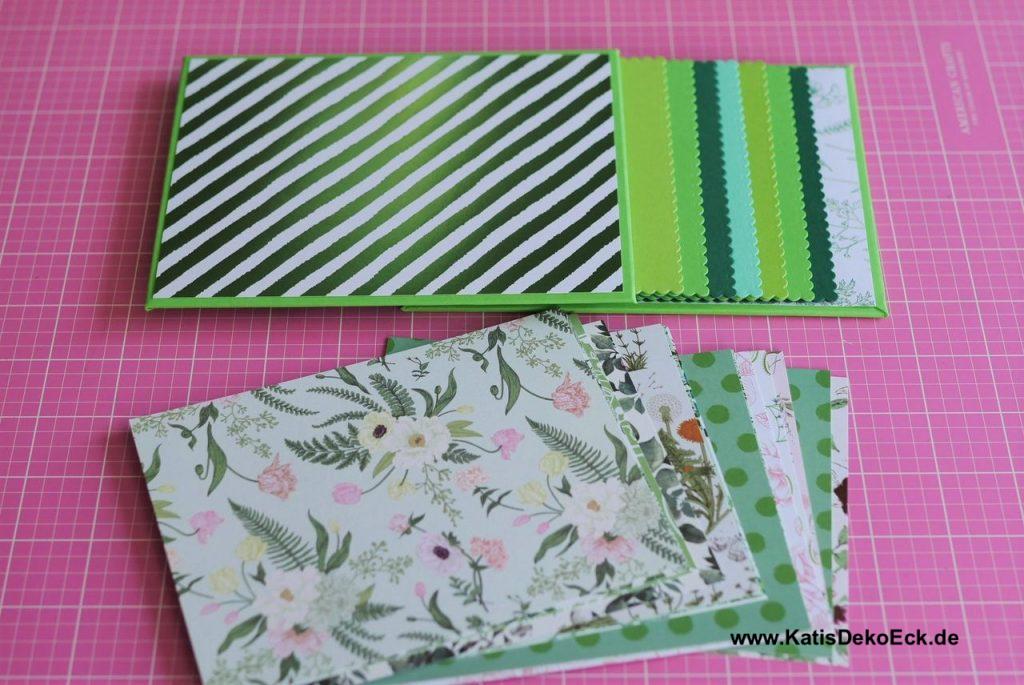
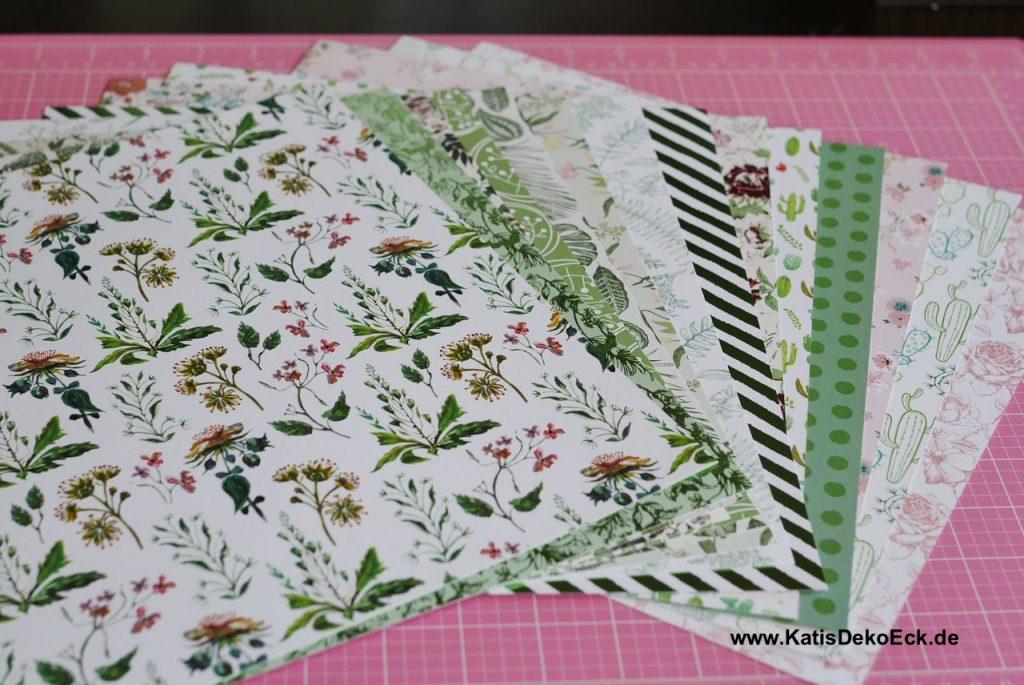
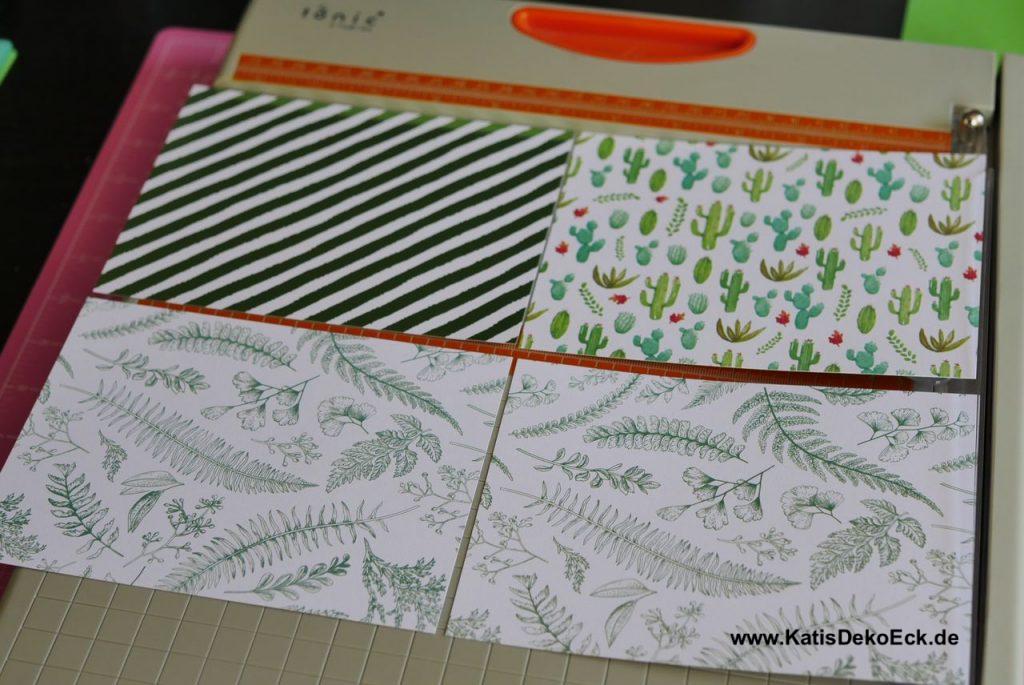
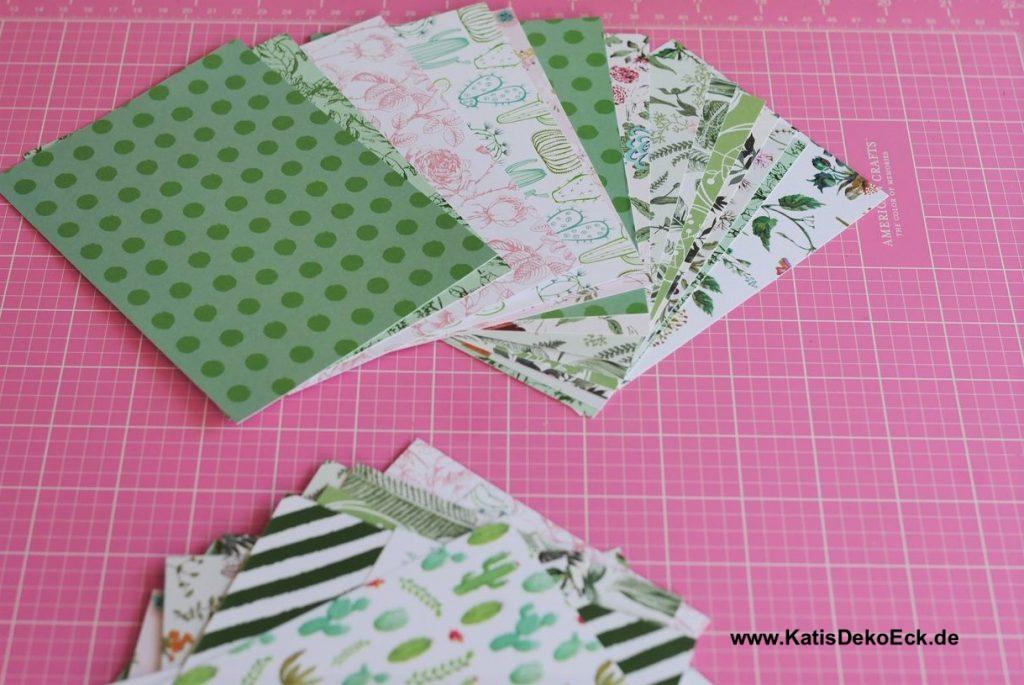
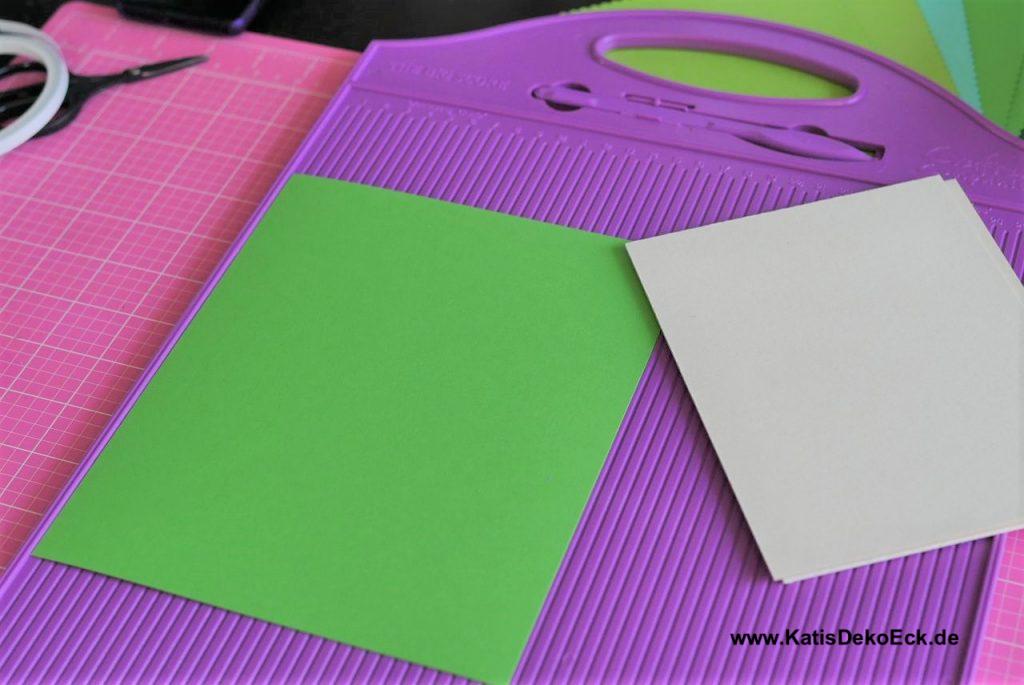
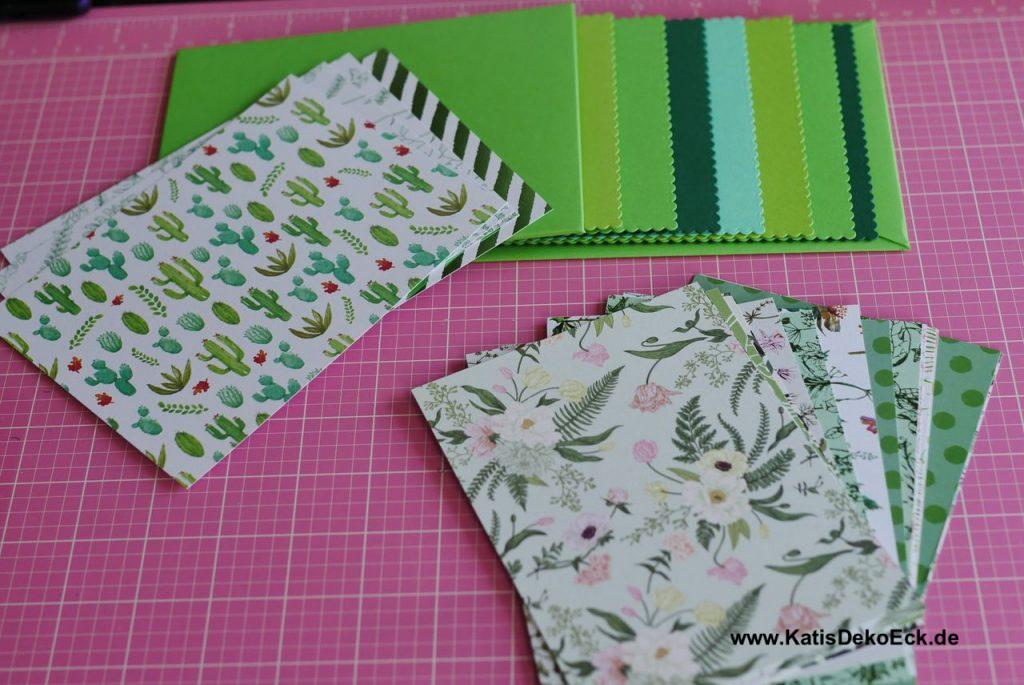
As very first step I choose from the paper collection all the sheets of paper that I like and want to use. Doing that it’s important to make sure that all the papers match! If the papers come from the same collection as in my case, this shouldn’t be an issue, usually they already match well from the start.
In addition I take some sheets of chipboard for the cover pages of my ring bound photo album, some bookbinding-rings and pasteboard or strong cardstock – A lot of it… How much? you will see later.
If you have been following me for a while you know that I love using 300g/qm pasteboard from the German artist supply chain Boesner for many purposes like this, because their price and quality just fit together perfectly…
My album shall have 7 pages. Plus two cover pages I will need a total of nine pages. To make it green yet colorful, I choose different shades of green for my project. For sure this is not actually necessary, but I just have to… Let’s follow the old master Shakespeare: As you like it!

Cut like a pro (or let the guillotine cutter do the dirty job)…
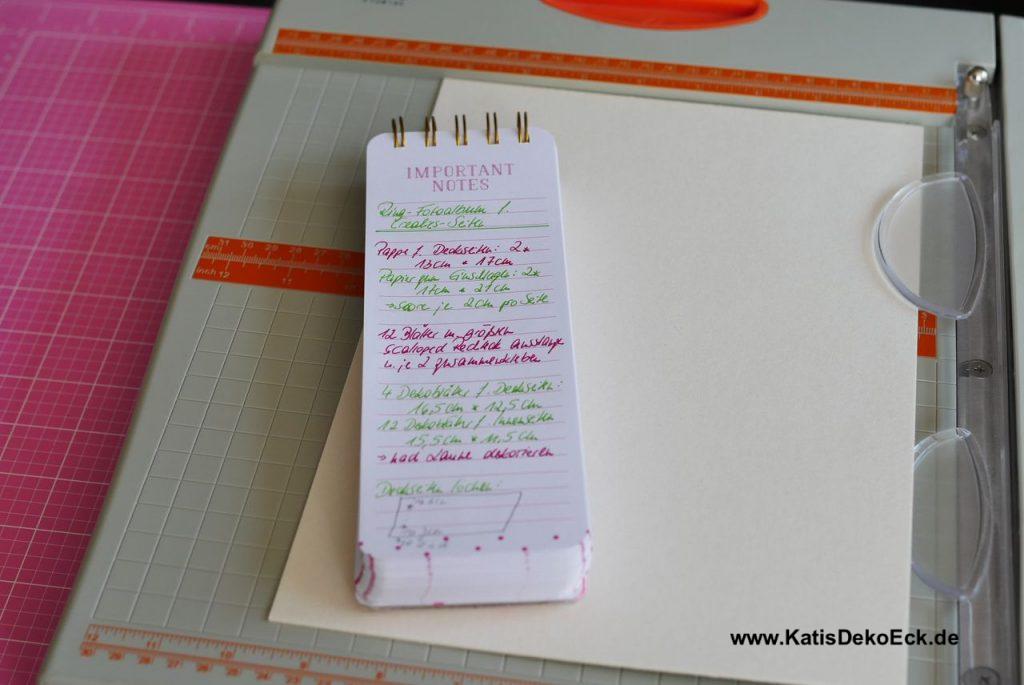
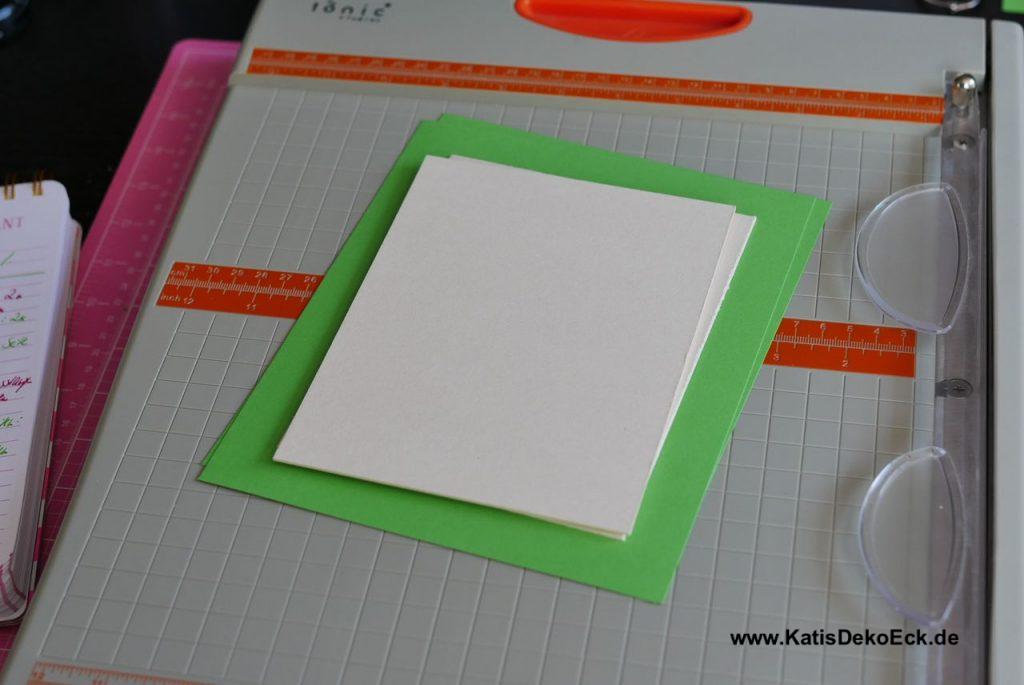
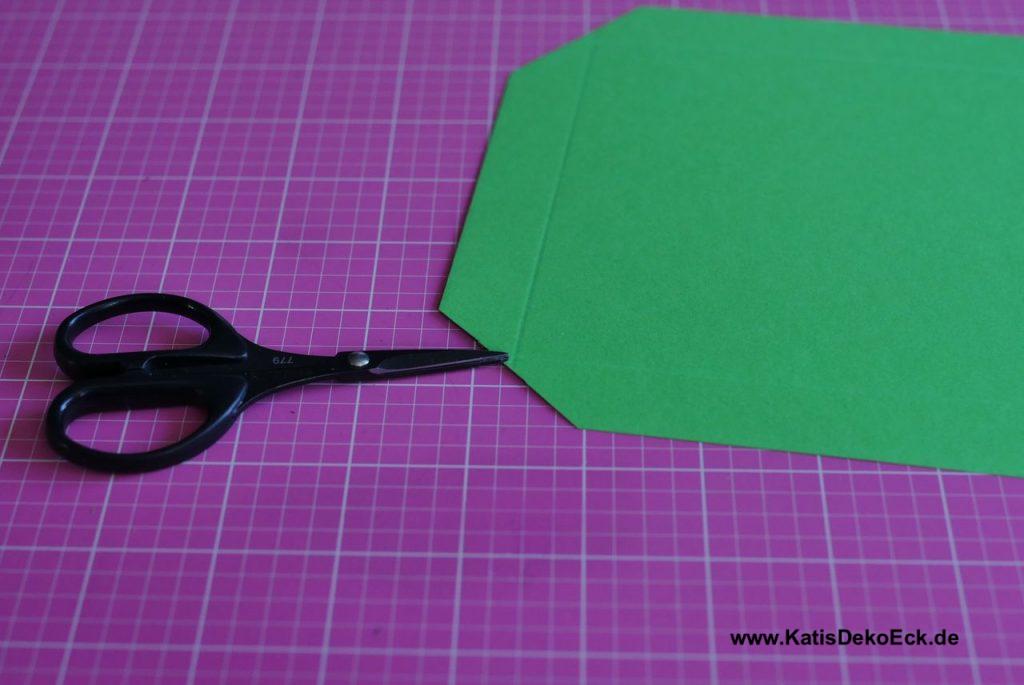
From cutting to diecutting. Of course you are completely free in choosing the measures for your main, cover and deco pages. But to give you an idea: to bind the cover pages I cut my pasteboard with 2cm extra space on each side plus 2mm for the edge. This way my pasteboard for the cover is 4.2cm taller than the chipboard piece. I promise, this will make some sense soon…
About time – our ring bound photo album needs a nice exterior
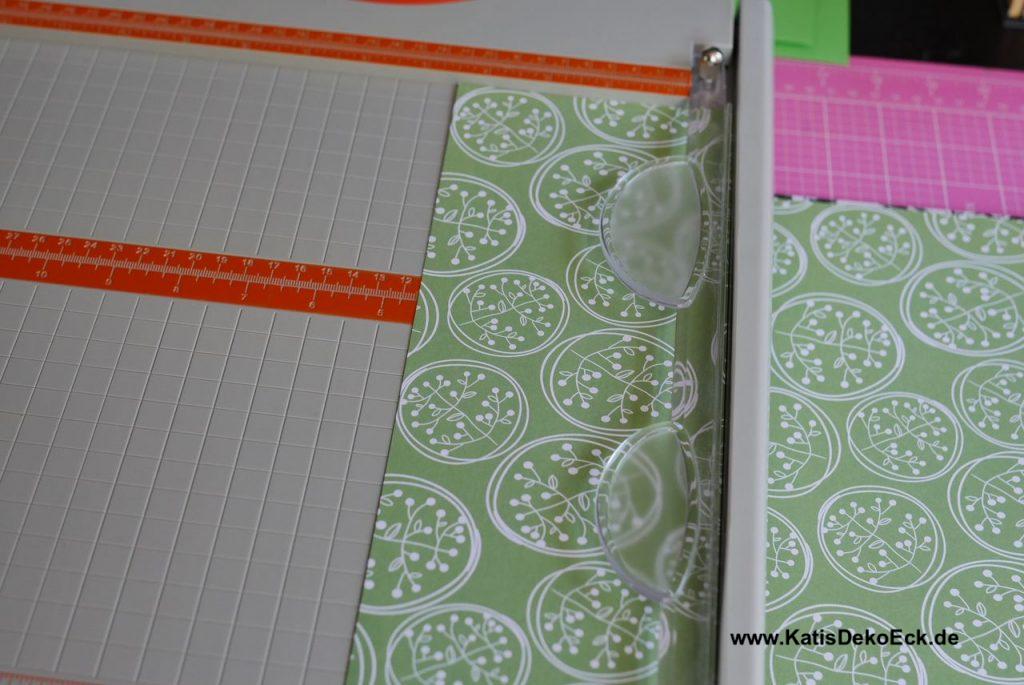
As already mentioned, for the front and back cover pages I use some sturdy chipboard and cover it with pasteboard.
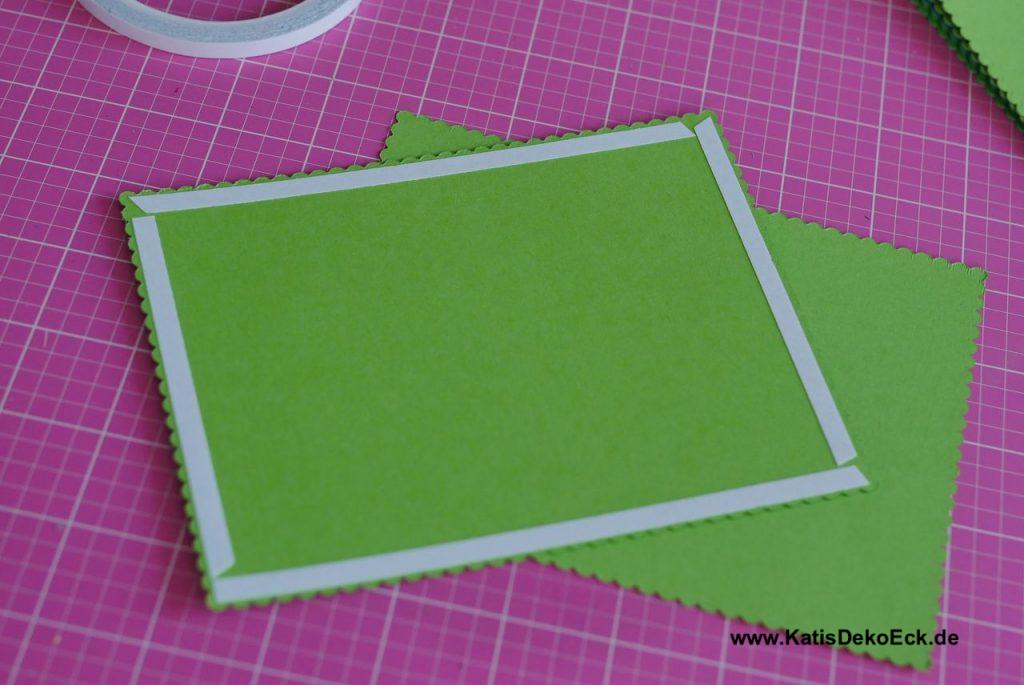
To do so I cut the pasteboard to 2cm taller on each side plus 2mm in total for the thickness of the chipboard. Then I use a scoreboard to score these papers at 2cm on each side:
Next I cut off the edges of the newly created piece. But careful, not exactly where the scoring lines meet, but approx 2 mm off to the outside:
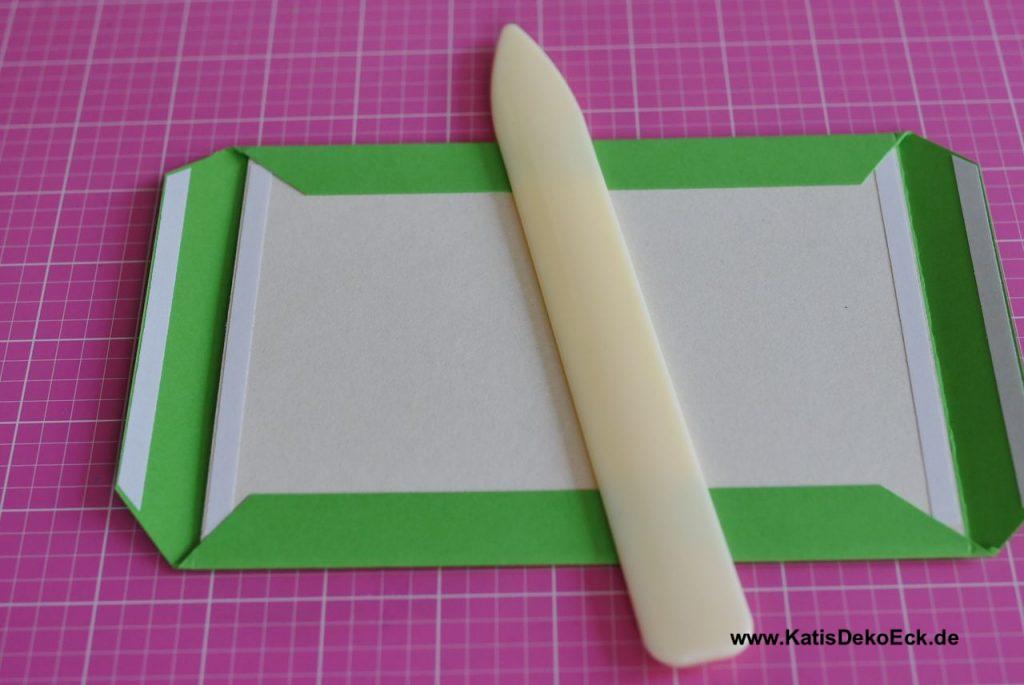
Next: Turn your paper around (you always fold the „valley“ of the scoreline, this keeps the paper from cracking) and prepare to adhere or glue:
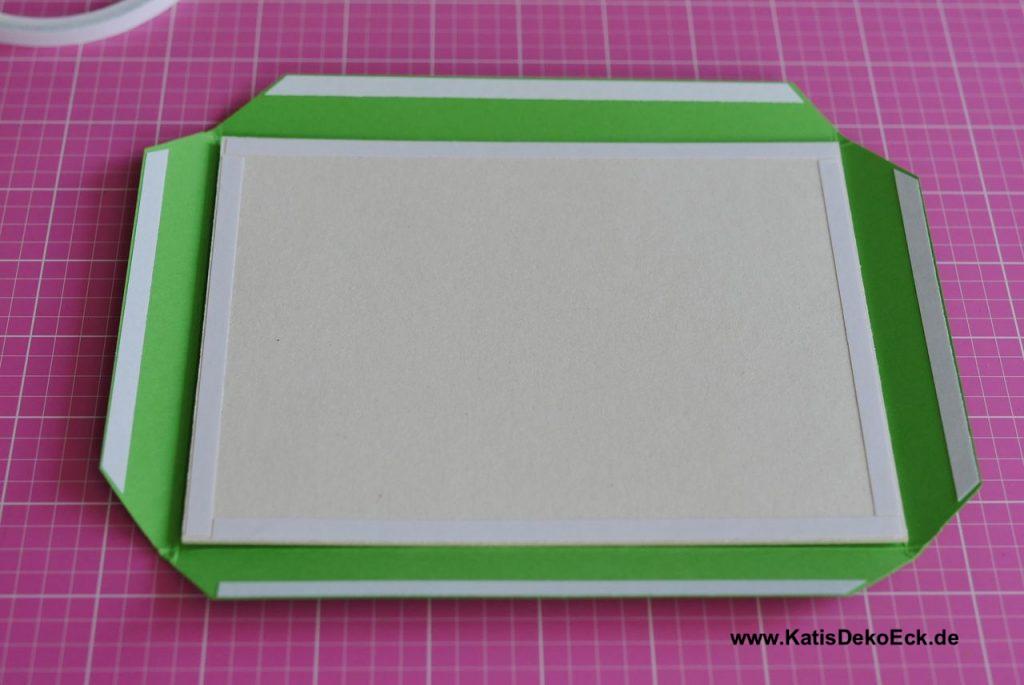
I know the question on what to use: liquide adhesive or doublesided tape -the is a discussion, almost as eagerly led as the one about what side of a breakfast egg to cut in Gullivers Travels, but my preference is clear: I almost always and constantly use doublesided tape. Simply because for me it makes way less mess. and I like to craft un-messy… But of course you can use whatever you feel more comfortable with. However as you can see, I use two strips of adhesive on each side to make sure it really holds down.
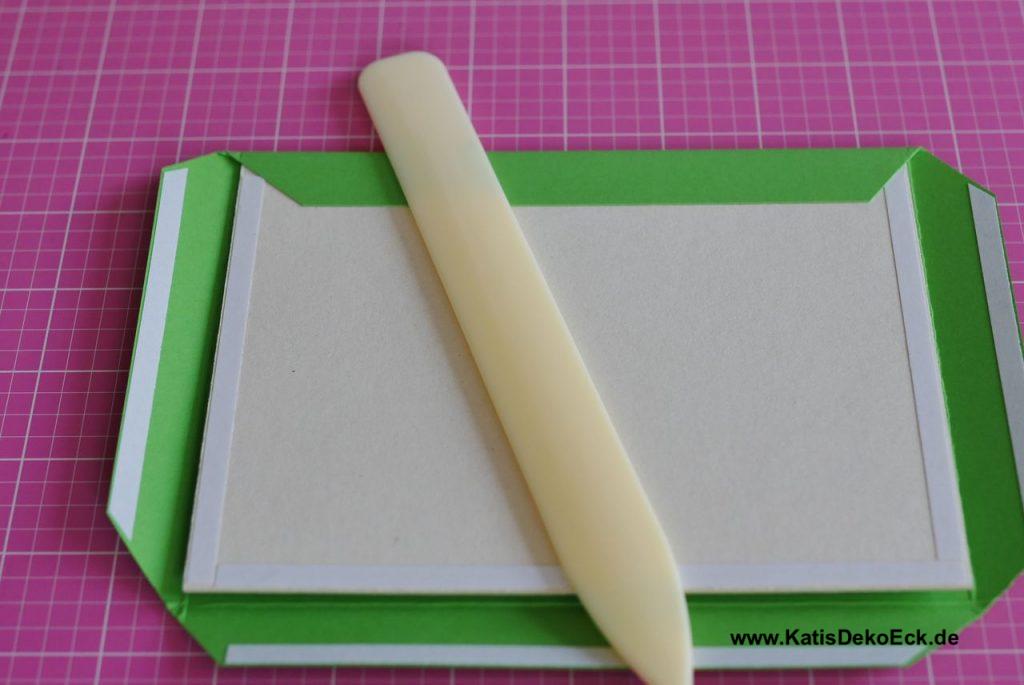
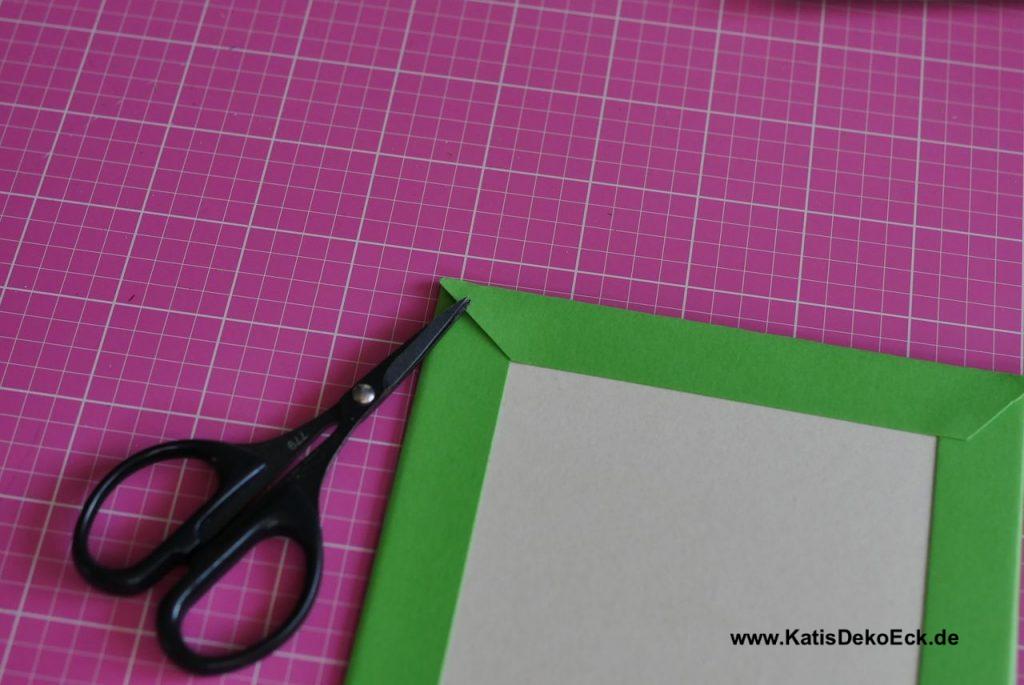
I first glue down both long edges…
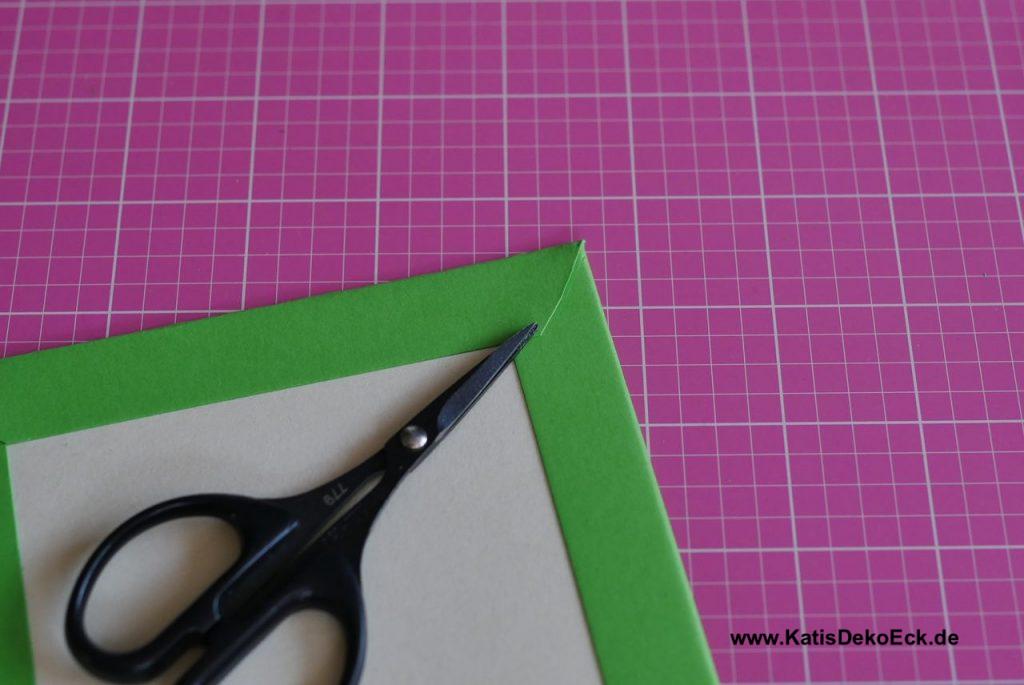
…before going over to the shorter edges. Here is a little trick involved that every album maker handles differently: what to do about the corner. I usually glue first and then cut off the excess.
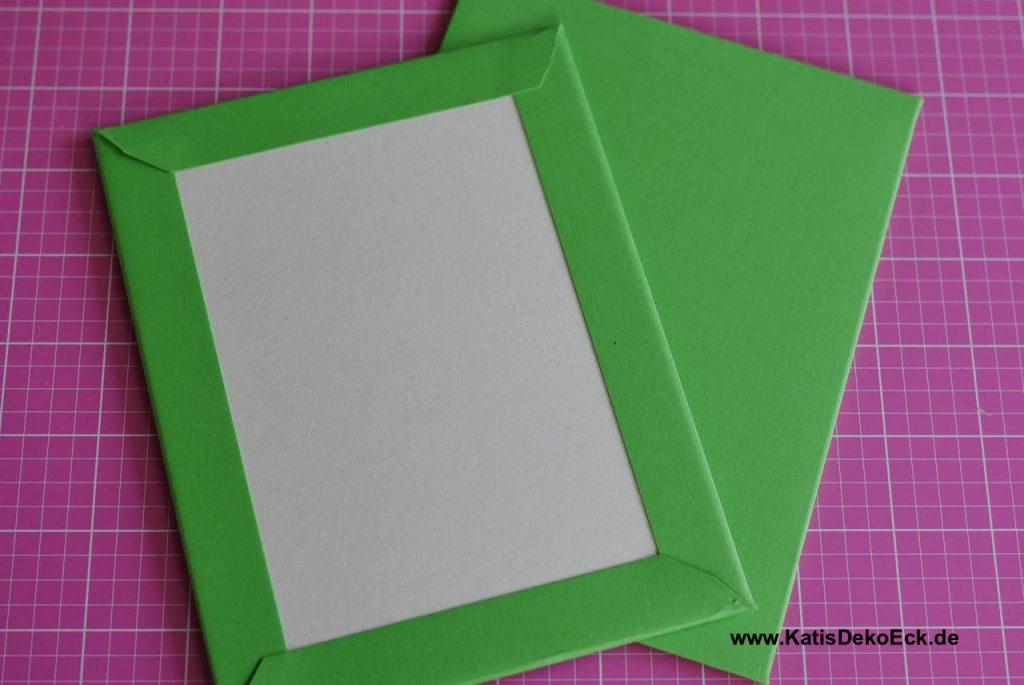
Then I repeat all this to make a second cover page. Et Voila, we have achieved the first milestone:
Front and back cover checked, but a photo album needs more pages?!
For sure! And that’s what I have chosen so much more pasteboard for. This can be cut to the perfect size for inner pages now just using a trimmer. Or… One is me and always needs to make it a bit more complicated…
What? How?
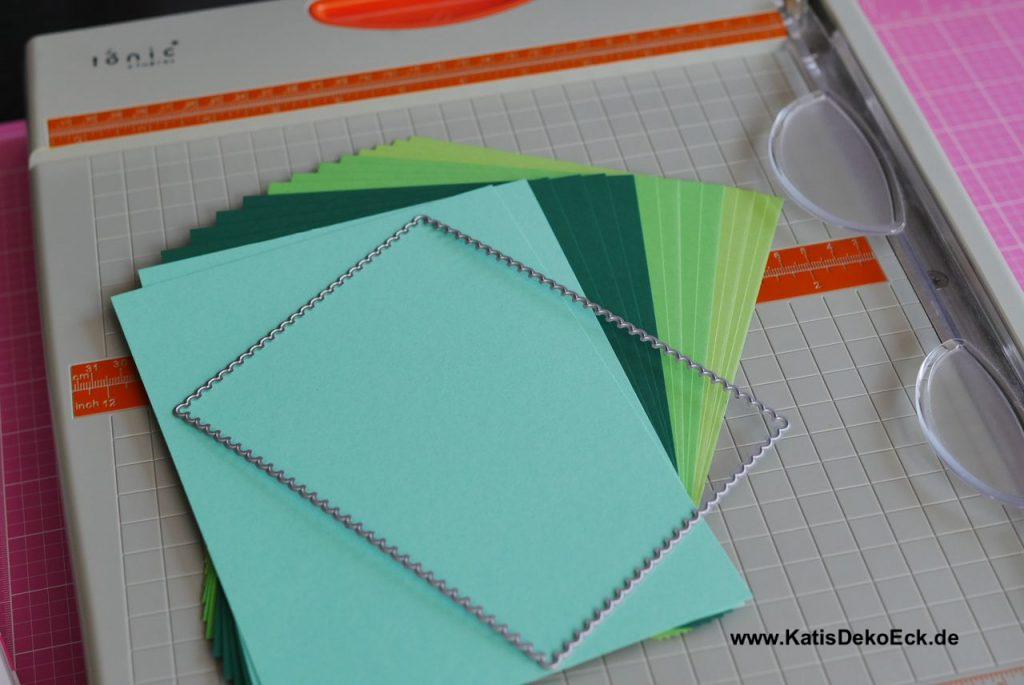
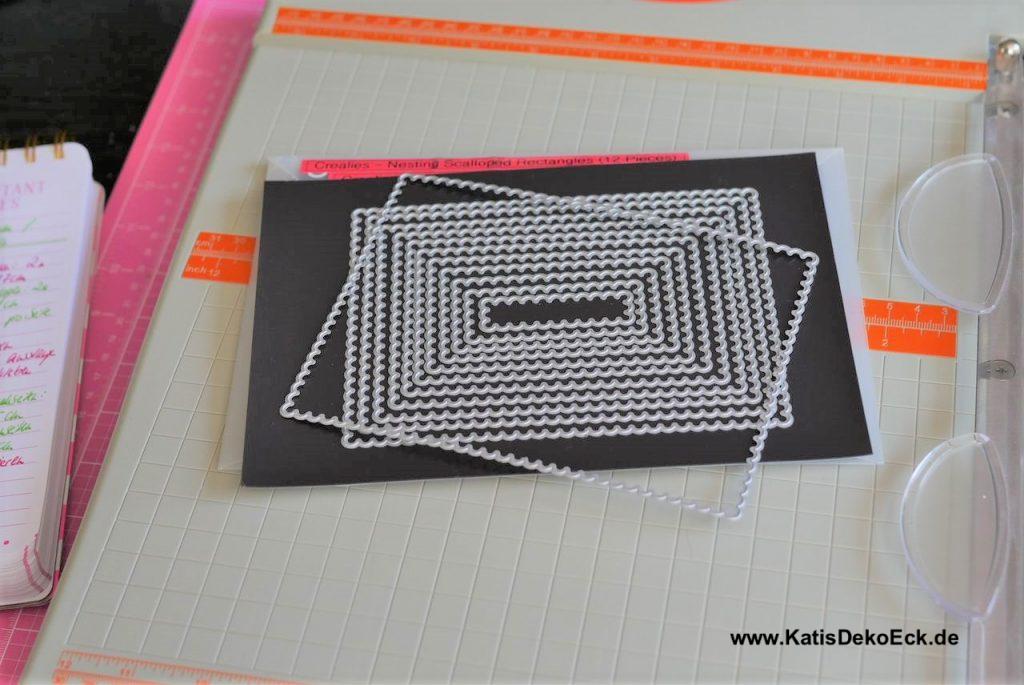
Or better to say: let someone else do the dirty part: your die cutting machine of choice:
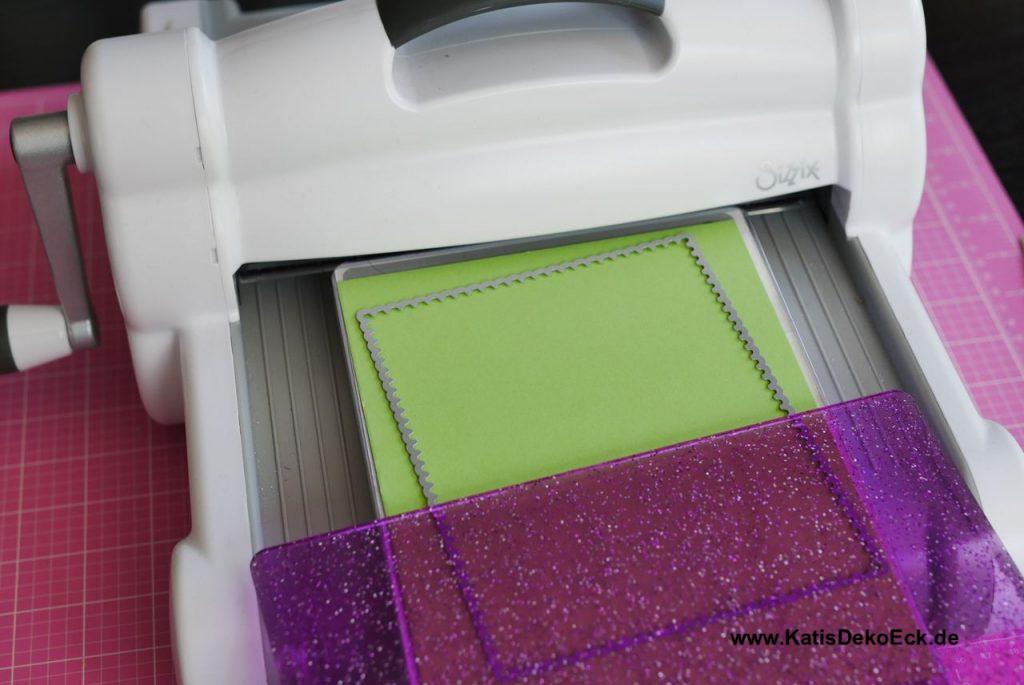
And, once more… I wouldn’t be me if I was satisfied with diecutting the seven pages. NO… I like the soft round edges of the diecut pages, so I cut two sheets of cardstock for every page and glue them together on their backside…
Lets count that: for 7 album pages that means 14 runs through my manual Sizzix. Hah, and Mister KatisDekoEck is afraid, I would get too less exercise during the lockdown…
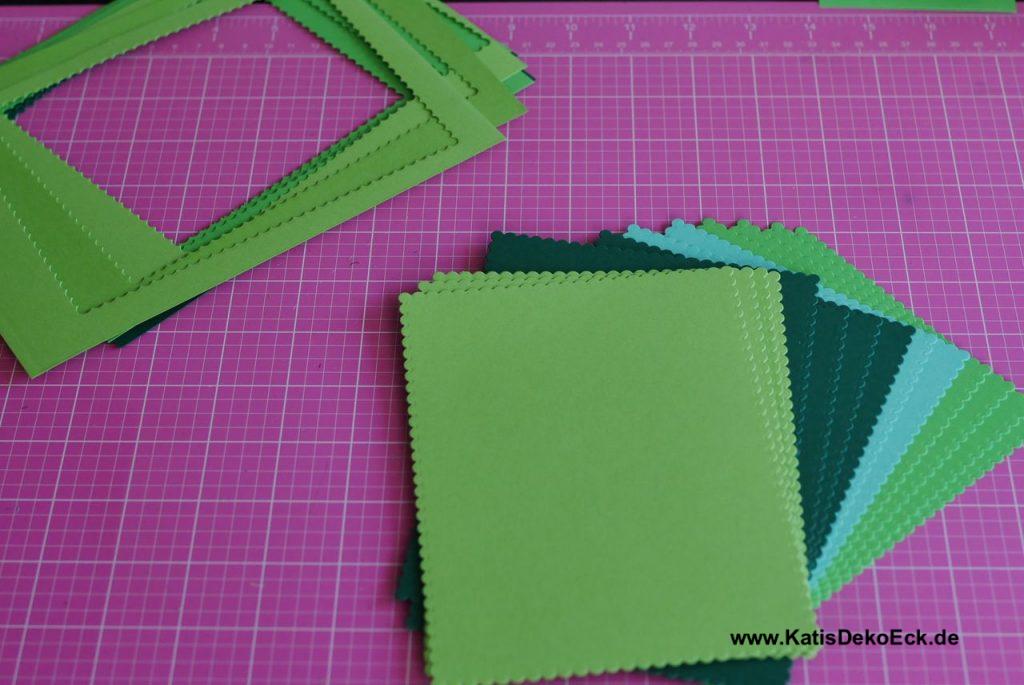
Now just always adhere two pages back to back. And just in case you were wondering… For sure I use doublesided tape.
Now what?
Lets recap: we got two coverpages for our ring bound photo album and seven inner pages to decorated. But it’s also dinner time…
So, what’s next?
For me a quick break. That means, you will have to wait for my next article to see how I finish this album.
And this will be the thrilling part: how to make it a really unique and personalised gift for my customer to give to someone very special… Believe me, you don’t want to miss that, so stay tuned for the next time!
Deine Gedanken zu diesem Thema