Hier geht’s zur Deutschen Version!
Hello Dear,
I wish you a happy and healthy new year! May it be filled with joy, luck and success for you and your loved ones!
Well, new year, new ideas. In this case, not only a new article, but my first one completely written in English, too.
A short while ago I was asked in the My-Favorite-Things-Insider Forum on Facebook to provide a tutorial on how to create these cute little notepaper holders.
My utmost pleasure!
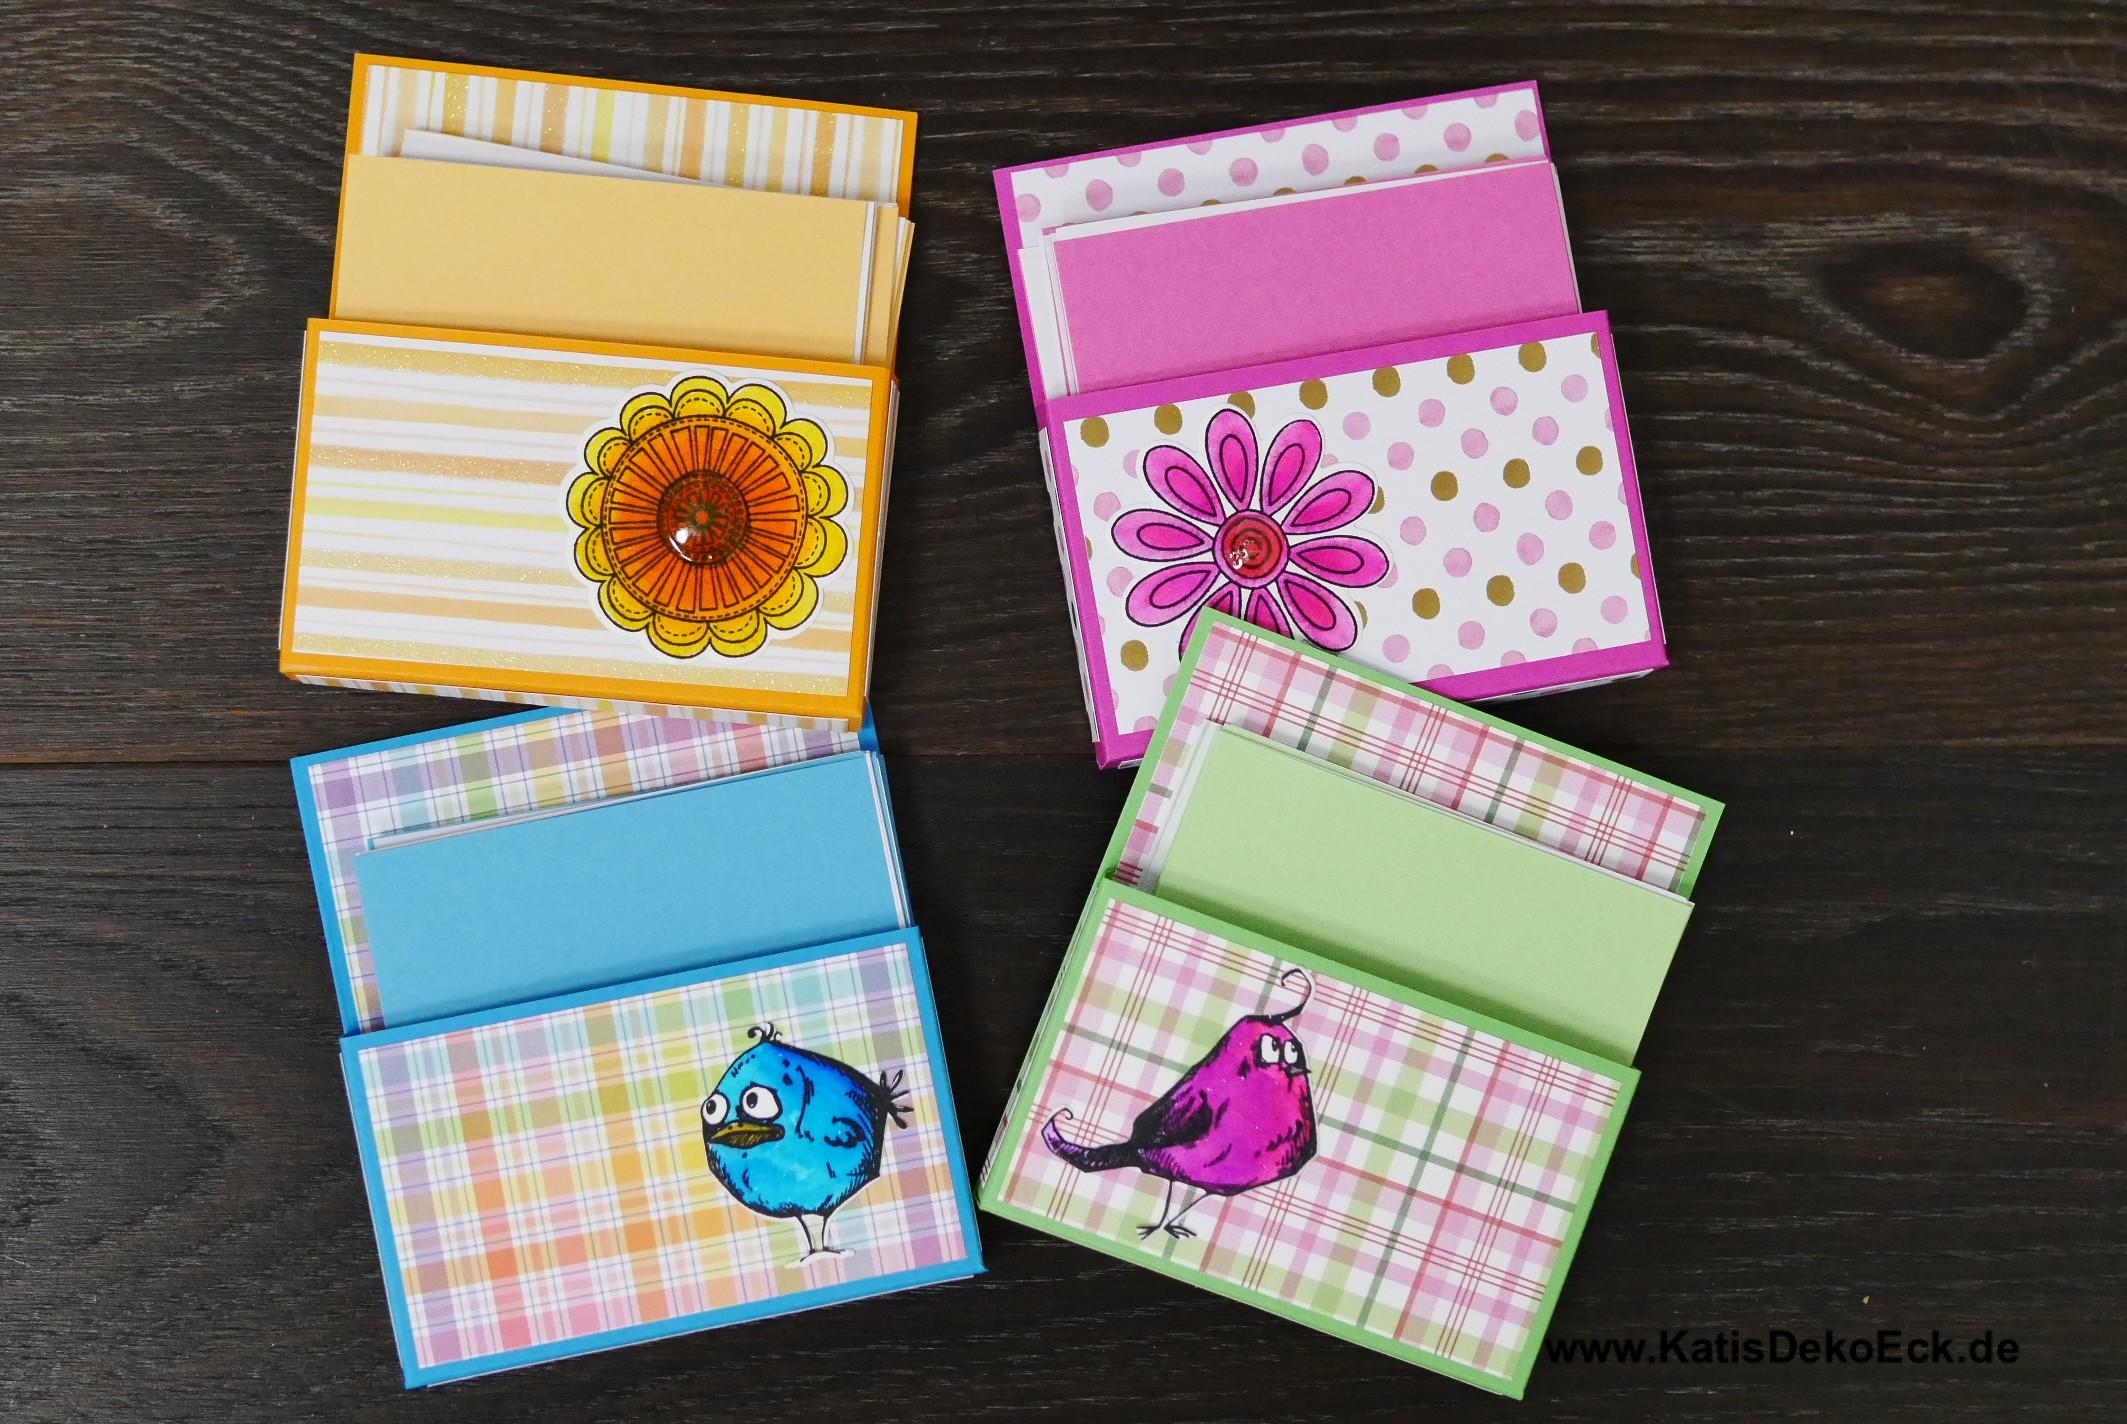
I offered these as some of my new products at my local small christmas market stall. And after just a short adaptation phase almost all of them left me on the final day – which made me enormously happy, of course. And why should they not? They are such a cute little gift, a sign of „I care for you“ and who has never stood in the kitchen searching for the mobile but not even finding a single sheet of paper to scribble down that the flour has gone empty or you want to remember to call someone…?
Long story cut short, with proud and joy I bring you my very first picture-tutorial which shows how to create these notepaper holders:
How to get started?
First of all: the colour. I love taking down a whole bunch of nice papers with themes or patterns and choose on (ok, usually I choose more than one and put the rest aside to use directly next). Next I choose a matching color cardstock:
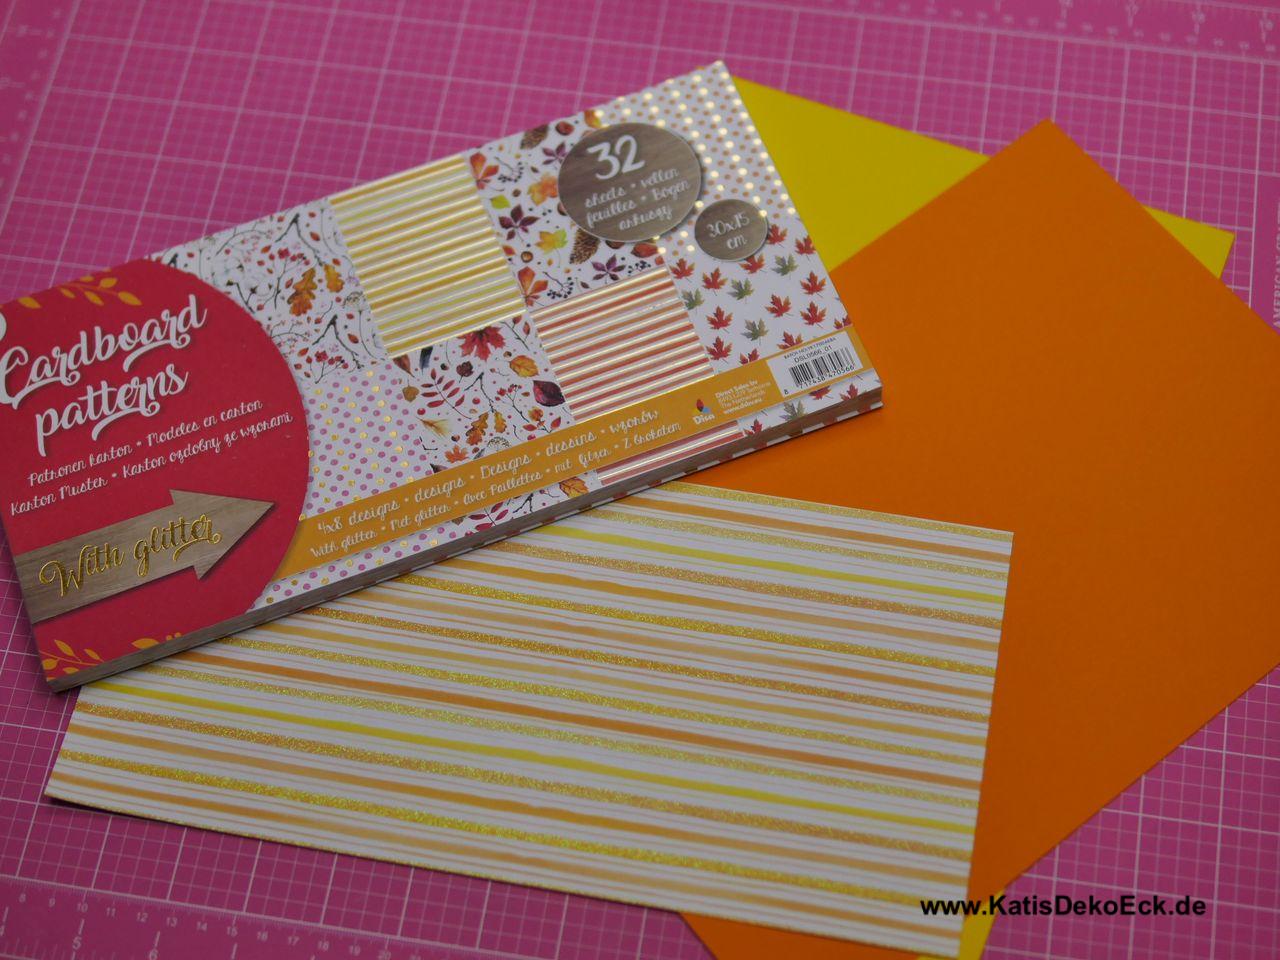
I usually (or basically always) use Boesner Paste board with a 300g/qm grammage for projects like this. It is available in many beautiful colours and big packs and is one of the must have basic essentials in my craftroom. I finally decided to take the orange coloured („Dahlia yellow“). This colour just matches the stripes to perfection…
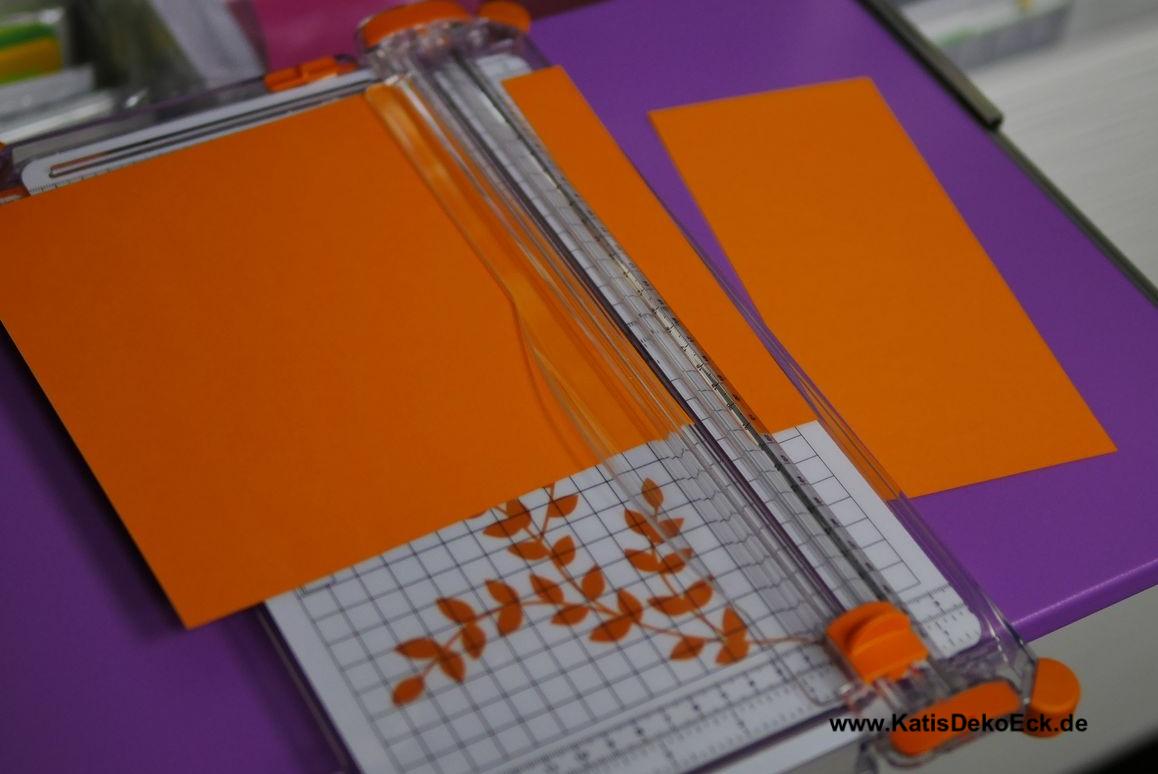
Next is cutting the cardstock:
And then scoring it:
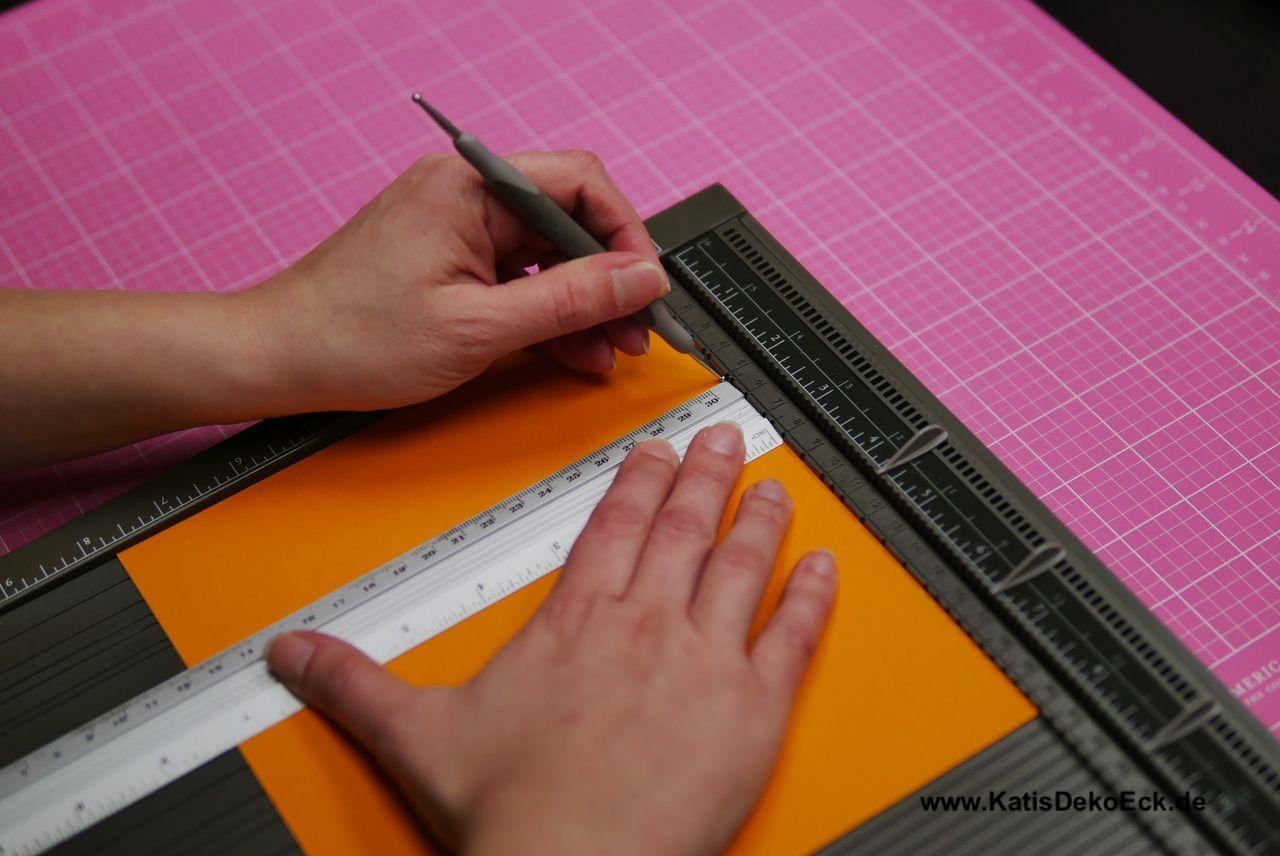
Now it is getting a bit complicated:
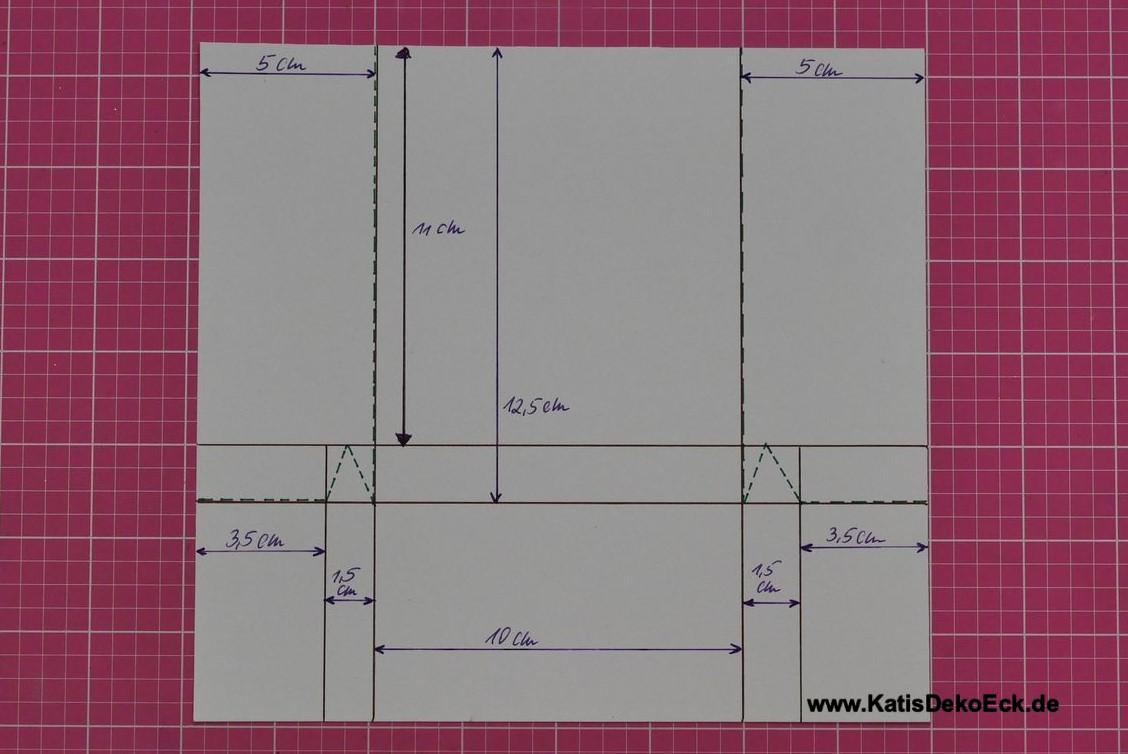
Score the long edge once at 5 cm and once at 15 cm along the whole page. The shorter edge will be scored once at 11 cm and once at 12.5 cm. And finally the long edge will be scored again but only starting at the 11cm line down to the buttom at 3.5 cm and once at 16.5 cm .
I tried to visualise this here:
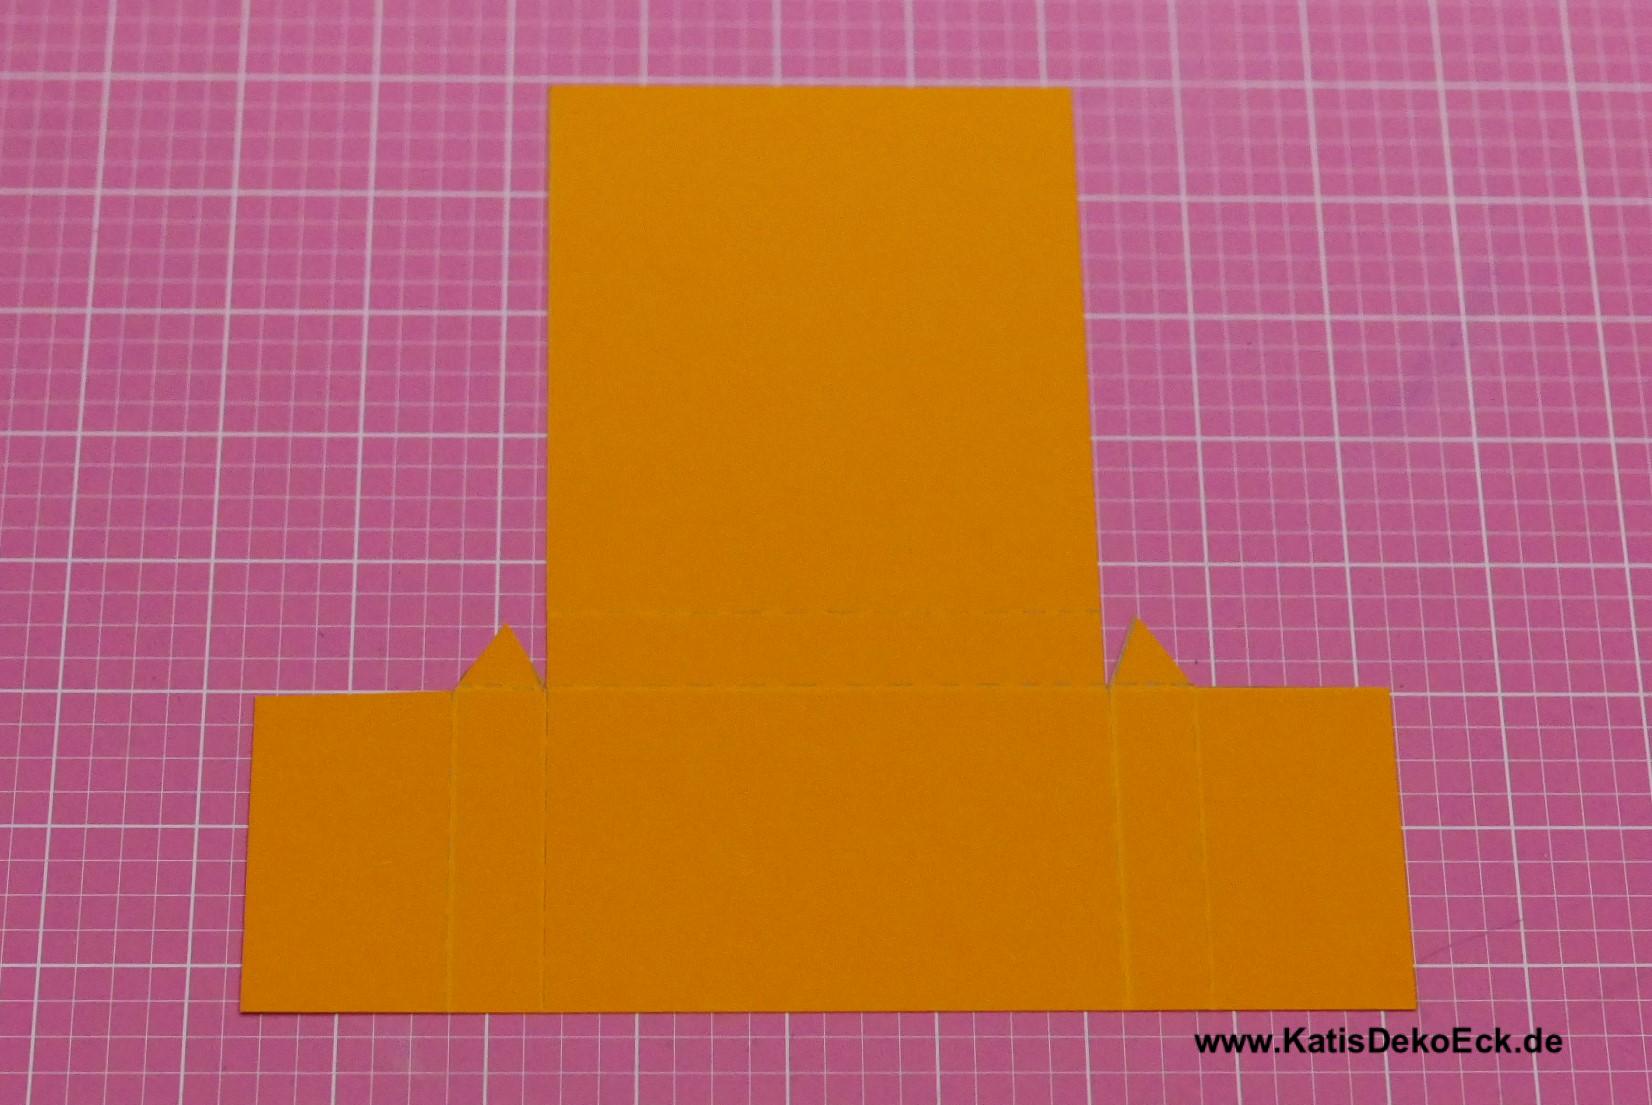
Now to the cutting. Don’t be surprised, the chances are you cut it wrong sometimes. So, better to do the first steps with at least two pieces of cardstock, that saves going back after this step… And you will need the spare one later on for another project anyhow.
Make it yours:
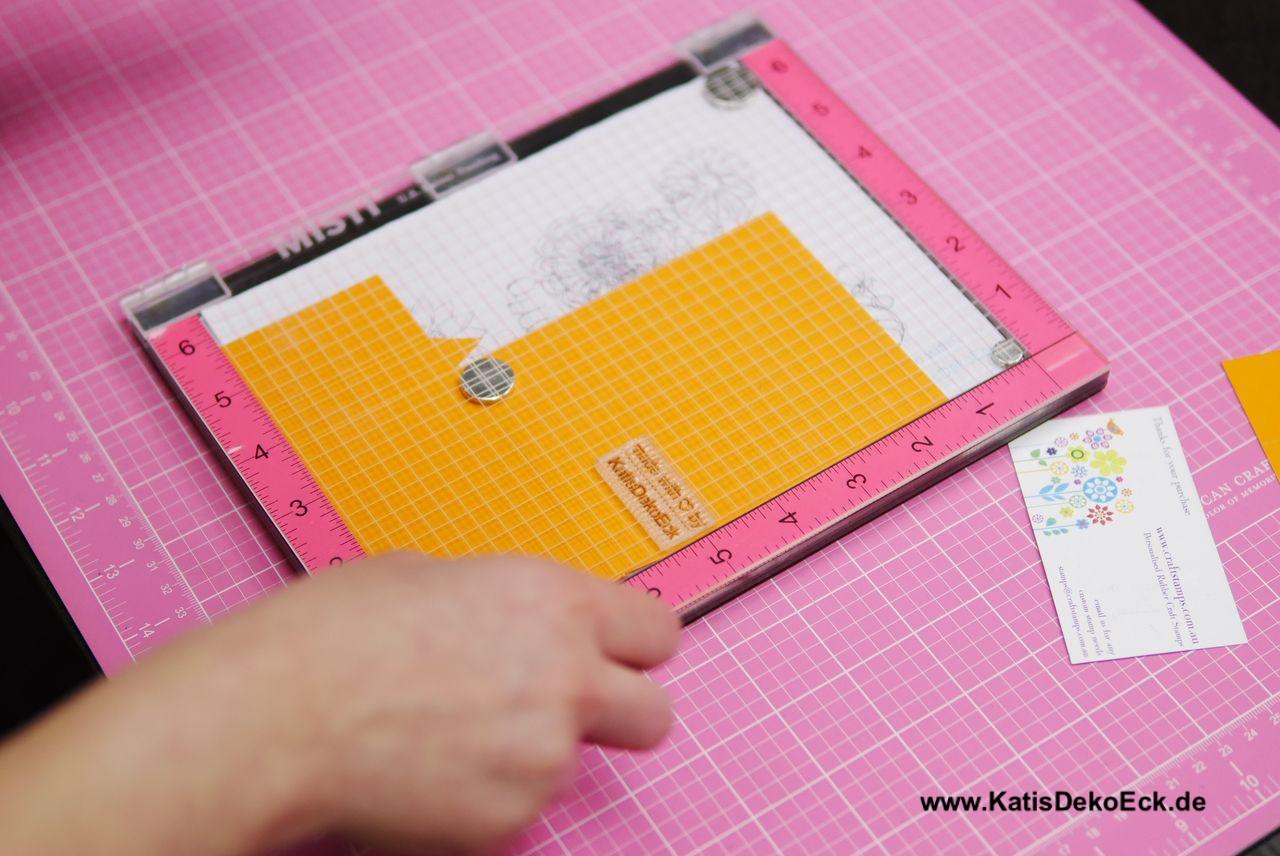
This here is important to me. I am proud of my work and everybody may see that. Thus I stamp the back of the notepad with my mark:
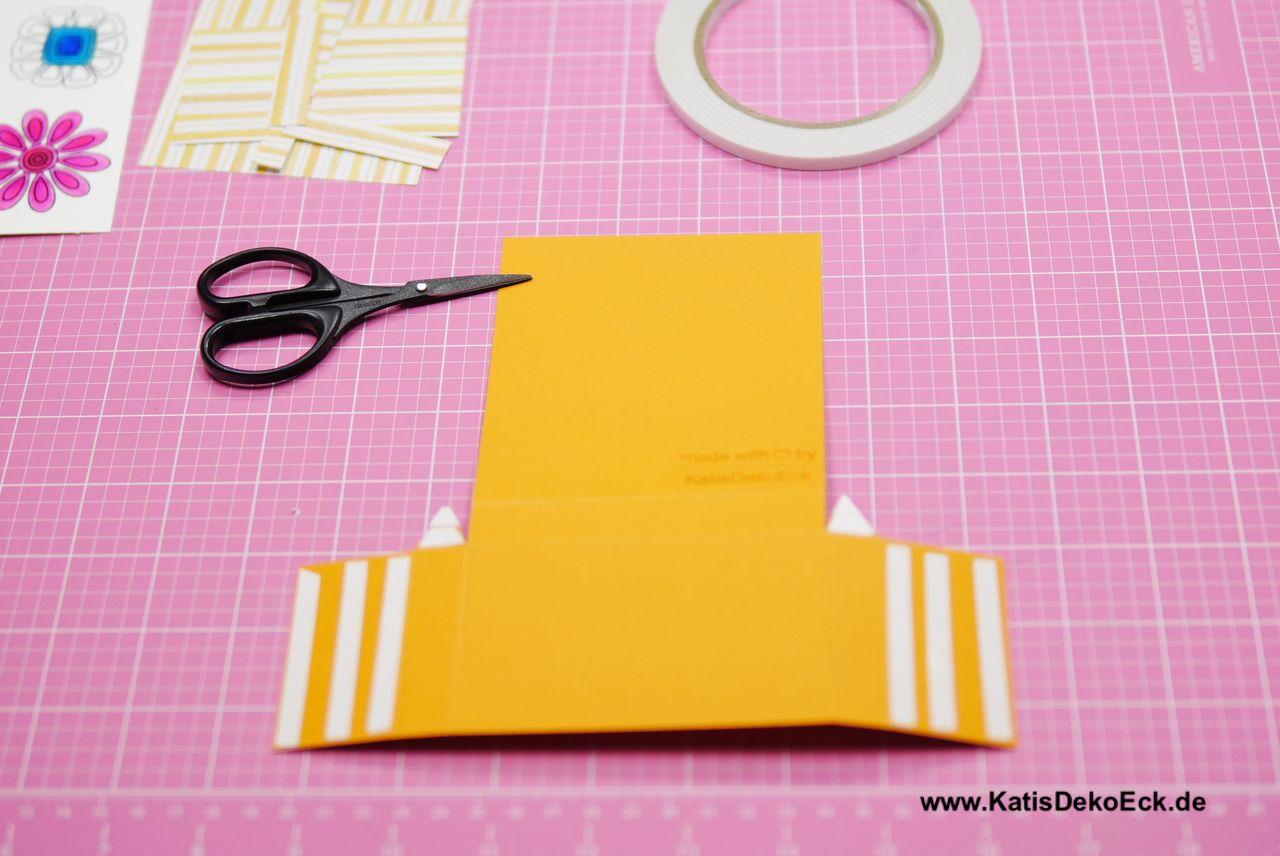
Next I put a doublesided adhesive on the flaps to be clued down. Of course you can use whatever type of adhesive you prefer, may it be liquide or whatever you like best:
Until now it looks rather boring, so one-colour-ish…
Thats why we get to the colourful patterned paper now:
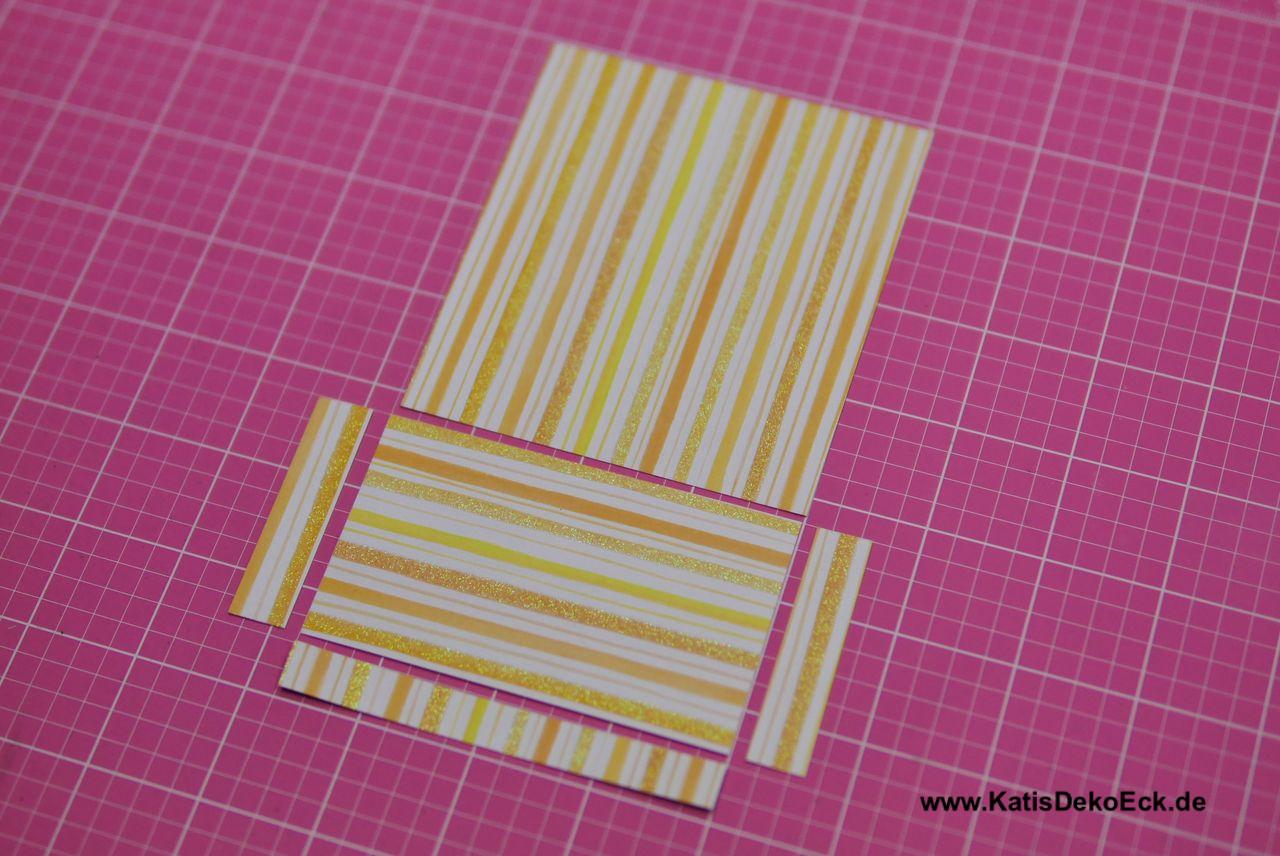
Please cut as follows:
- 1-times 10.5cm * 9.5cm
- 1-times 9.5cm * 5.5cm
- 1-times 9.5cm * 1 cm
- 2-times 5.5cm * 1.3cm
But somehow this is still missing the „it“…
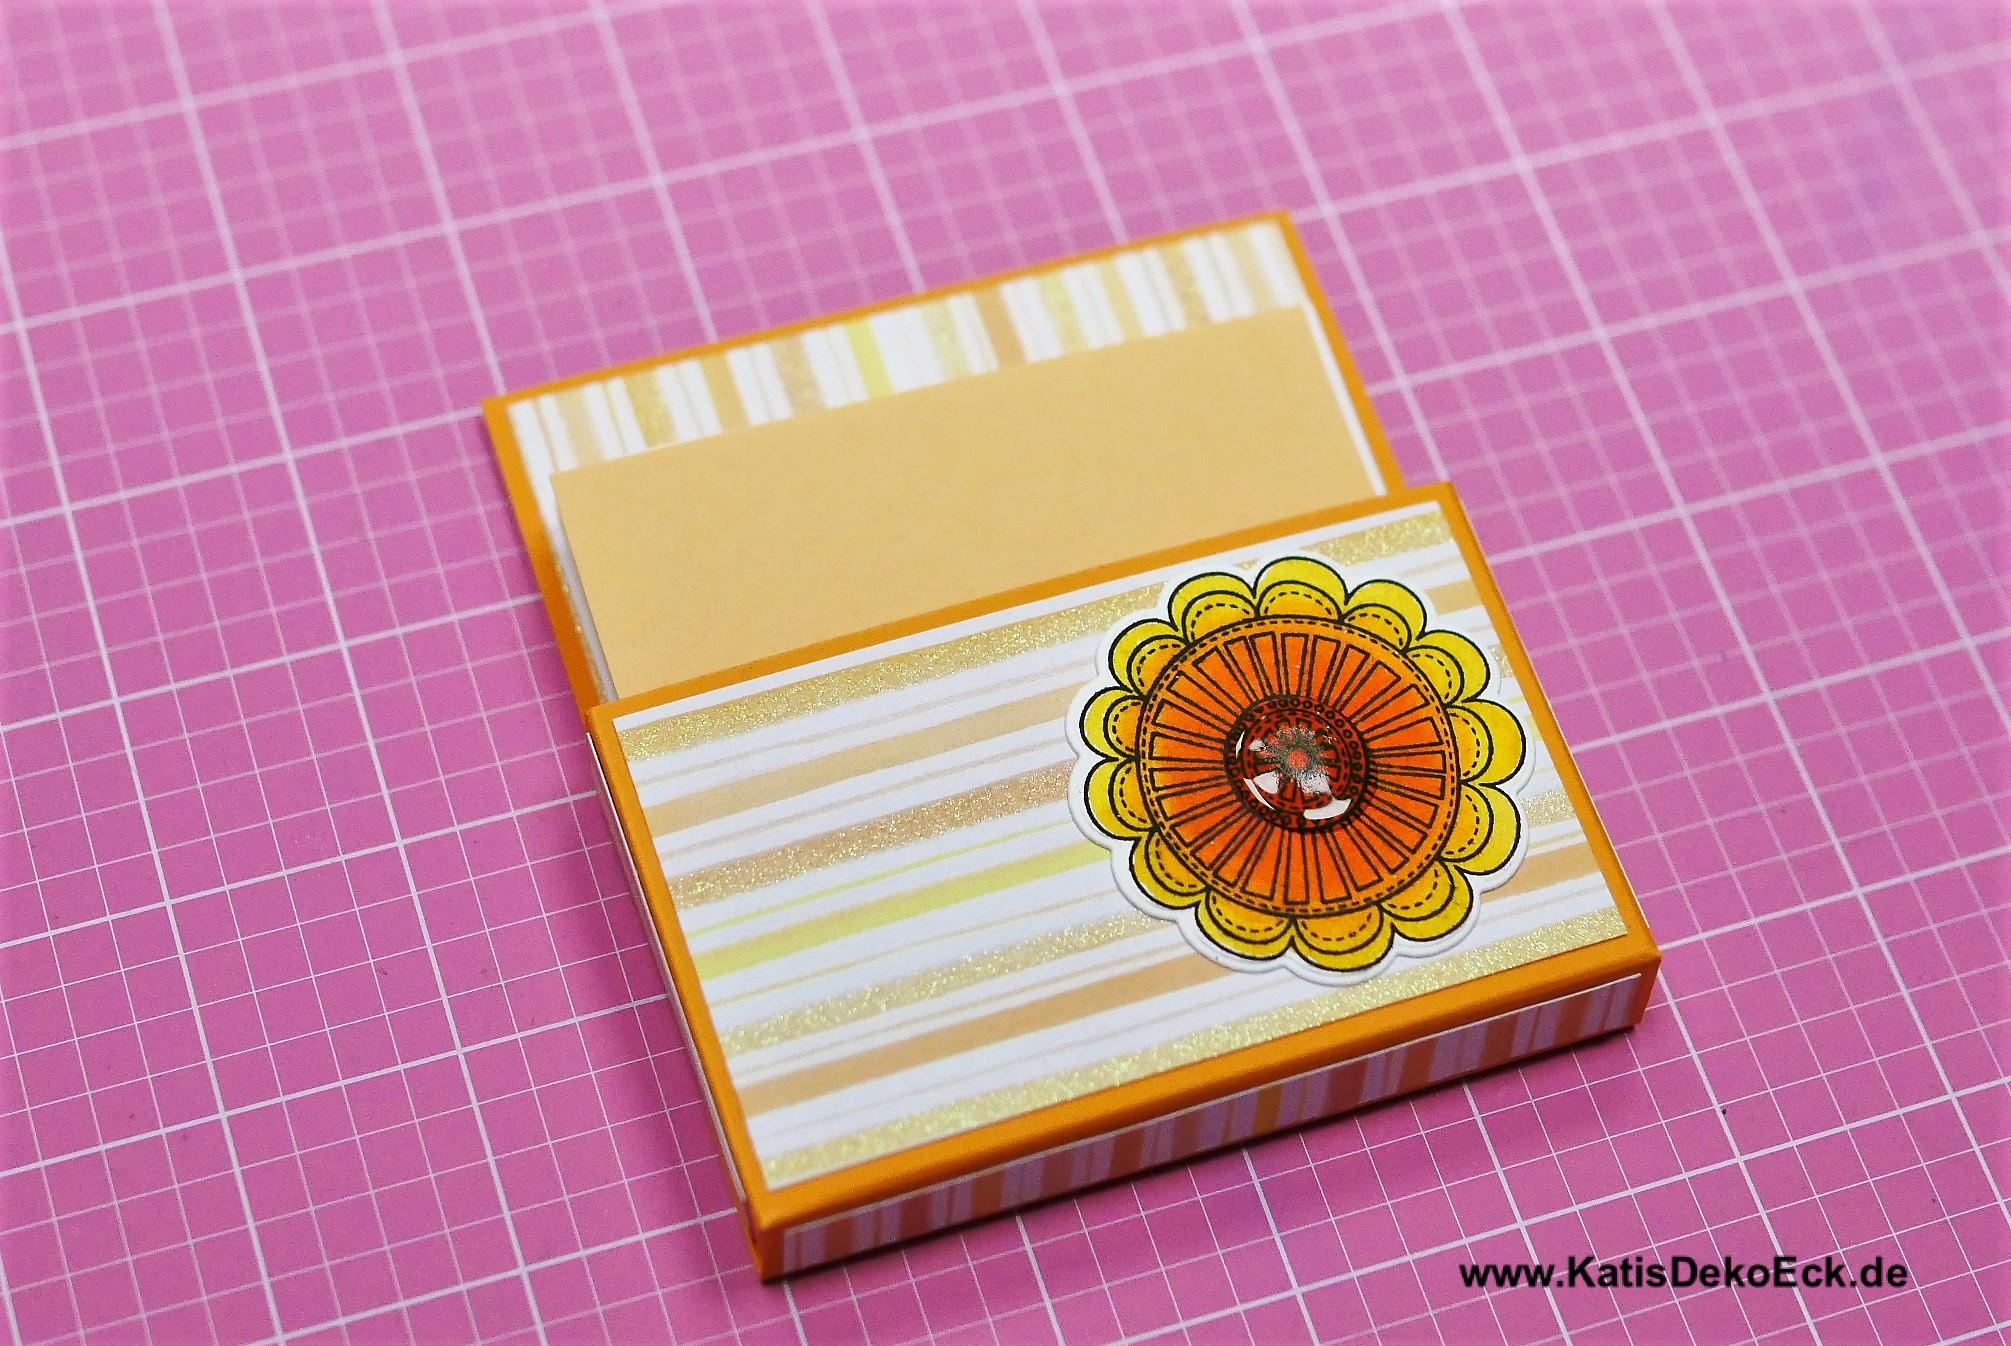
Right, and that’s why I add a stamped and coloured theme to almost all of them (only if the paper itself is enough, I leave this step…
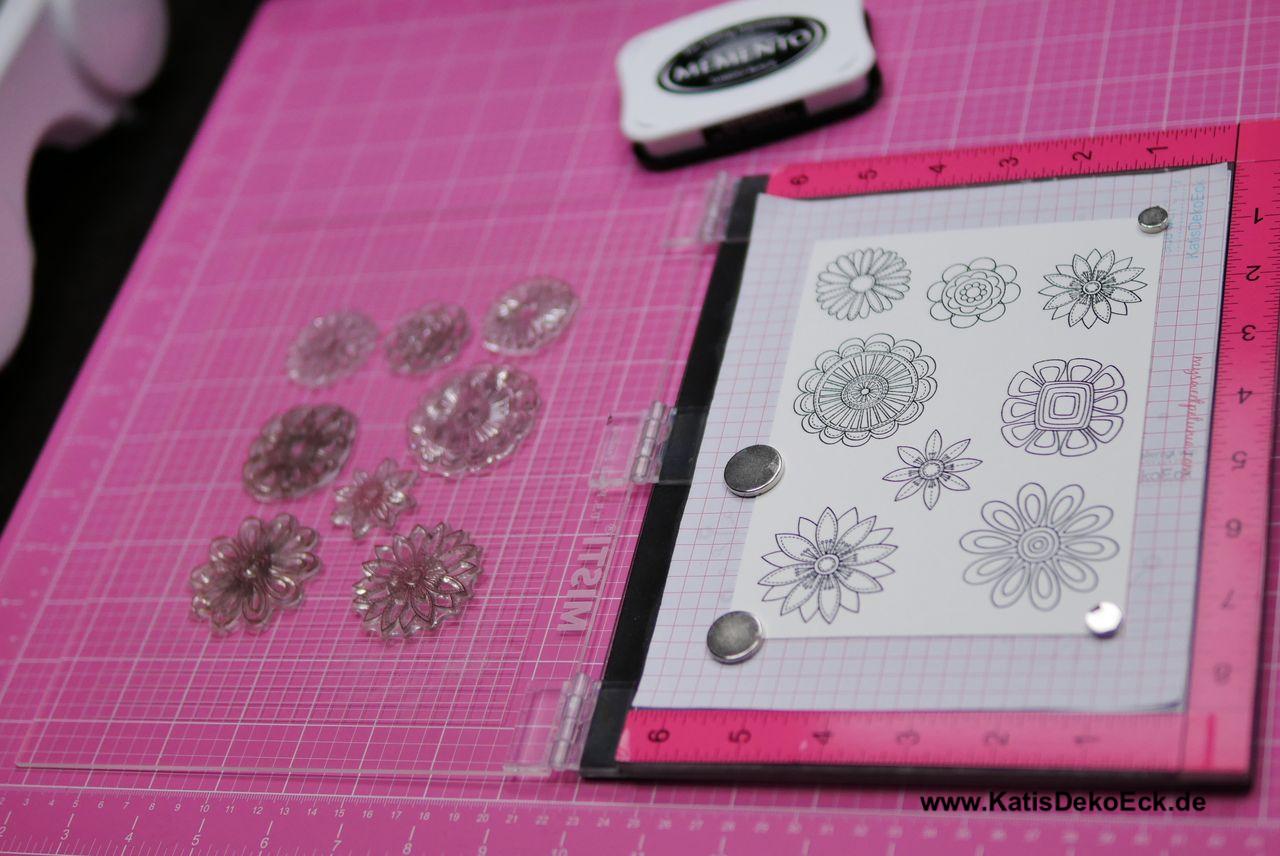
I regularly use the Memento Tuxedo Black Ink, this is almost perfect to use with my favourite markers, but please let the stamped image rest for a couple of hours before coloring, because this avoids bleeding of the black ink into the colour!
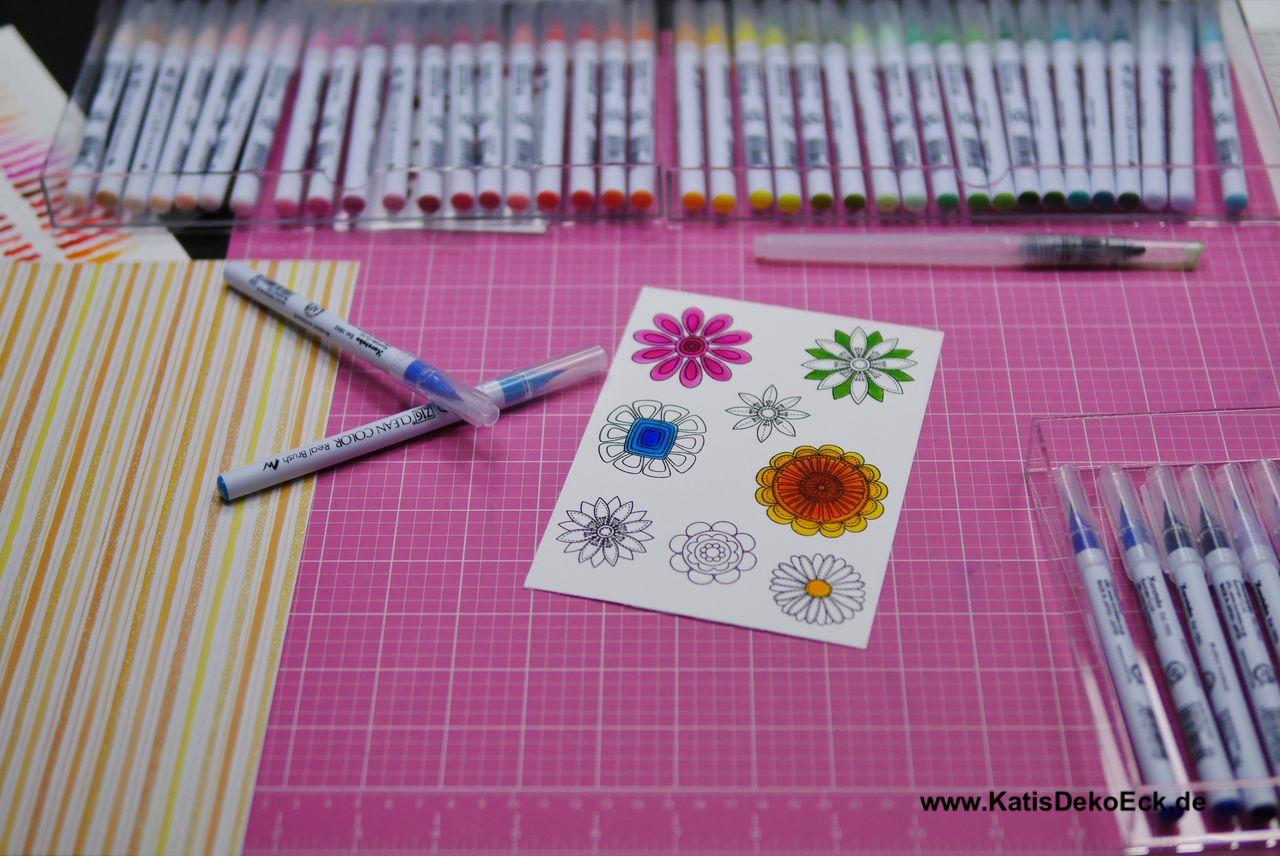
More often than not I colour more than one pictures with my ZIG markers (thus the watercolor paper as these markers are wonderful to mix and blend and smoothen them with water) and then I chose the one best fitting my project:
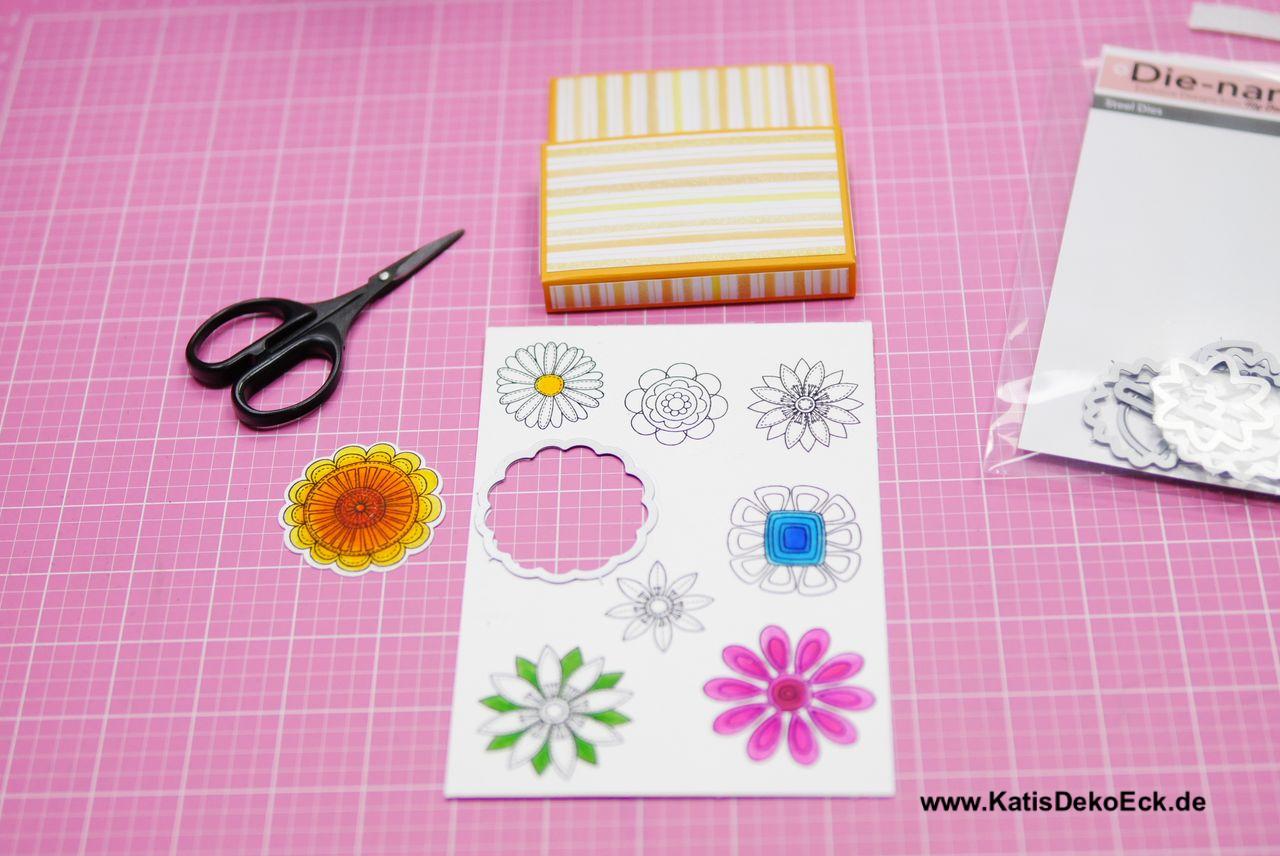
Ok, flower chosen, so either nicely fussycutting it out or make live easier by using the respective die and diecut it:
Well, almost done.
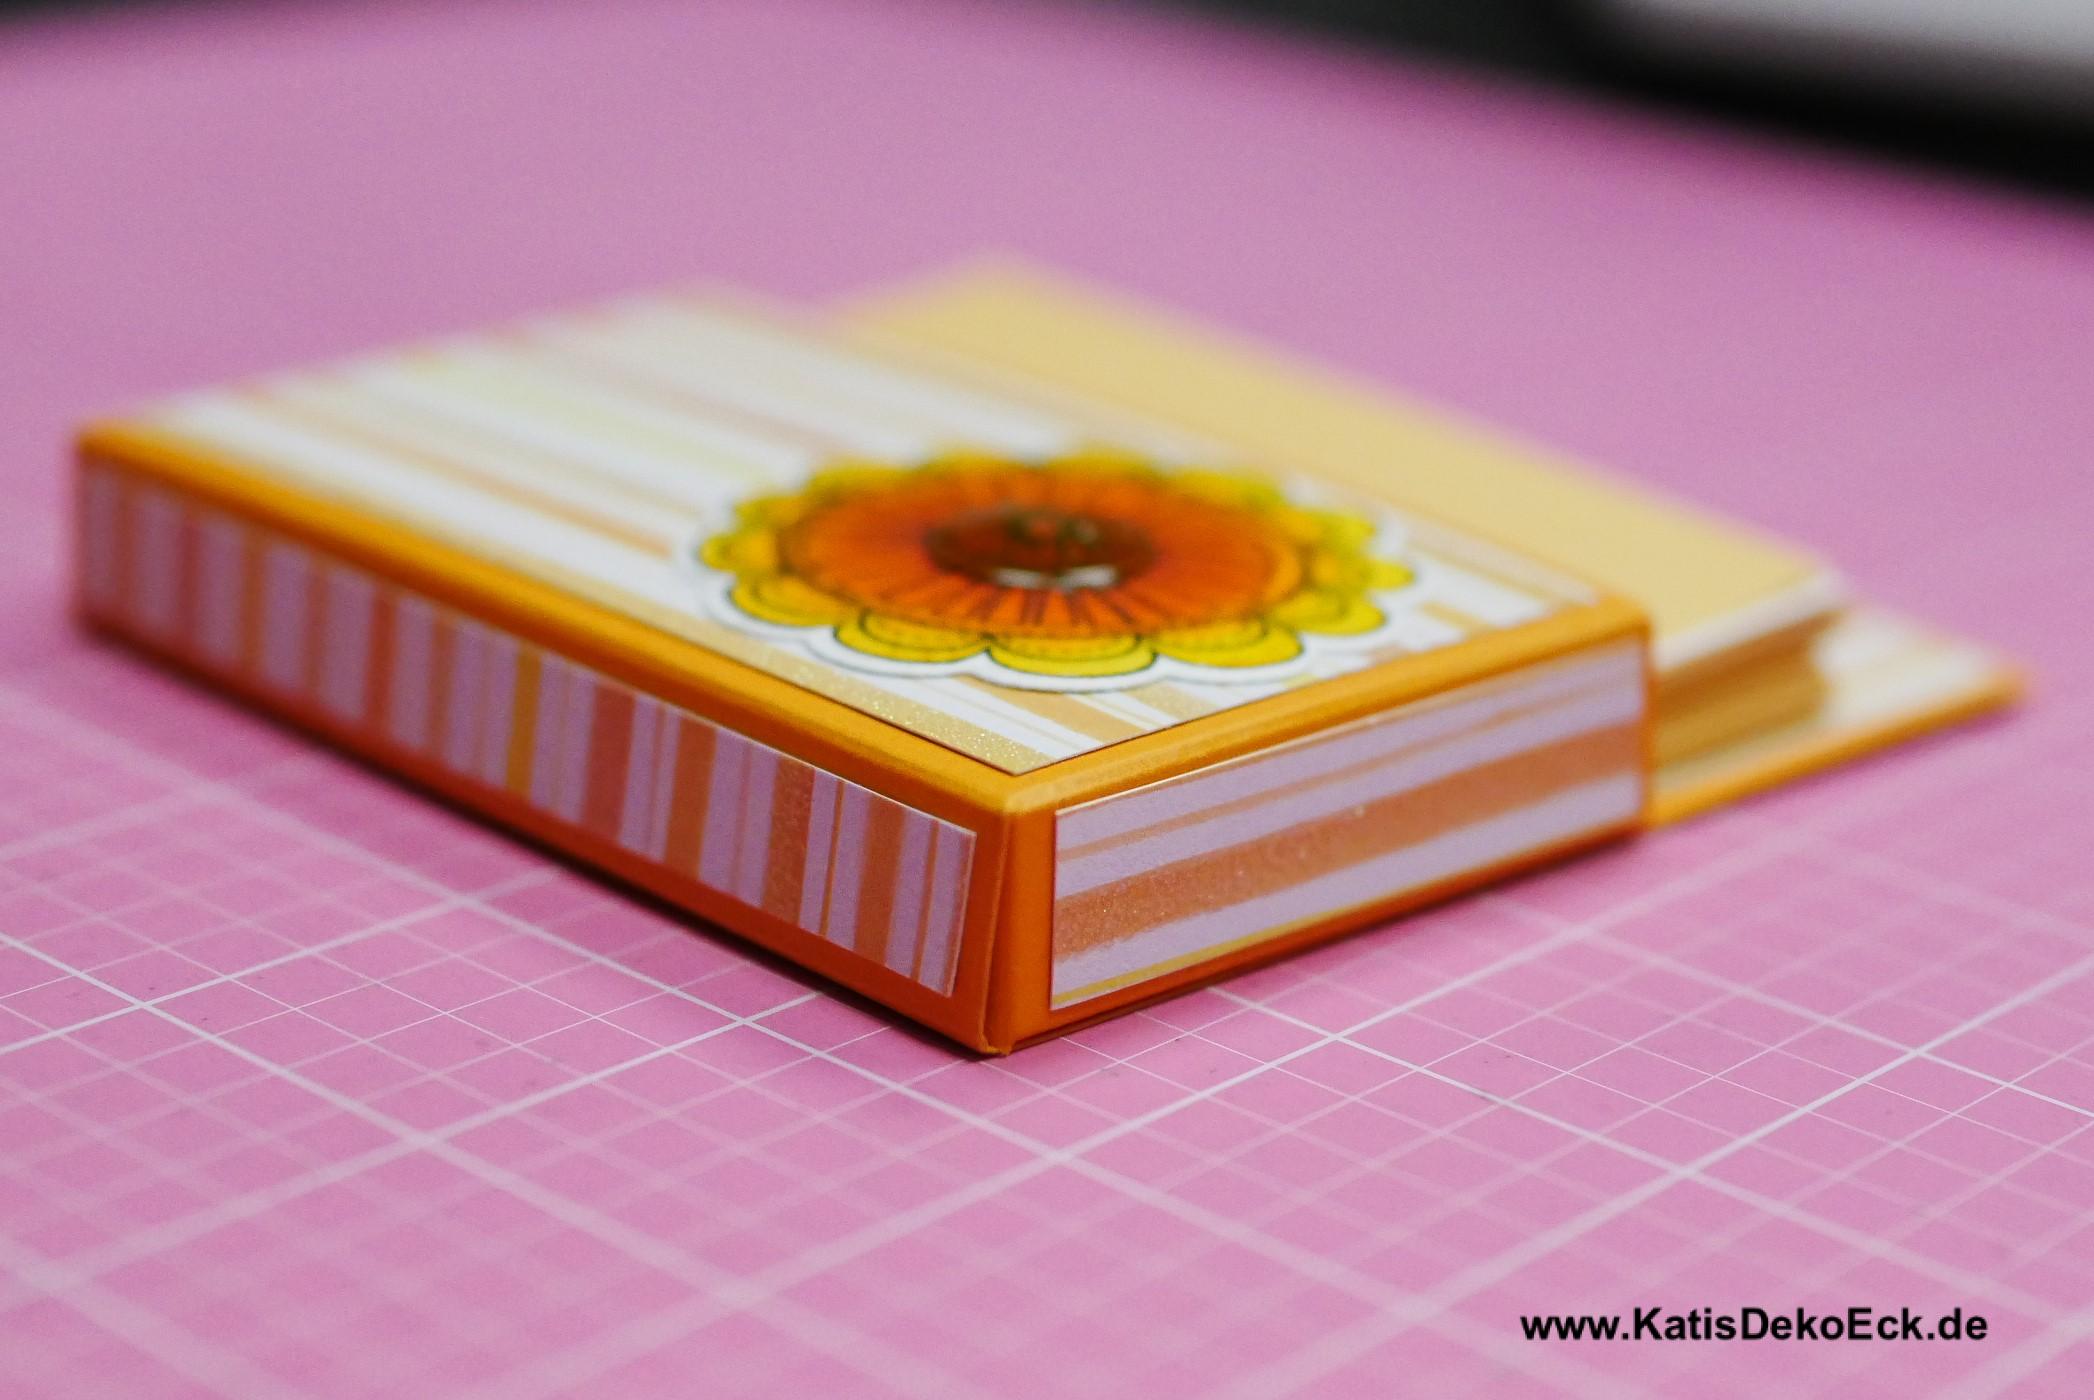
Just cut one stripe of magnetic self-adhesive magnetic band in the length of 9.5cm and adhere it to the upper edge of the back side of the notepad:

And finished!
Happy with the result? I surely hope so. And if, please take a picture of your product and post it on Instagram. Oh, yes, and please tagg it with #KatisDekoEck so that I can have a look!
So, what’s next?
Well I had a lot of fun creating this tutorial. So, did you find or see something on either of my pages (Blog, Instragram or Etsy) that you would want to see in another tutorial? Great! Please tell me, I would love to.
Finally, have fun in trying out and being creative!!
Deine Gedanken zu diesem Thema