Hier geht’s zur Deutschen Version!
Or: how to make the best out of the rest?
Hello dear crafty friends,
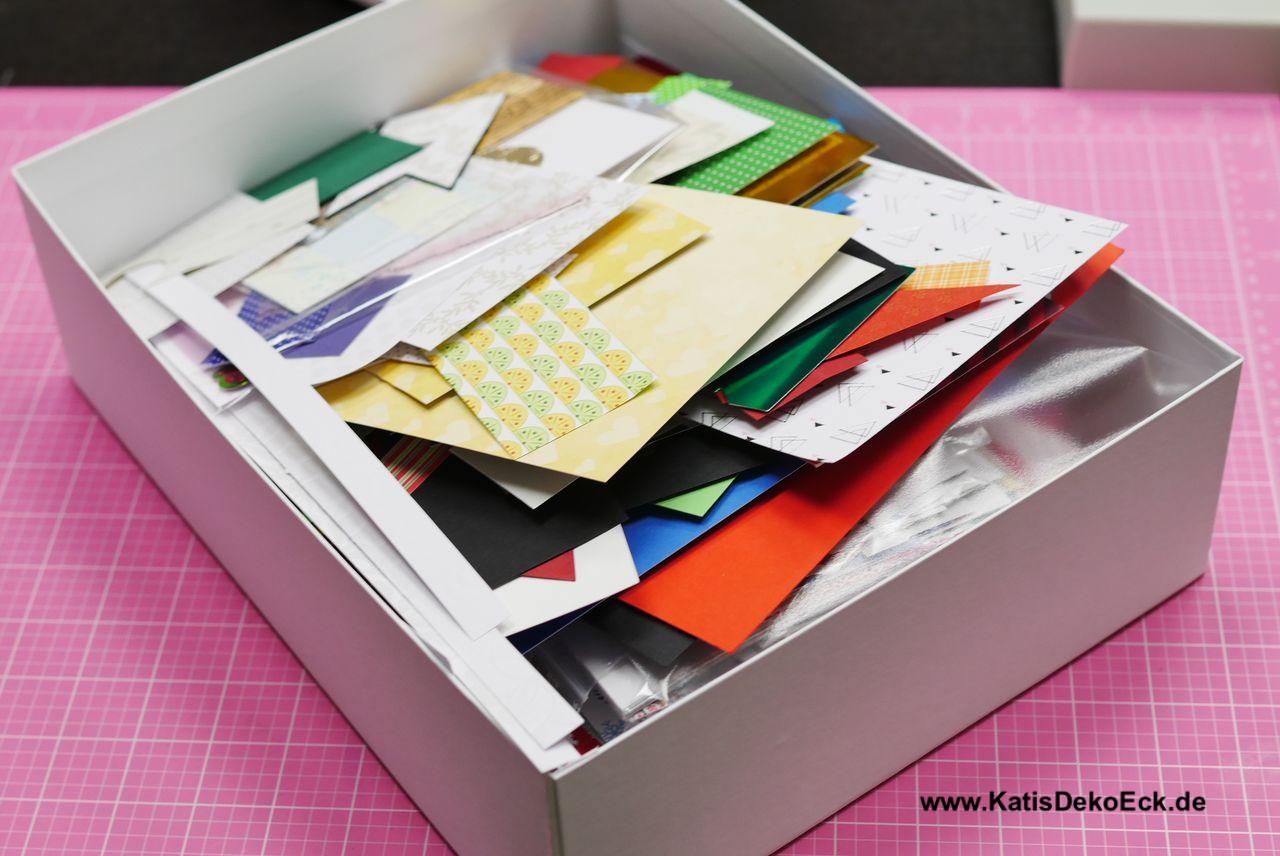
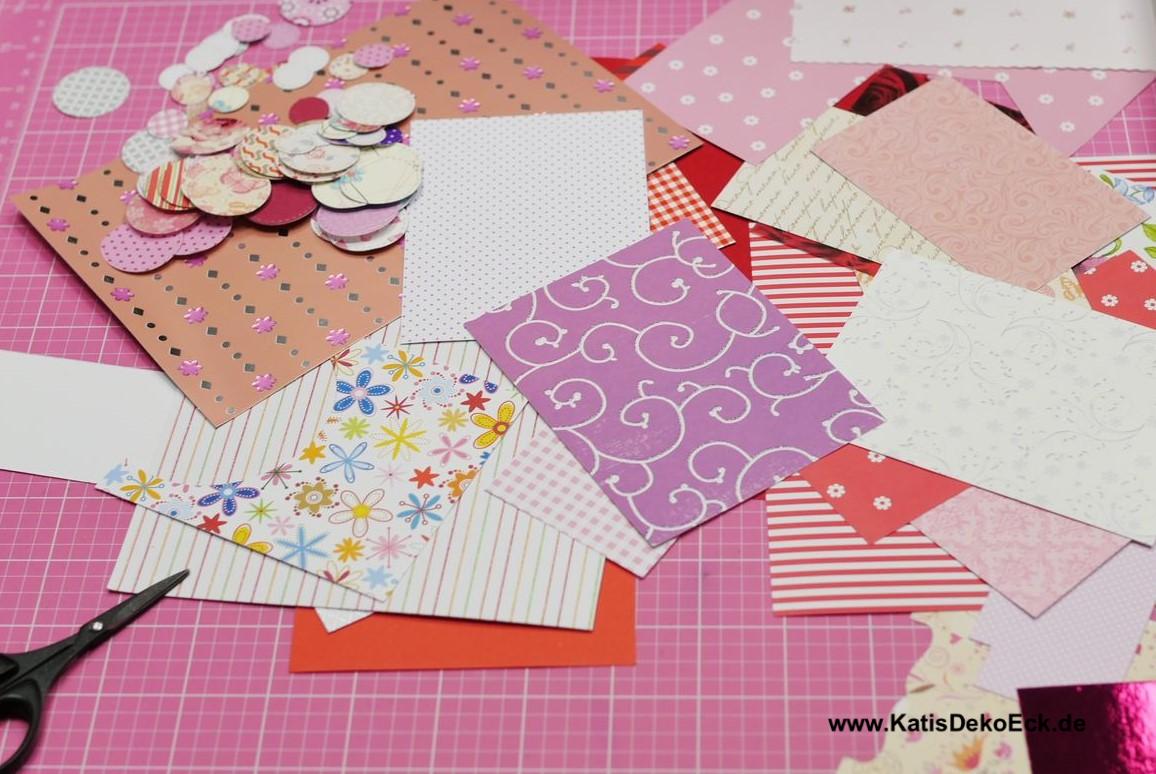
It is past time that I bring you another little how-to. Today I chose to take out my scraps-box. Everyone of us crafters is sure to have a box / drawer / carton (or a full room of) these scraps and this here is mine:
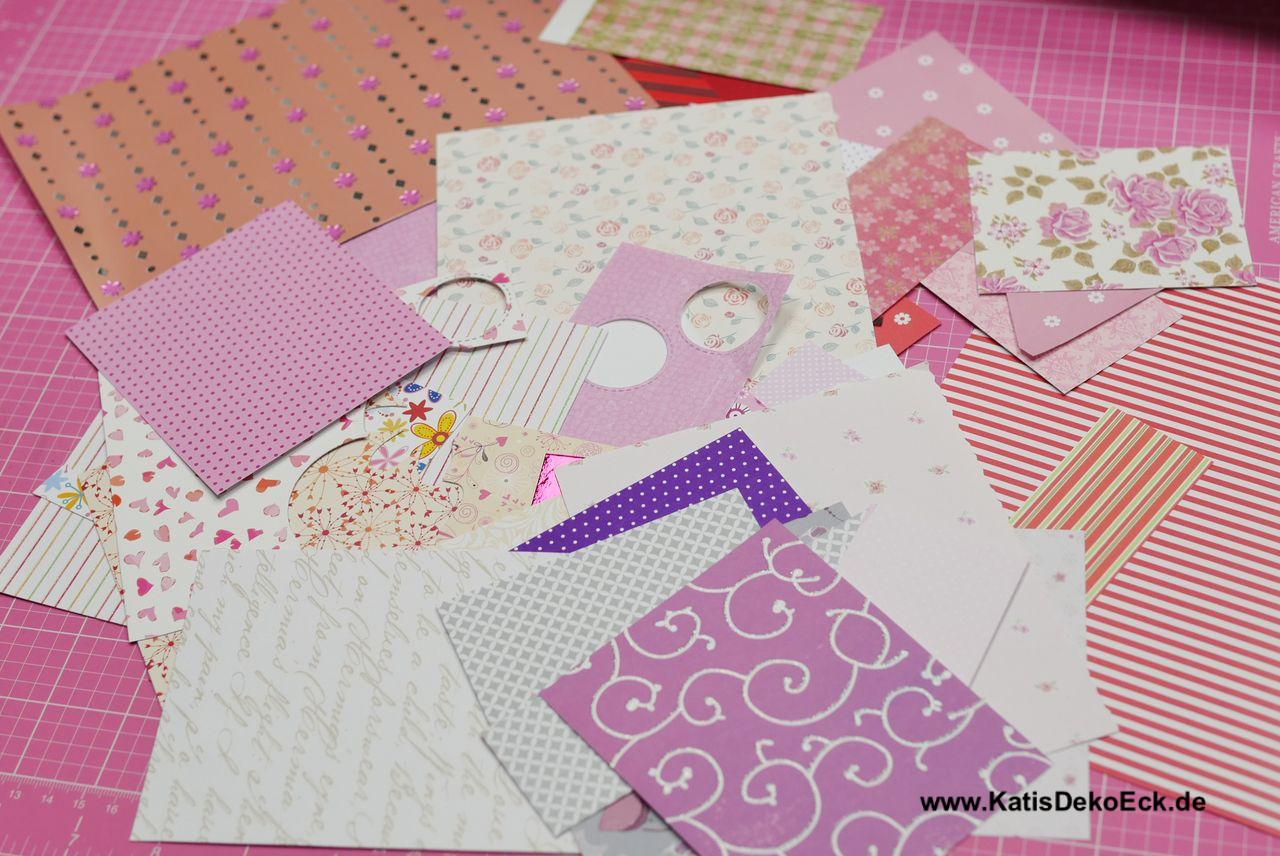
Once every now and then I get the mojo and decide to make something out of it. So, think of an idea and a color scheme. Then I dig into my box and pick every piece of paper fitting to this theme:
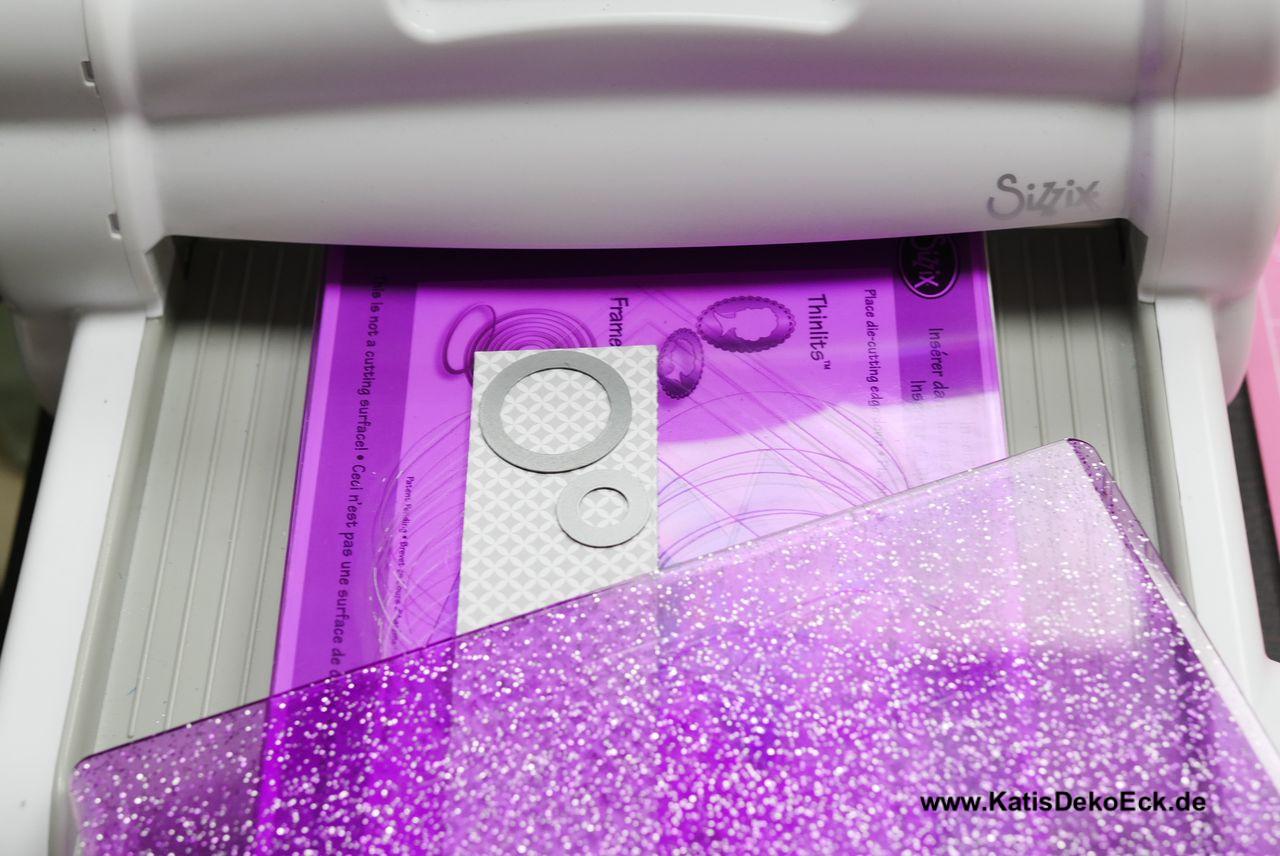
Next thing to do is to select the shape. And as I wanted to round it up, I chose some circle dies and was left with „what size?“:
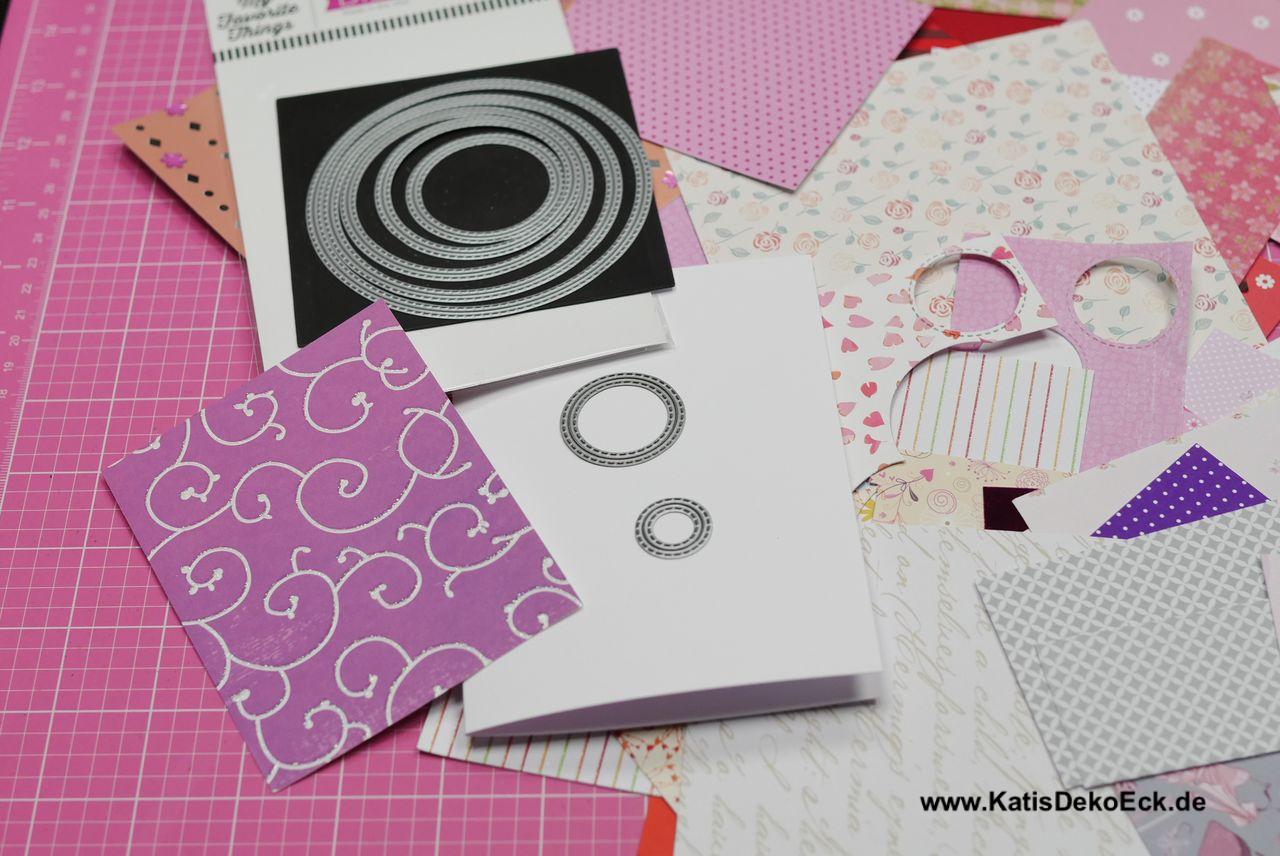
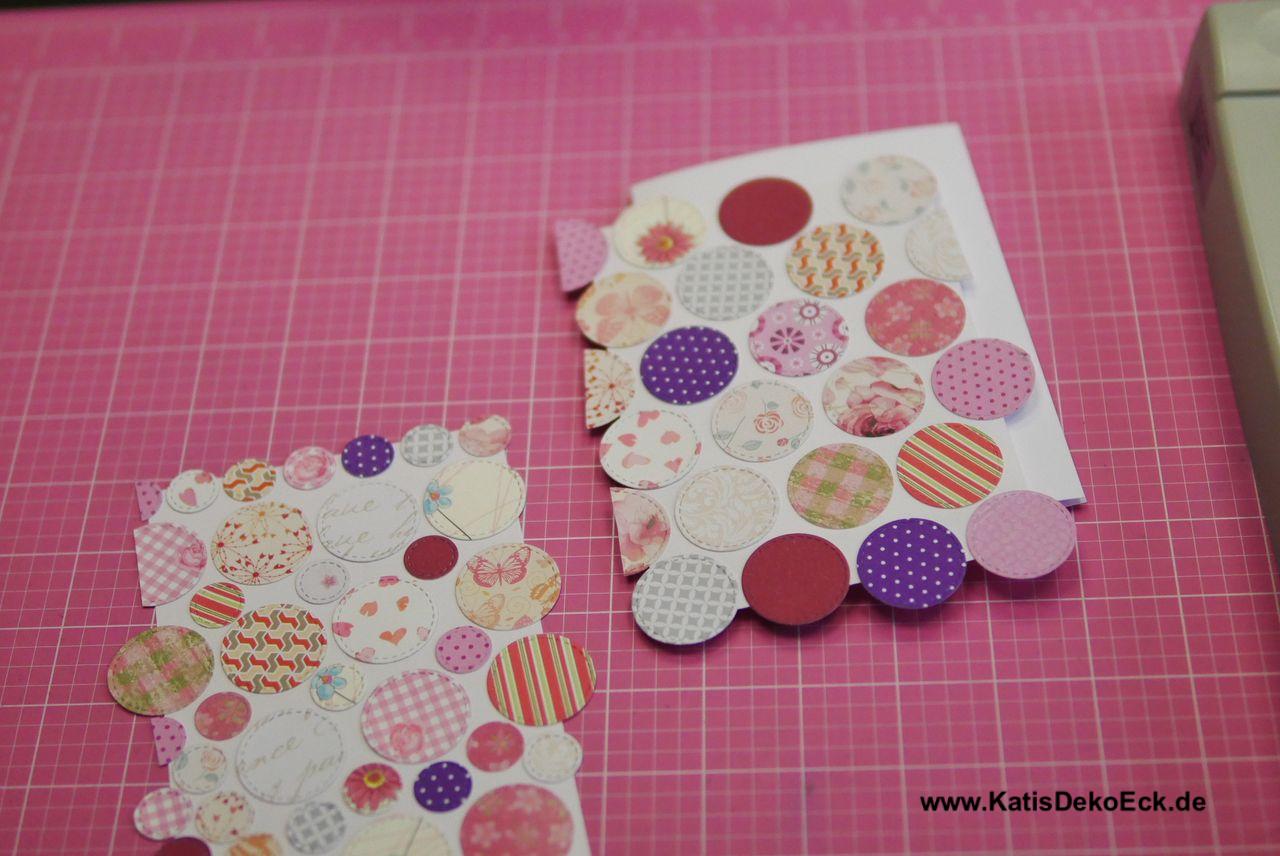
Now you gotta exercise. Cut as many different papers into circles, as possible. I use my Sizzix Big Shot Plus for this, but you can just use whatever diecutting machine you got or you could even fuzzy-cut everything with scissors, if you like:
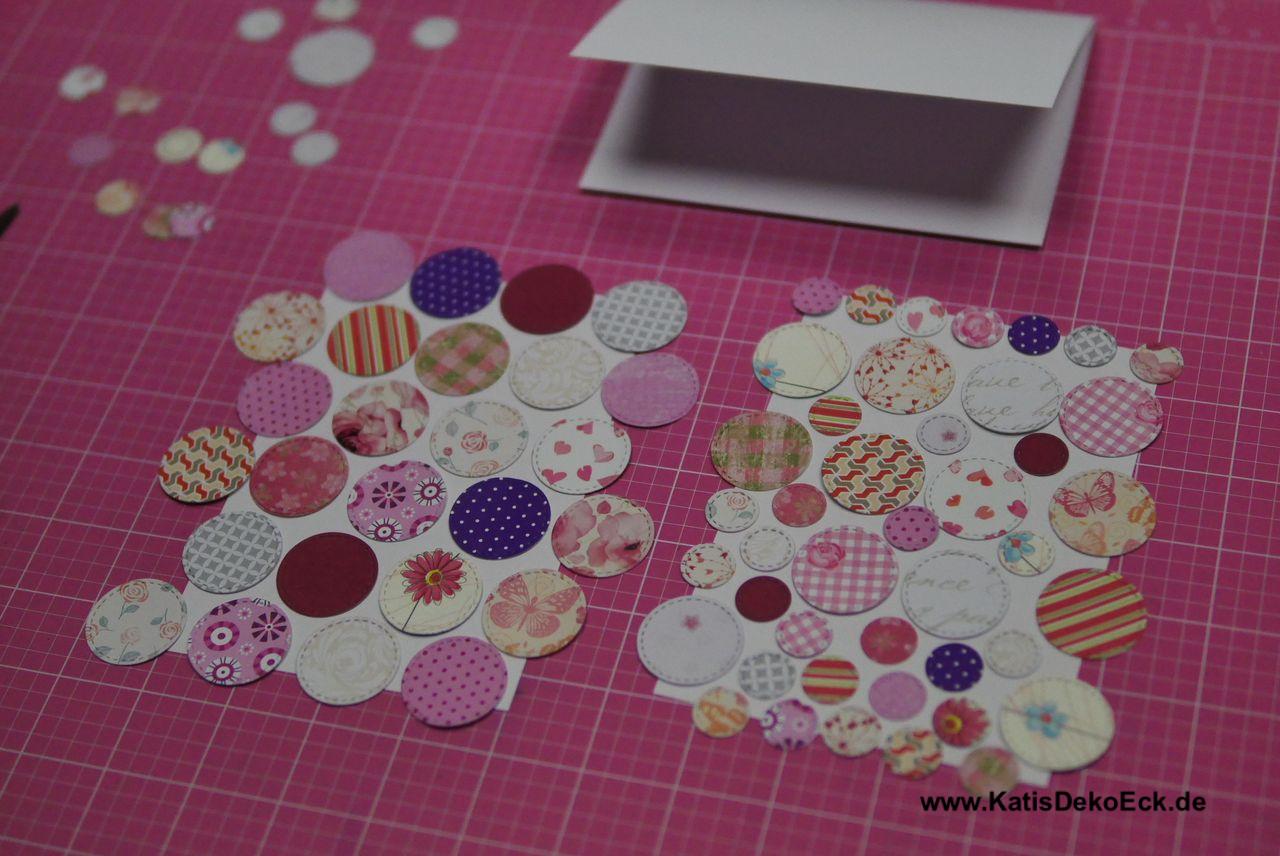
And you will ultimately end up with a whole bunch of beautiful circles (or triangles, or squares or whatever you chose previously!):
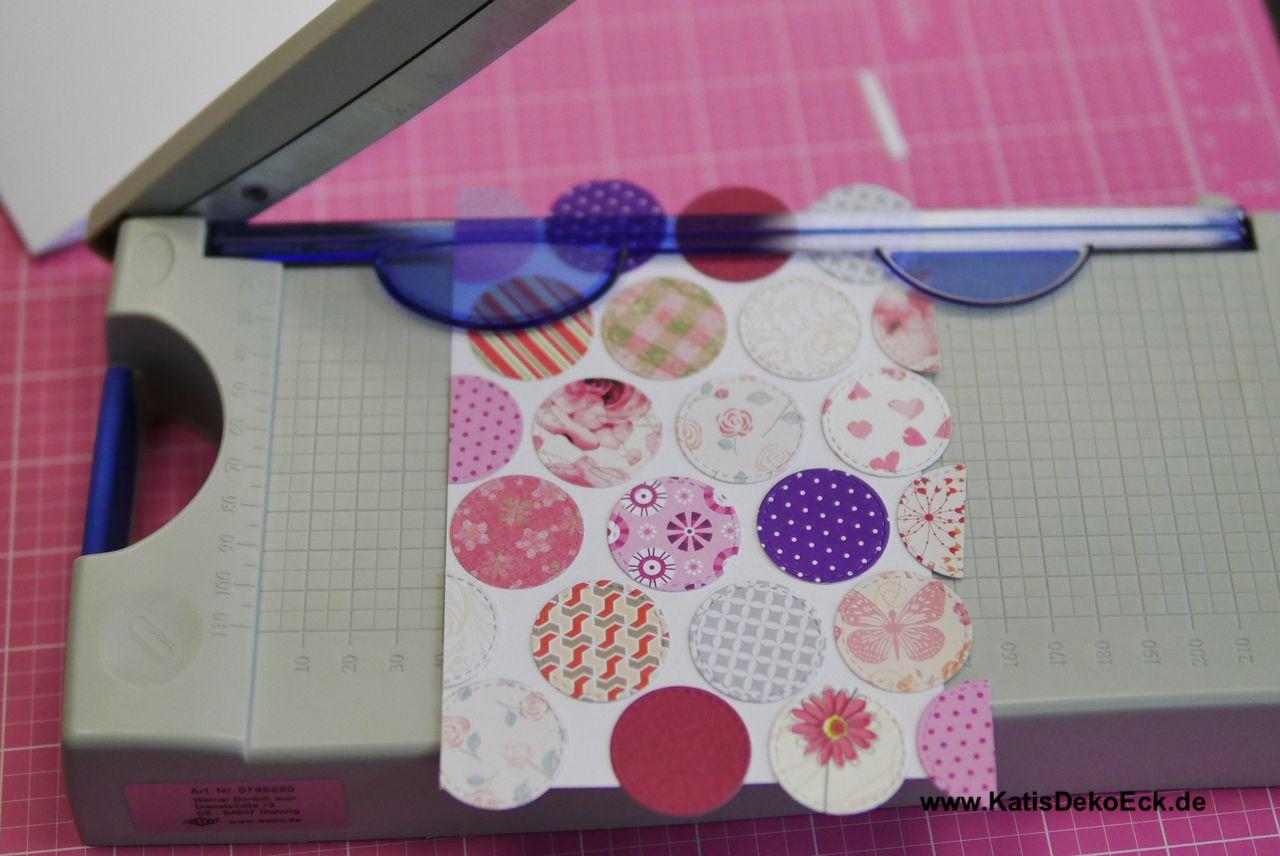
I tend to lay down my shapes on an extra sheet of paper to be able to place, shift, replace them until I find their right position and really like the card setup. For this simply cut a card basis in a neutral color (a bit bigger than the final card is intended to be – so this will leave you enoug edges to cut when finishing your masterpiece…)
Now, lets get to the point:
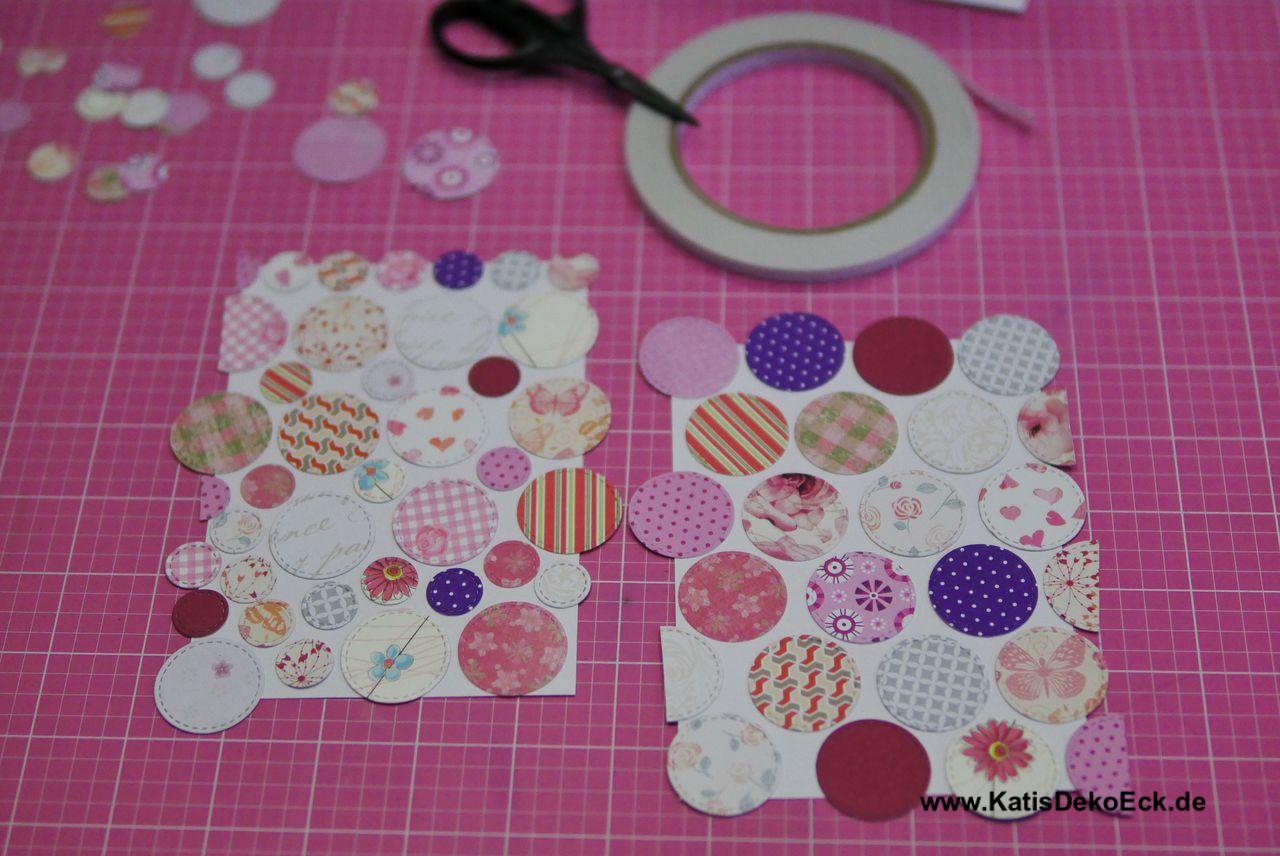
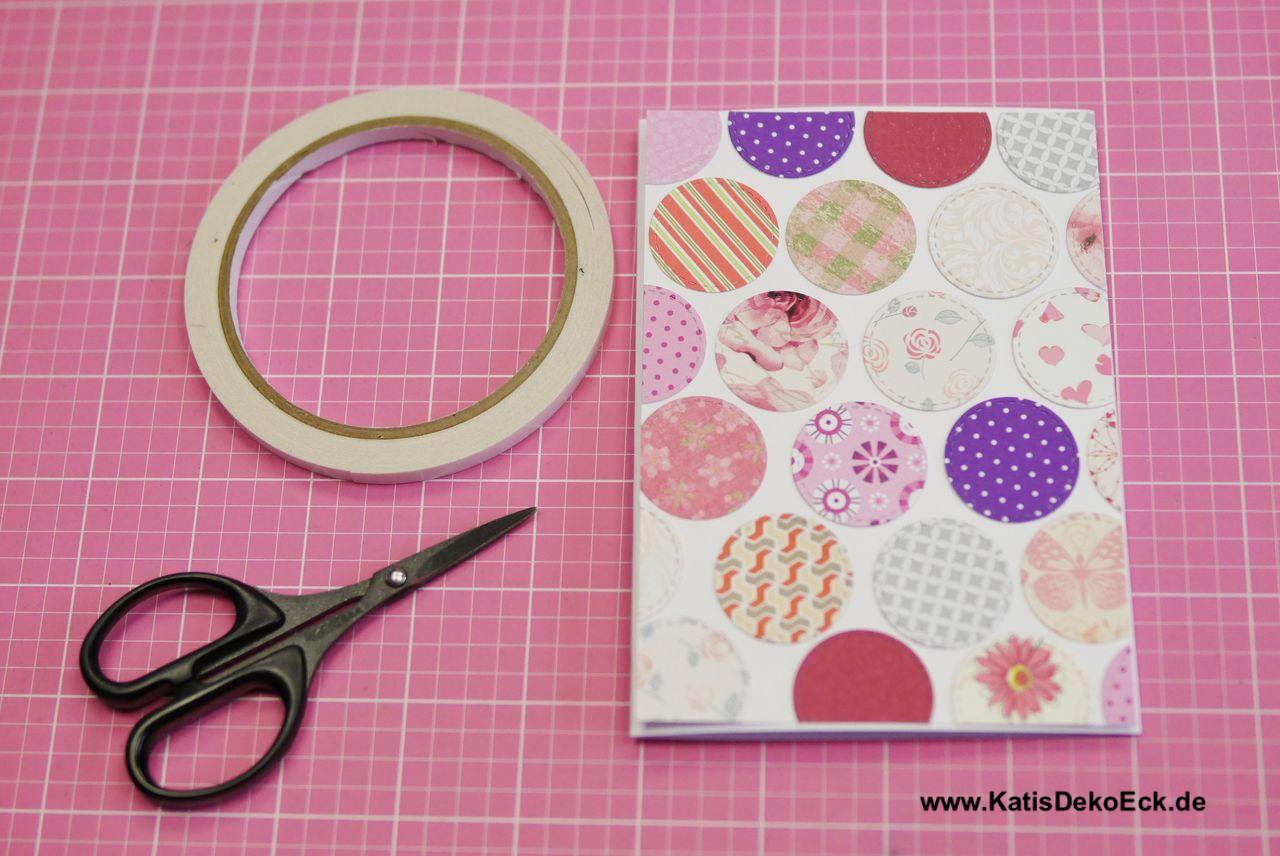
Well now, lets glue it. Take whatever adhesive you feel most comfortable with. For me this is almost always and ever a 6mm wide double-sided tape. Why? No specific reason, I just like using it.
Next question: will it look good?
Now cut the self-created patterned paper to size:
And stick it on the card basis:
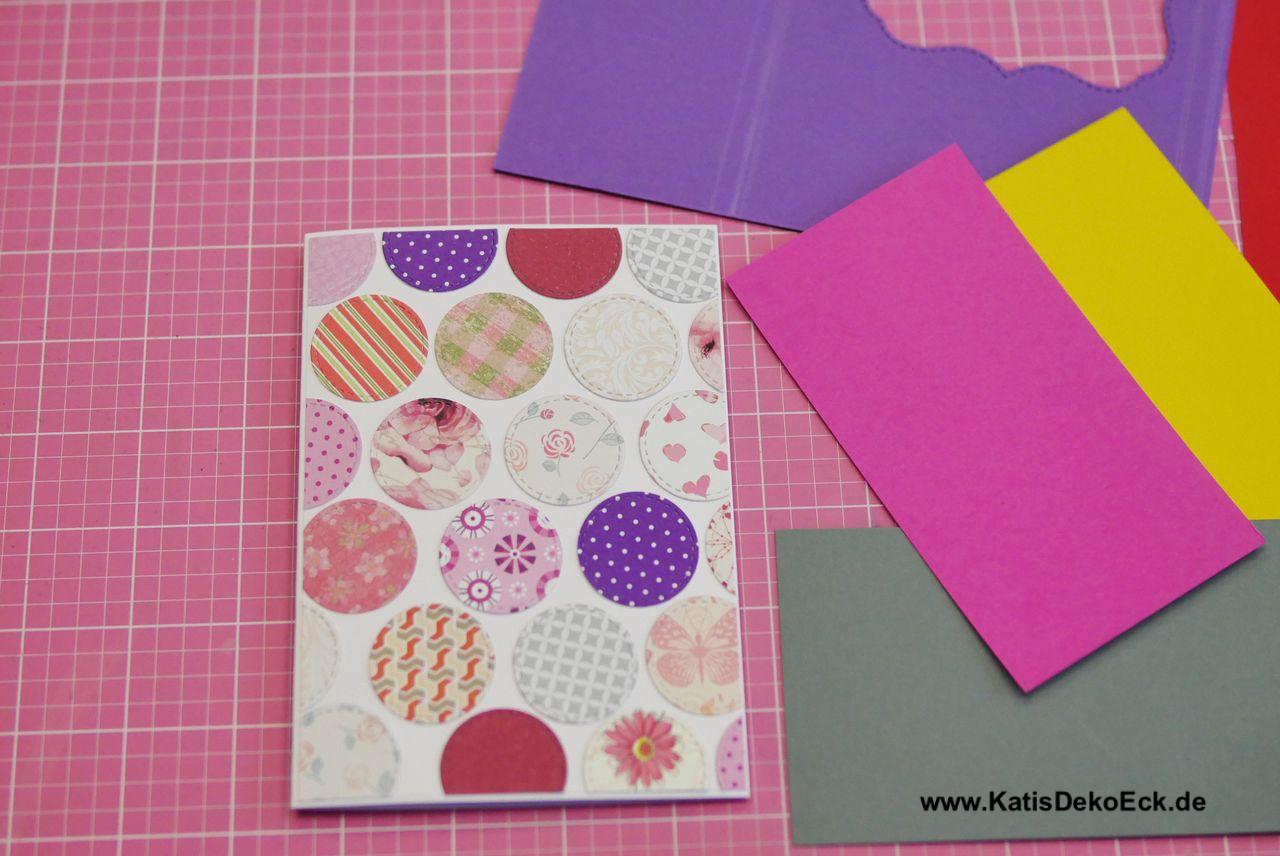
Something is missing?!
Sure, the card needs a sentiment, a greeting or a reason to exist.
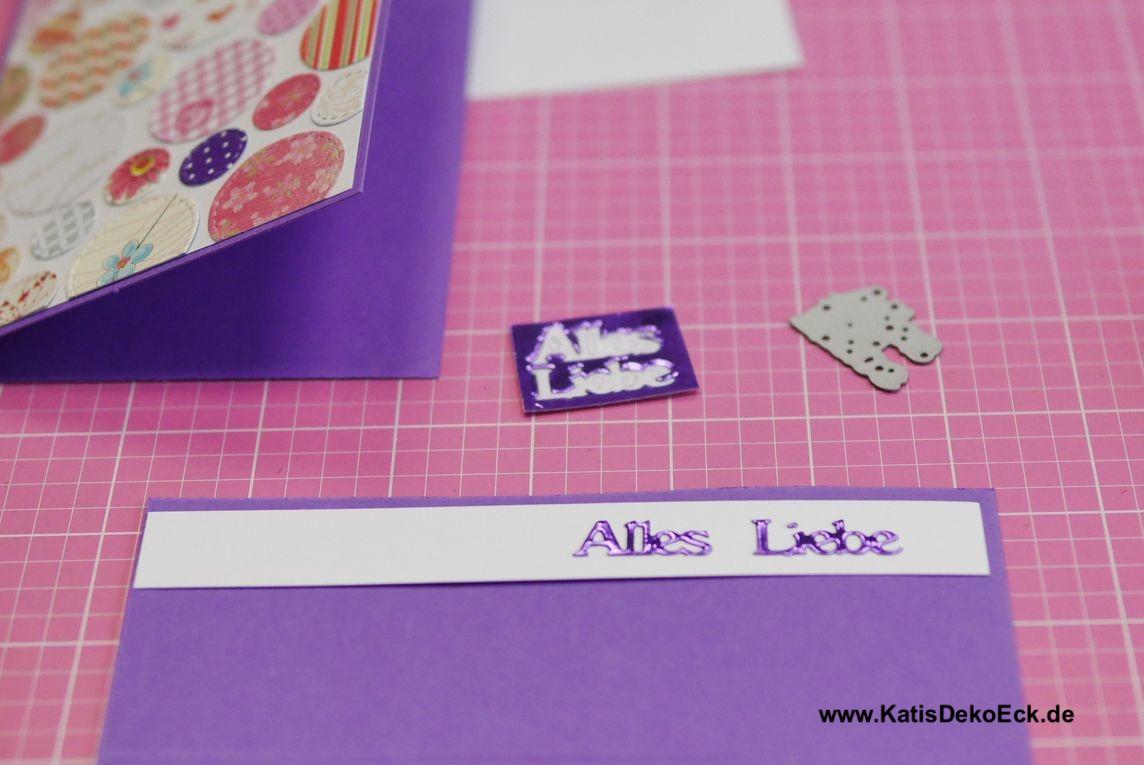
So, let’s cut a banner for the sentiment. For this, too, there are enough scraps to be found and I like to take out a couple of different colors and see what looks best with my newly-created background:
And choosing this was very easy this time:
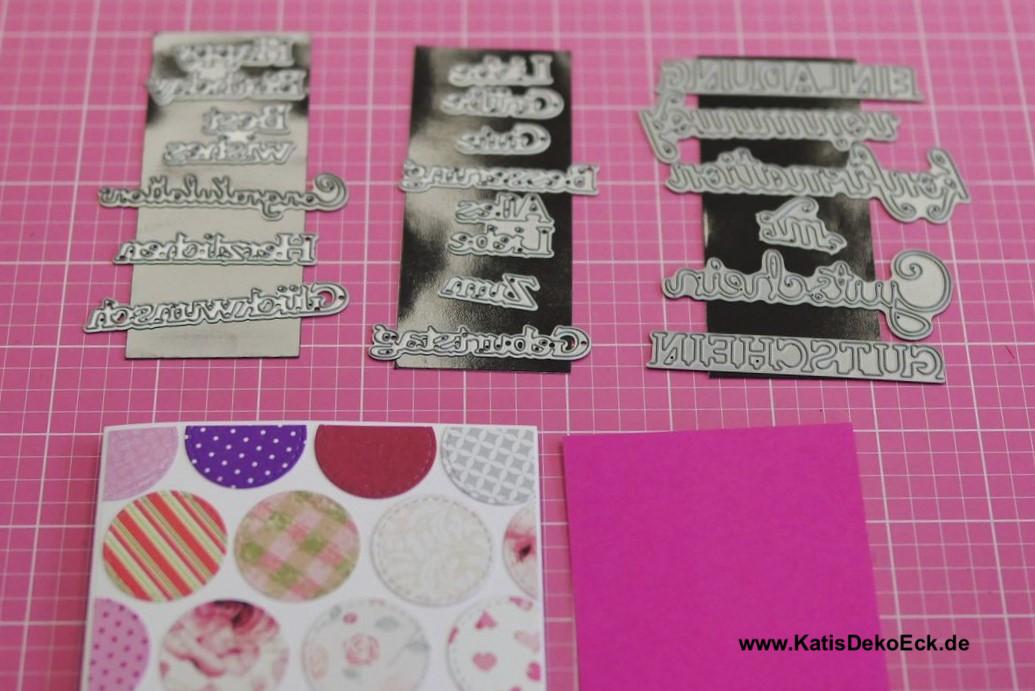
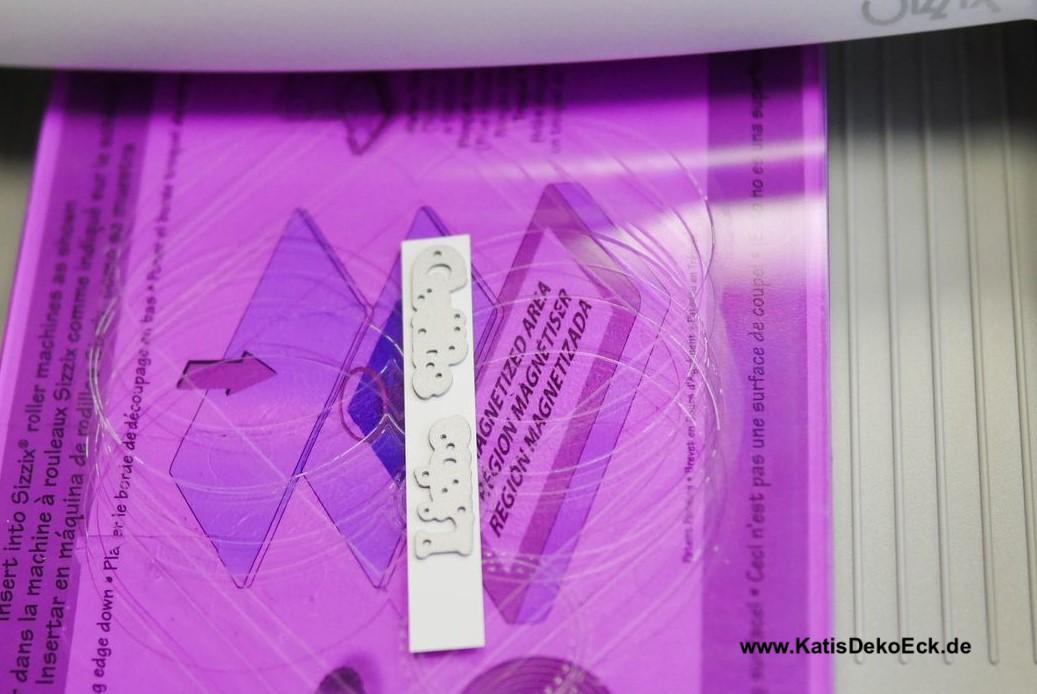
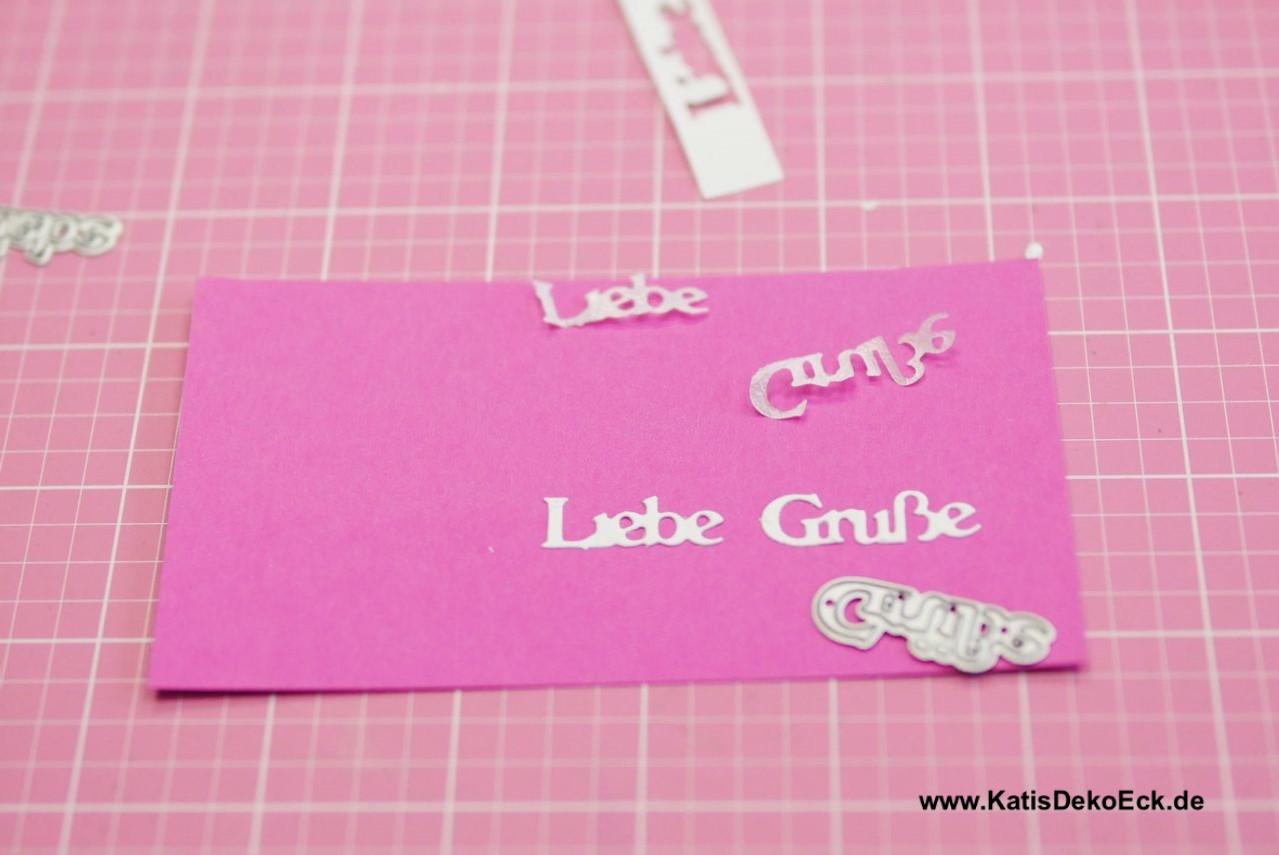
Of couse you can create the sentiment however you like best: stamping, heat embossing, even handlettering. But as my hand writing is far from being perfect, I like to diecut sentiments (provided I got the necessary wording in my dies-stash):
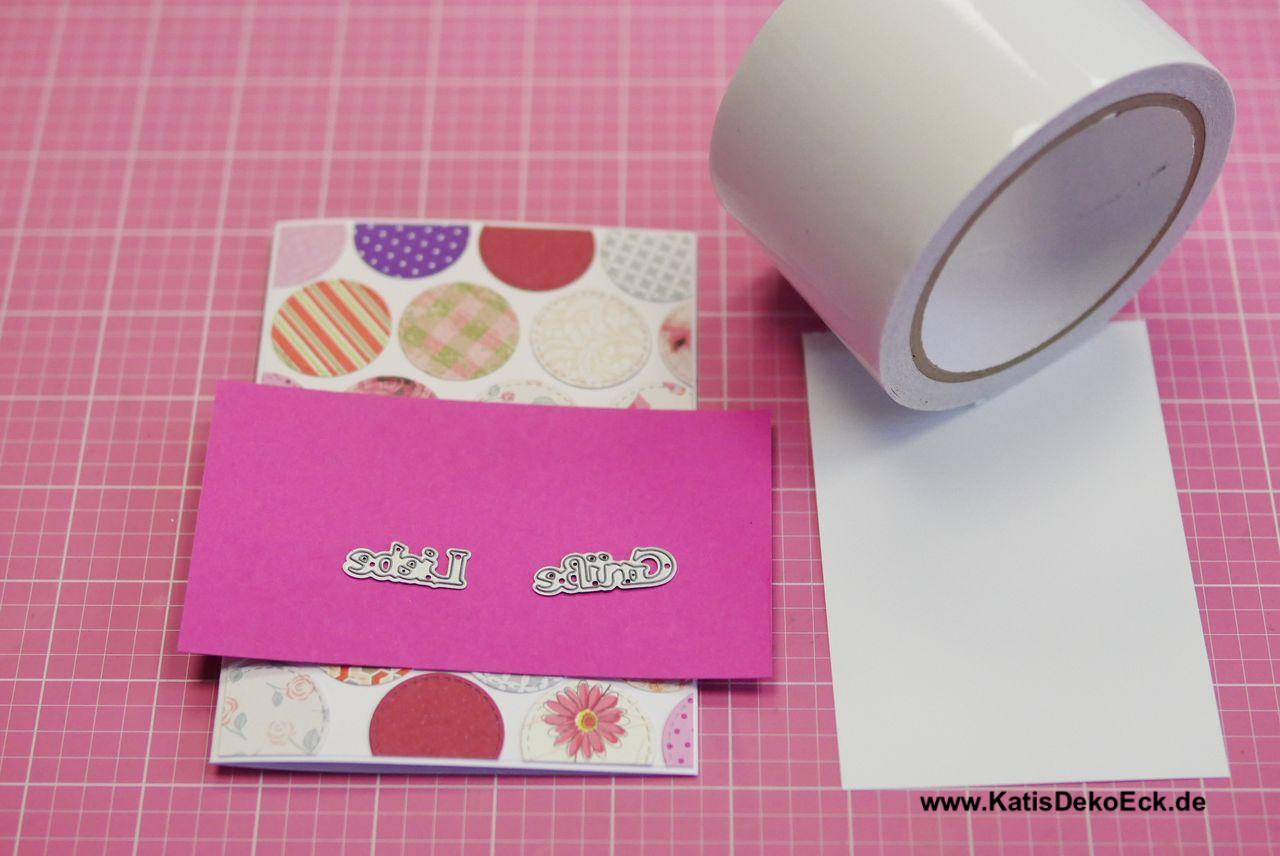
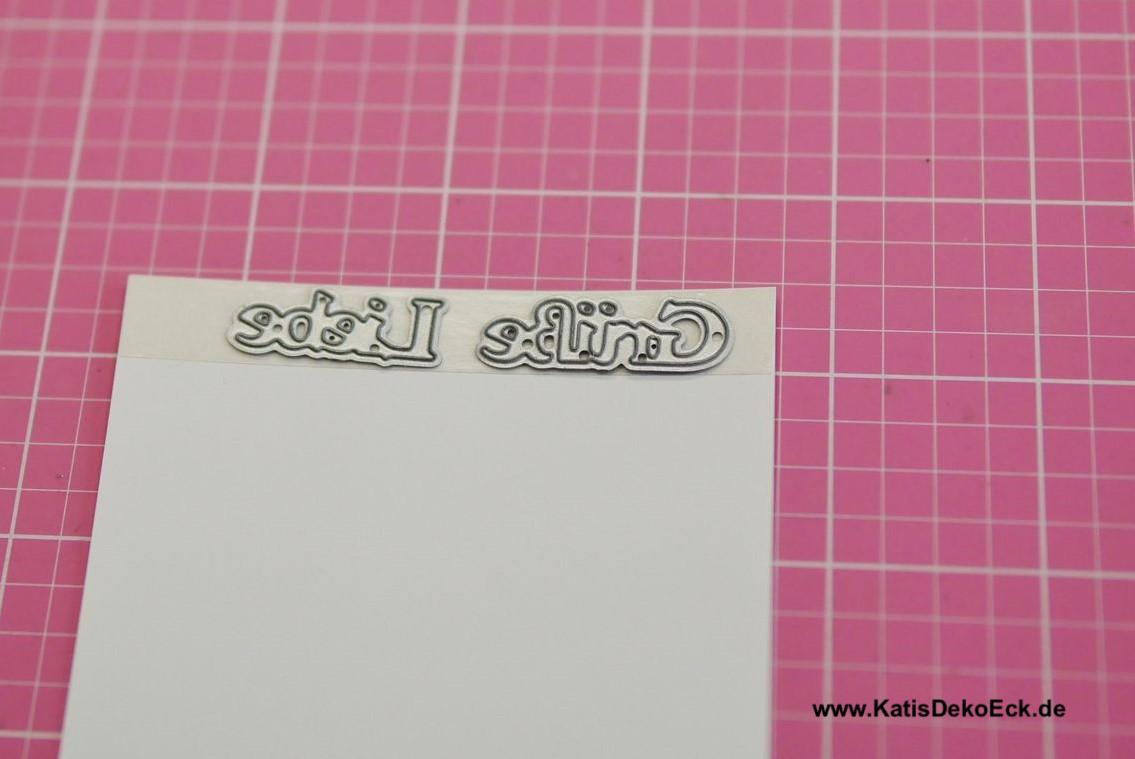
To ease the pain of glueing it down later and to save me from trouble with leftover liquide glue, I like to adhere some double-sided tape on the back of my piece of paper before diecutting it. The pressure from the diecutting will seal that fixed on the background and you can easily remove the backing paper and stick the sentiment down like every other sticker.
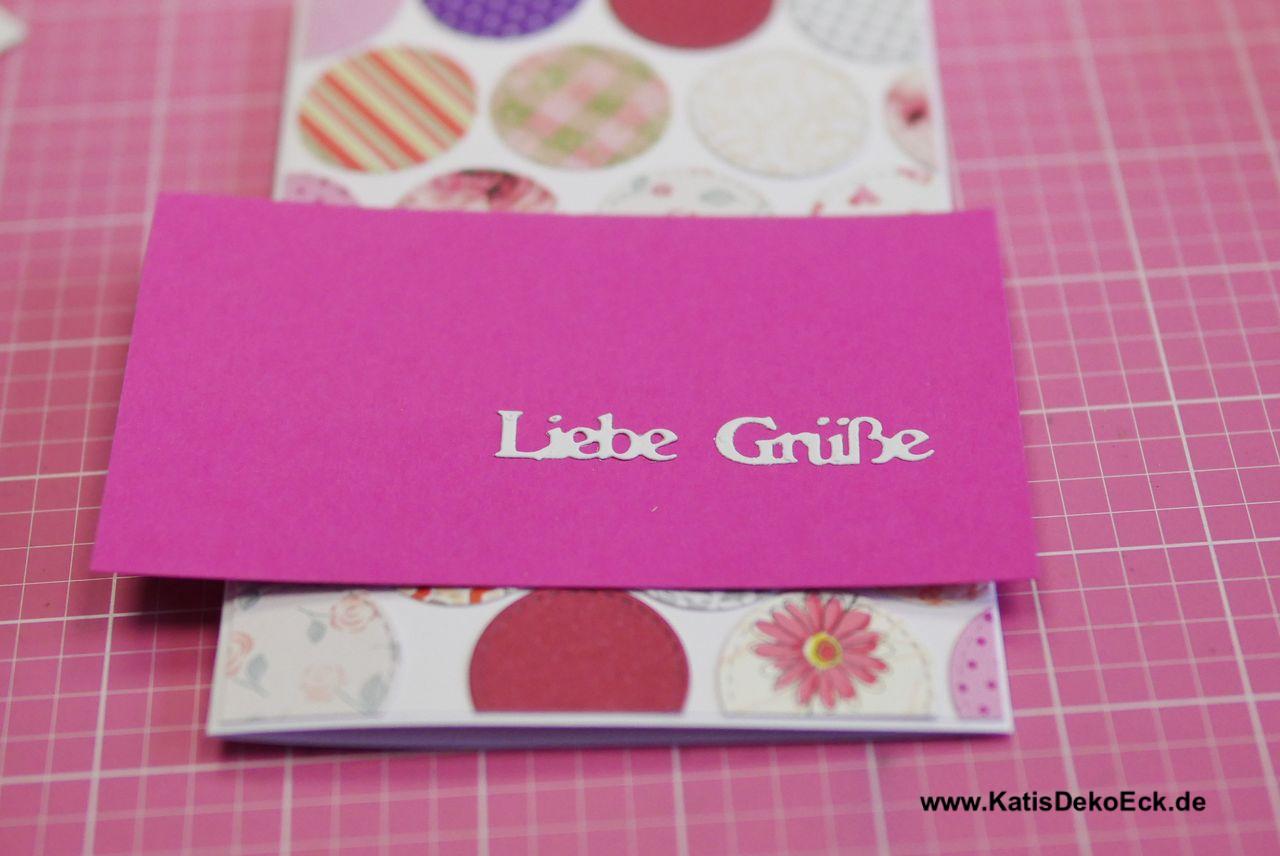
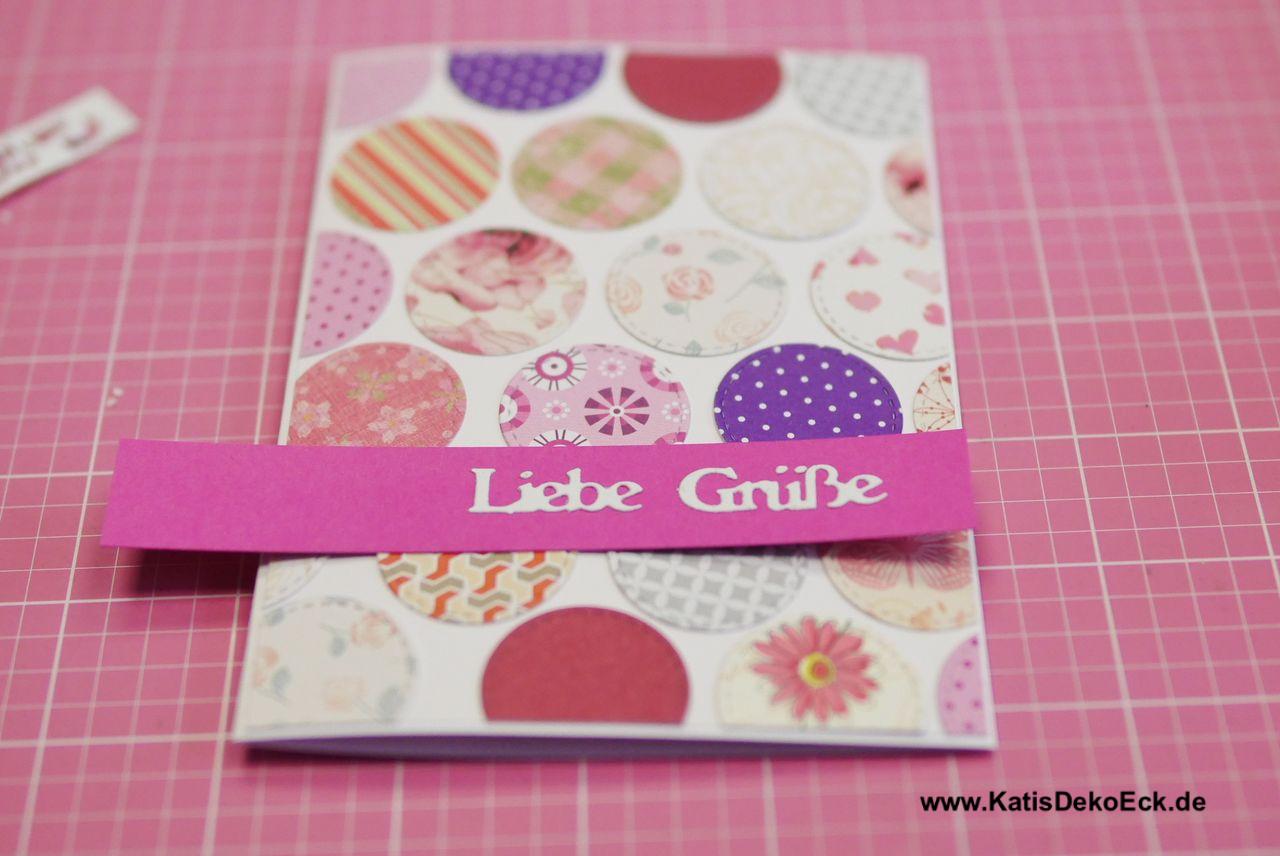
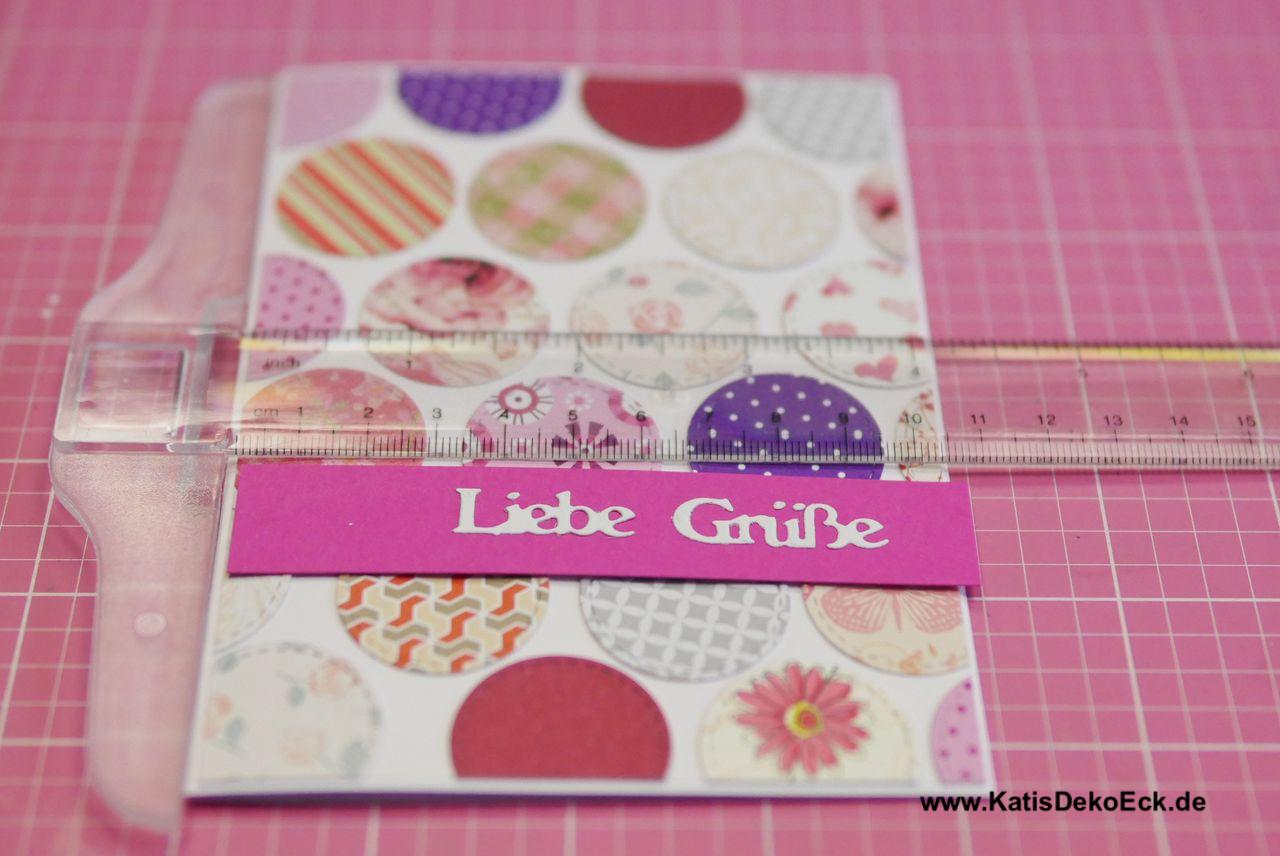
Next: cut your newly made banner with sentiment down to the right size for your card and fix it on the background:
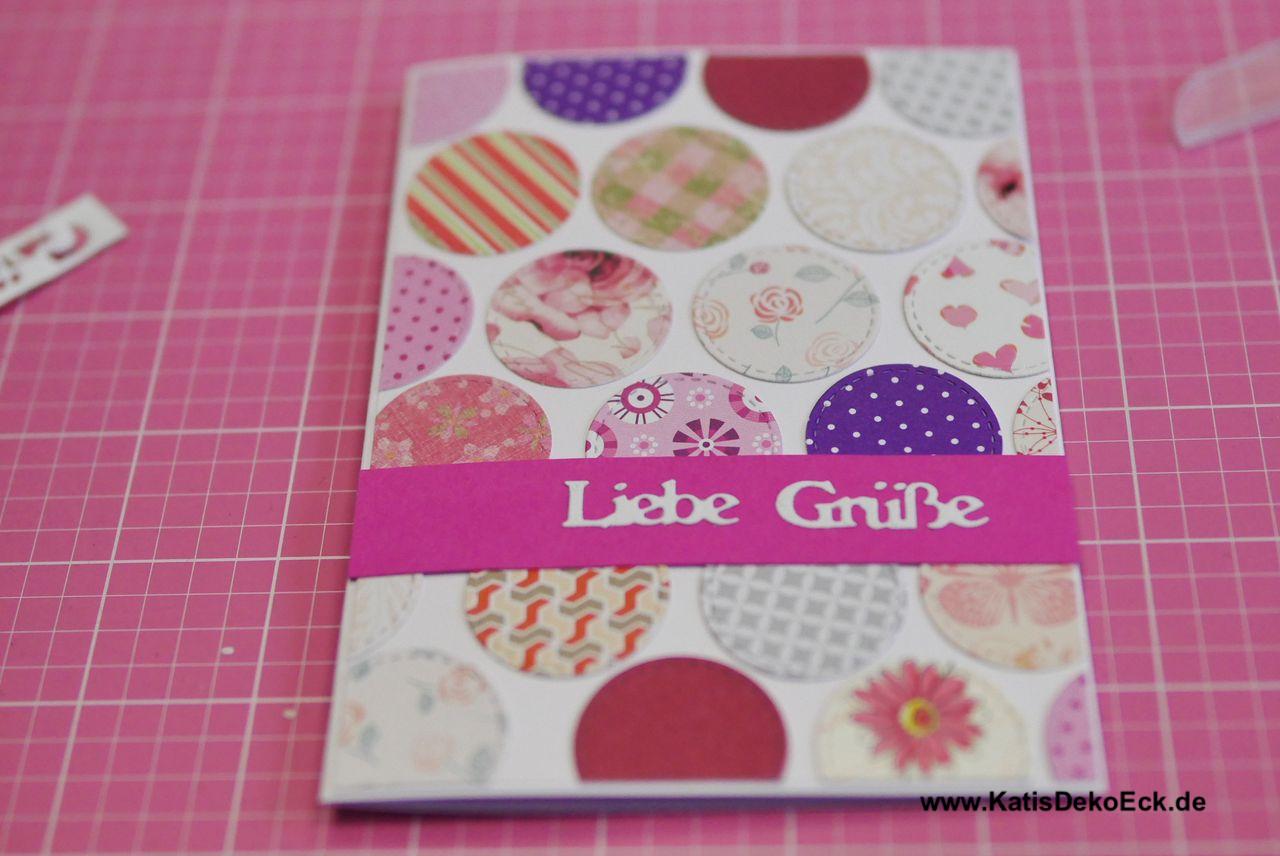
Well, are we there, yet?
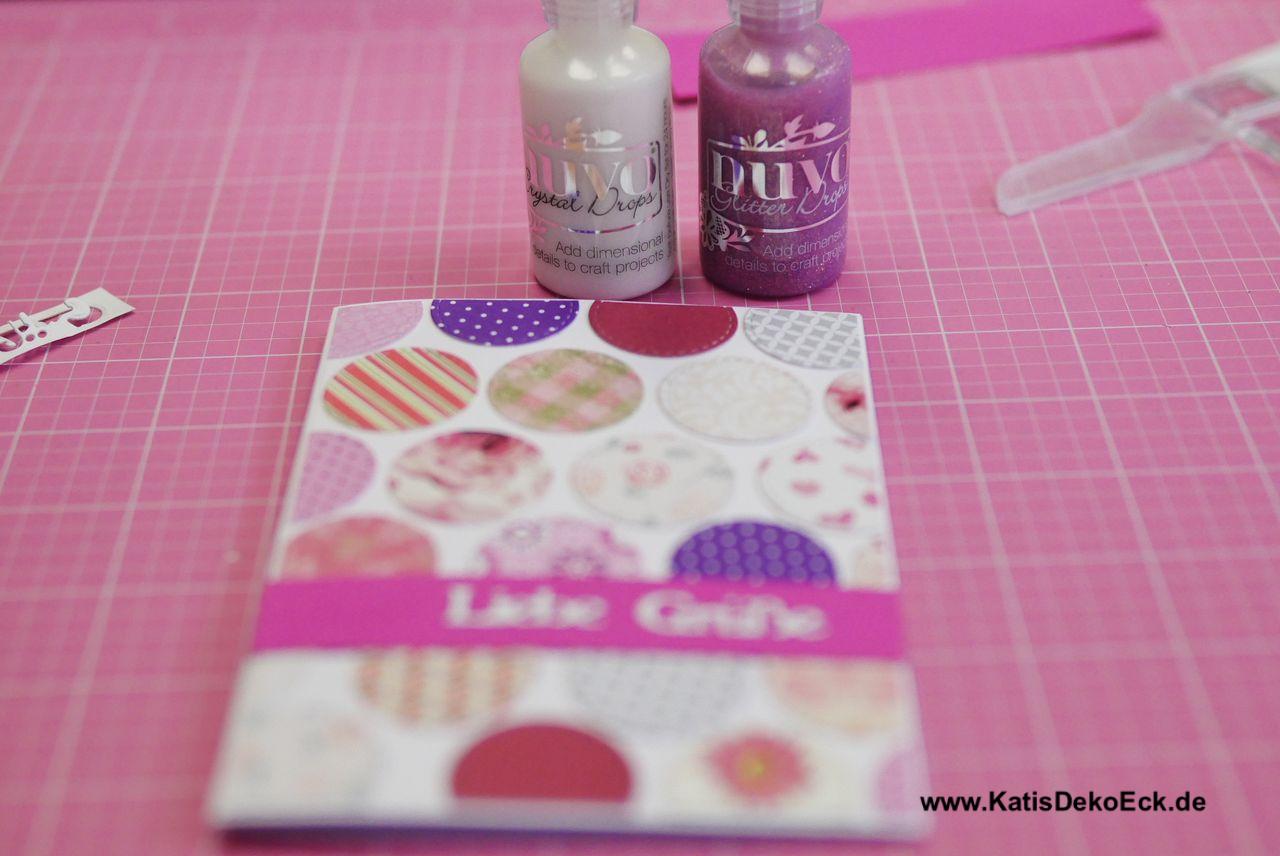
Not really… somehow there is not enough glitter!
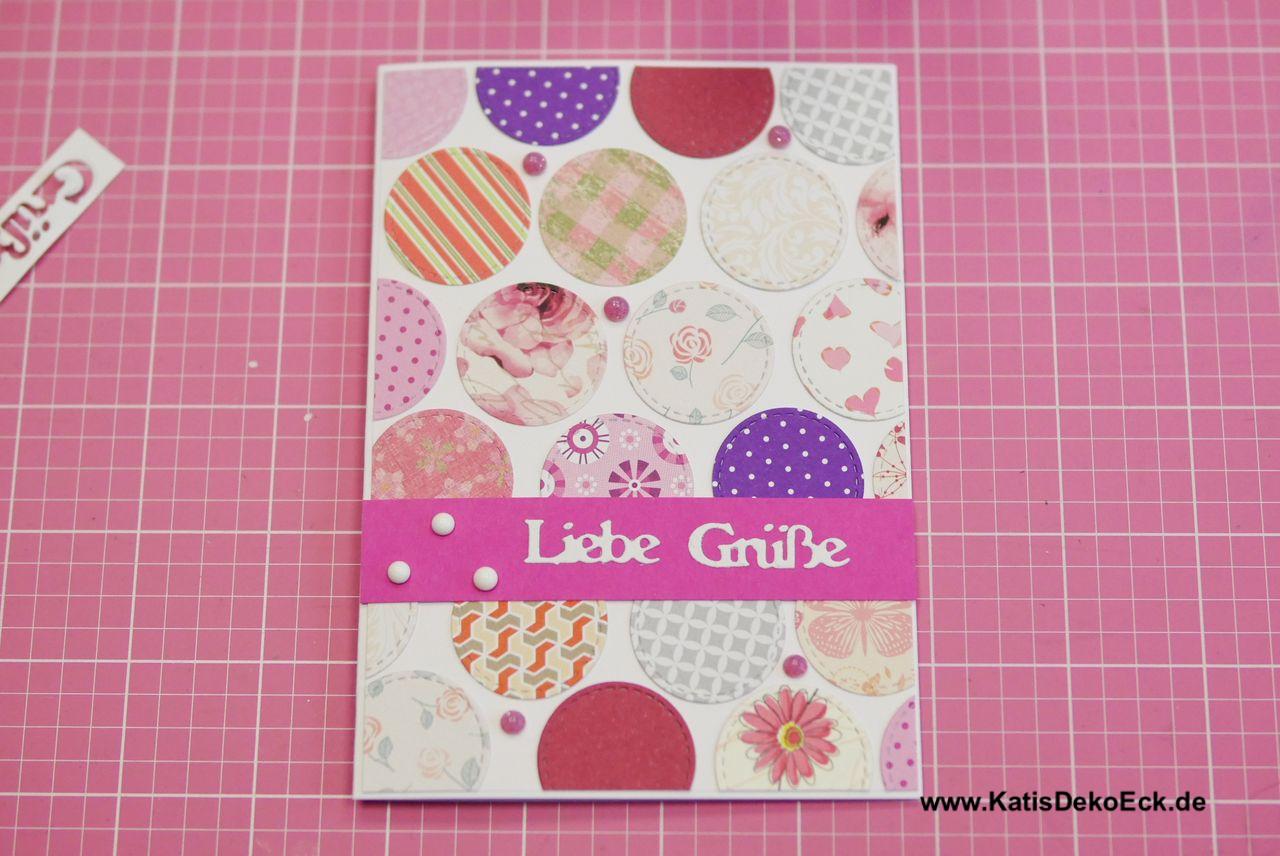
Right, and knowing me, there must be some of it. And as I lately discovered (ok, likely as the last crafter on earth) Nuvodrops for me: these should be it. So, as we did not have enough yet, some more dots:
And now, really done!
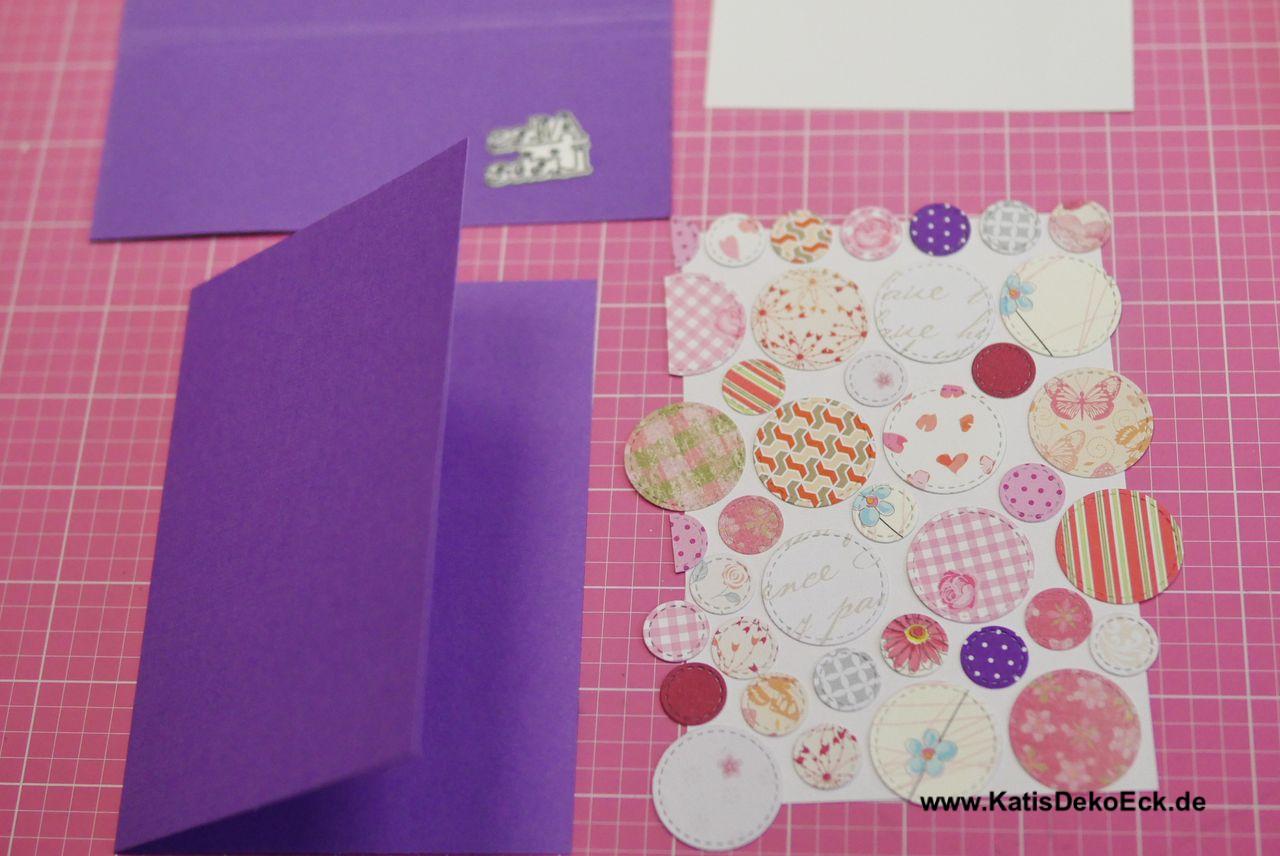
Stop! There was this…
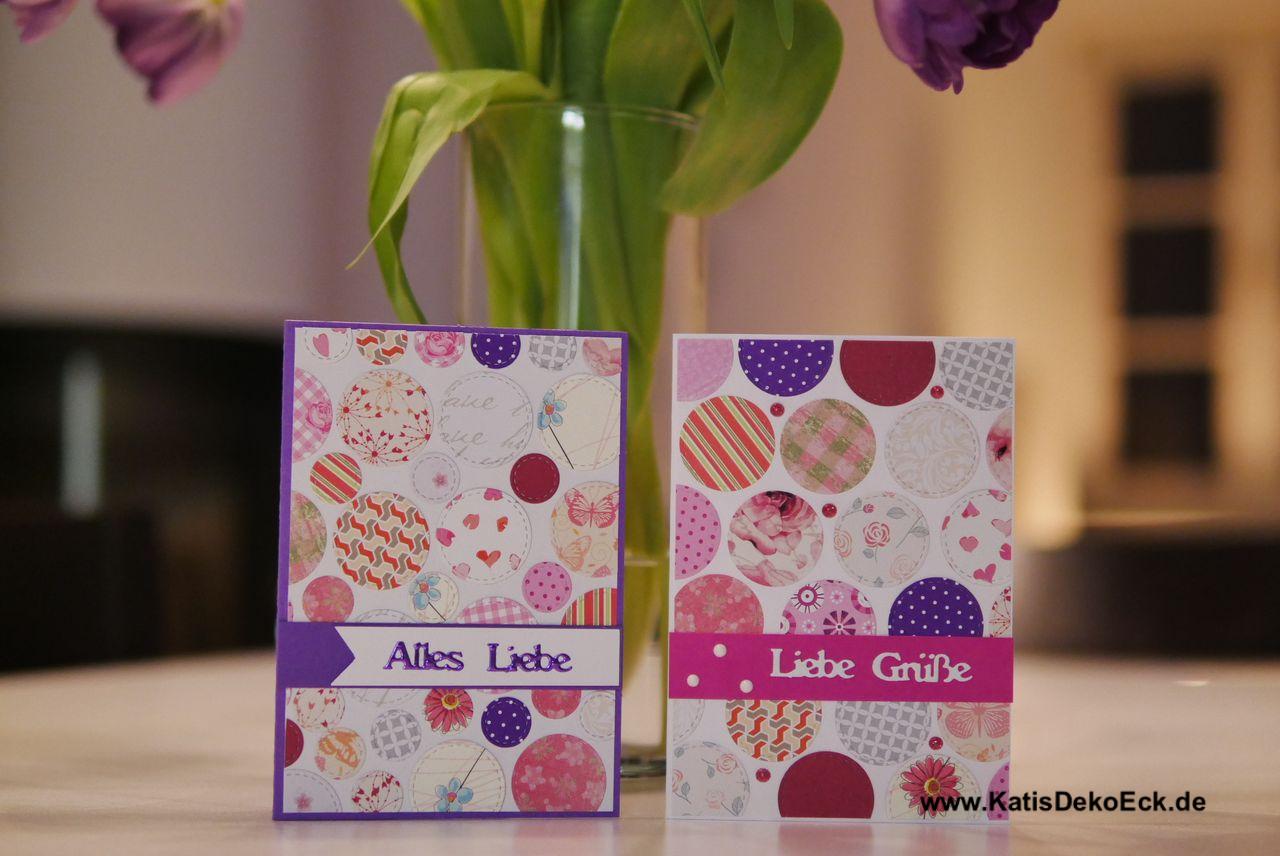
… second card! Right, and I finished up this one along the way, too. But this time I didn’t reach for a white card base, but wanted to bring along even more color (yes, as if there was not enough, yet…):
Eh voila, two cards done! These will be listed in my shop now. So, if you like them but want to spare the work, just check them out:
So, what’s next?
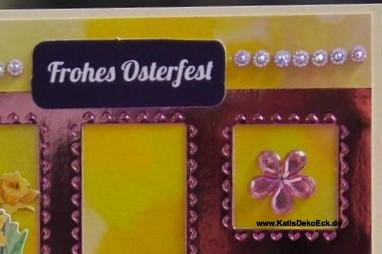
Easter! Of course!
The next couple of days and weeks will be completely spring- and easter themed. I already got some finished cards and decorative figures ready, but I am working on more, I promise!
Want a sneakpeek? Gotcha:
Now it is your turn! Did this article inspire you to try it out for yourself? Of so, I would love to see what you create. So, if you share your finished projects on Instagram or Facebook, please tag me(@KatisDekoEck), so I can admire them, too. Thank you ♥♥♥
Well, have fun being creative and see you next time!
Deine Gedanken zu diesem Thema