Hier geht’s zur Deutschen Version!
It’s past time to take care of these paper scraps of ours!
Or: bringing order into chaos just shows, how much stuff we really got…
Hello dear crafty friends,
This Saturday I decided to finally settle down and check on my paper scraps and leftovers.
In last week’s tutorial I showed you how „beautifully“ unsorted I keep every scrap of paper leftover from a finished project: it’s all in one big box. But actually I didn’t really like this chaos simply because digging into the pile was fun at times but a pain in the neck when I just needed one piece. So I had to come up with a new idea and this week I did it. I got myself a nice acrylic drawerbox with five removeable drawers and sorted all my paper scraps by approximate size (and no, no time for measuring, just throw them in!).
In the end, that really looked good:
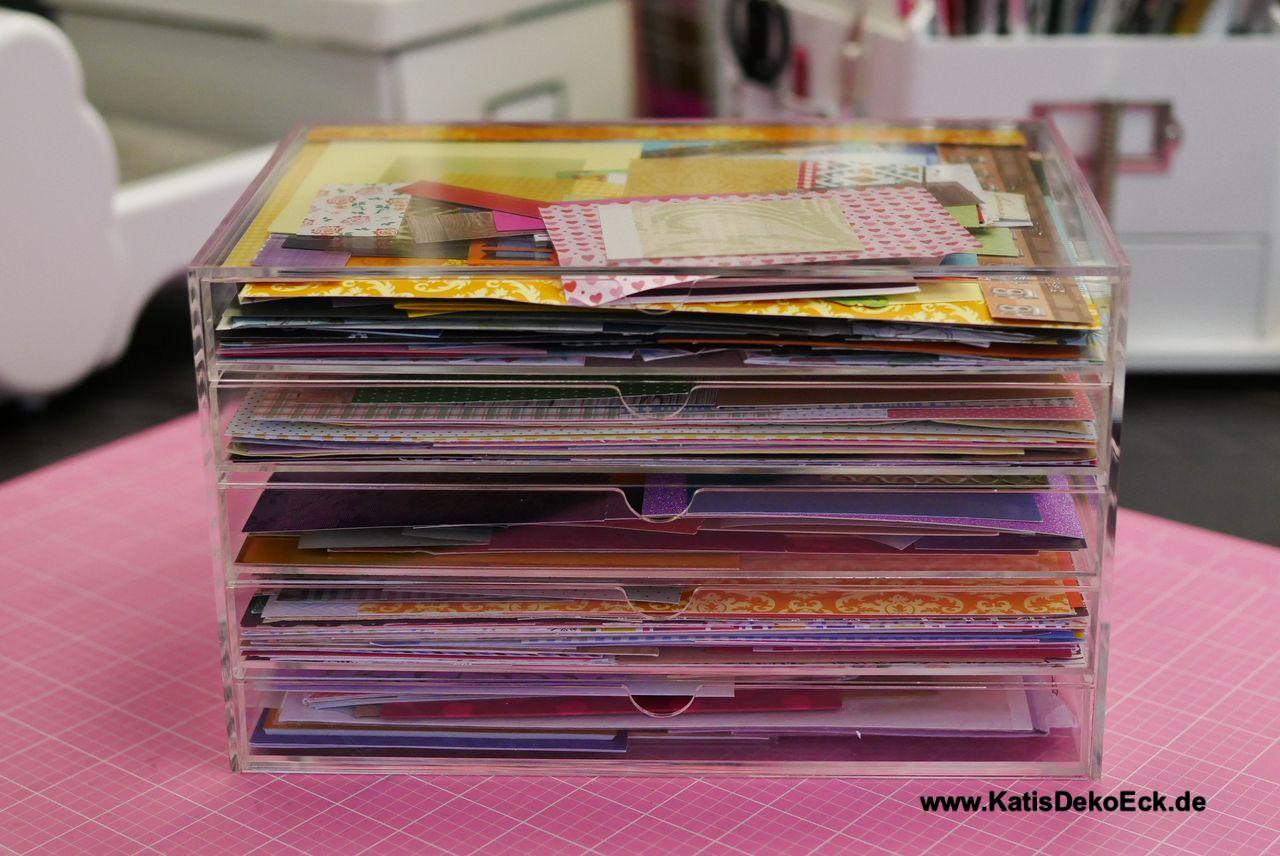

But finally I realized that the drawer intended for small pieces and scraps was just too full.
Throw it out? Nay, not me. I came up with another idea and as it worked out so well I decided to share it with you today.
I decided not to make any cards today, but to use my scraps and pieces to make some paper embellishments, so that later it will be very easy and fast to make finished cards of them.
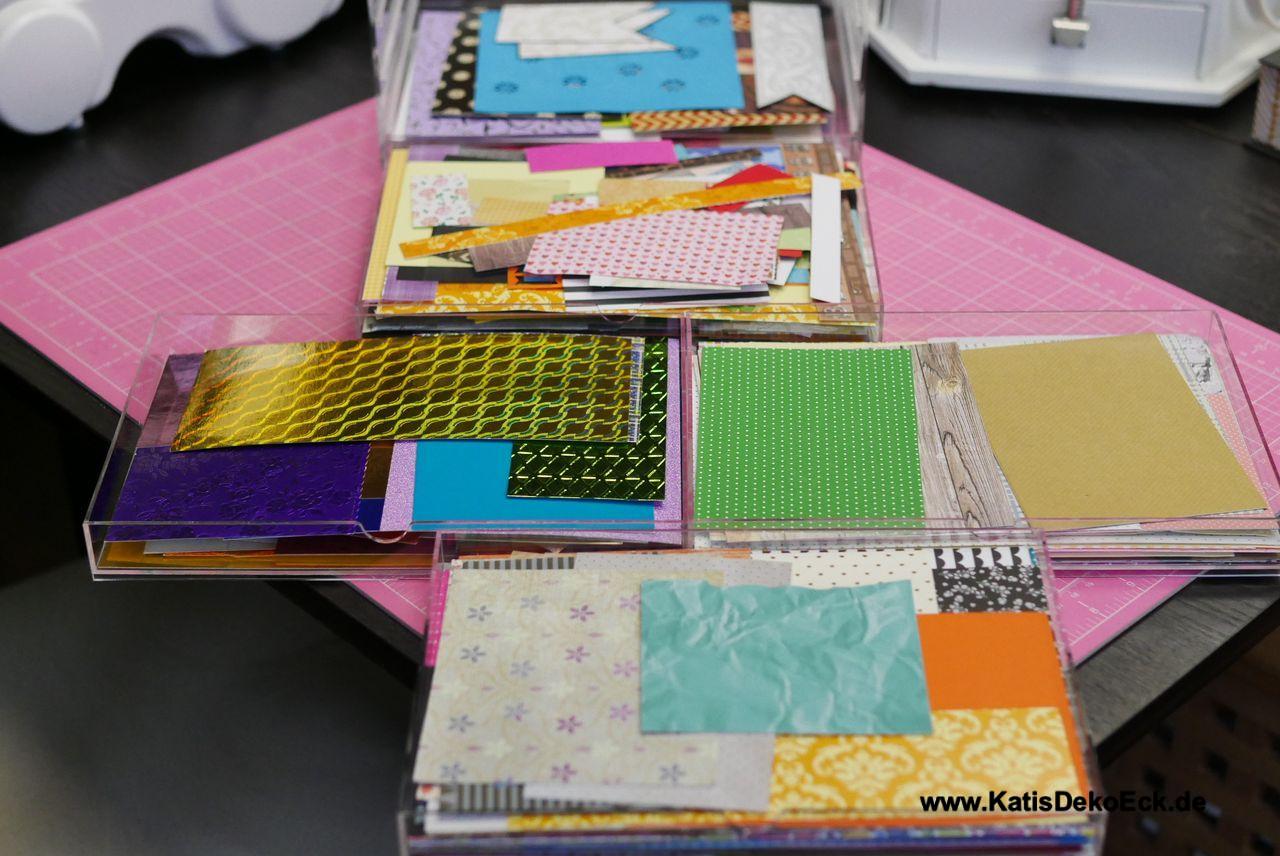
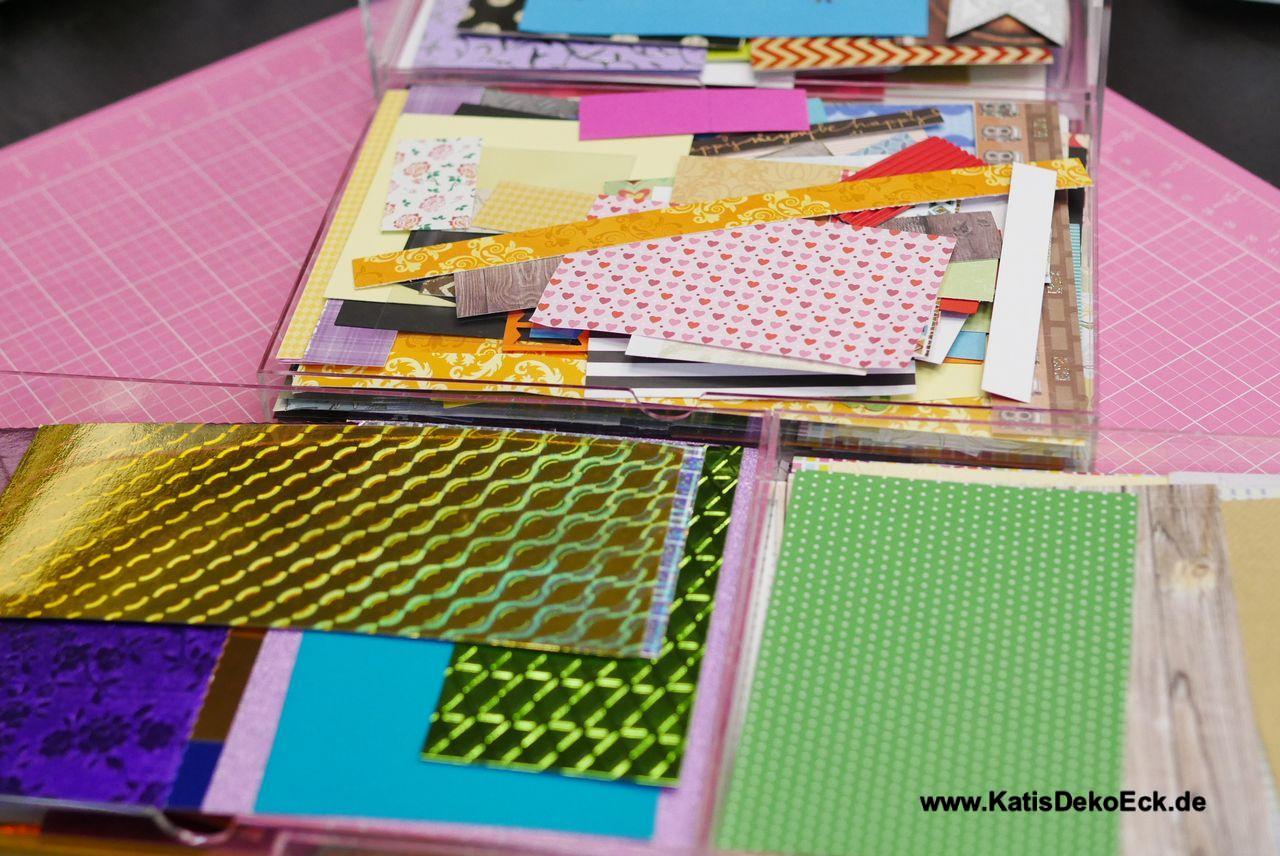
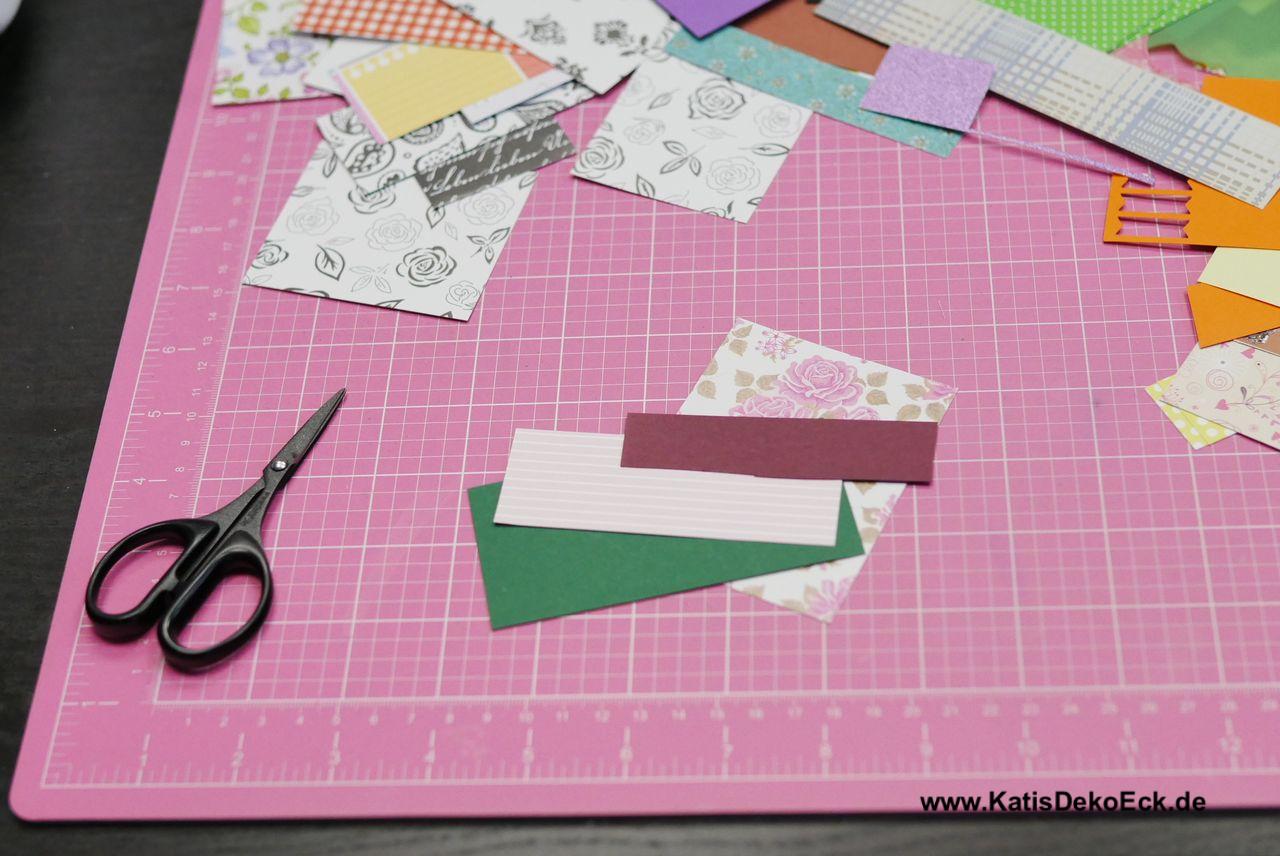
Well, turn over this drawer and start going through the scraps to find some that match:
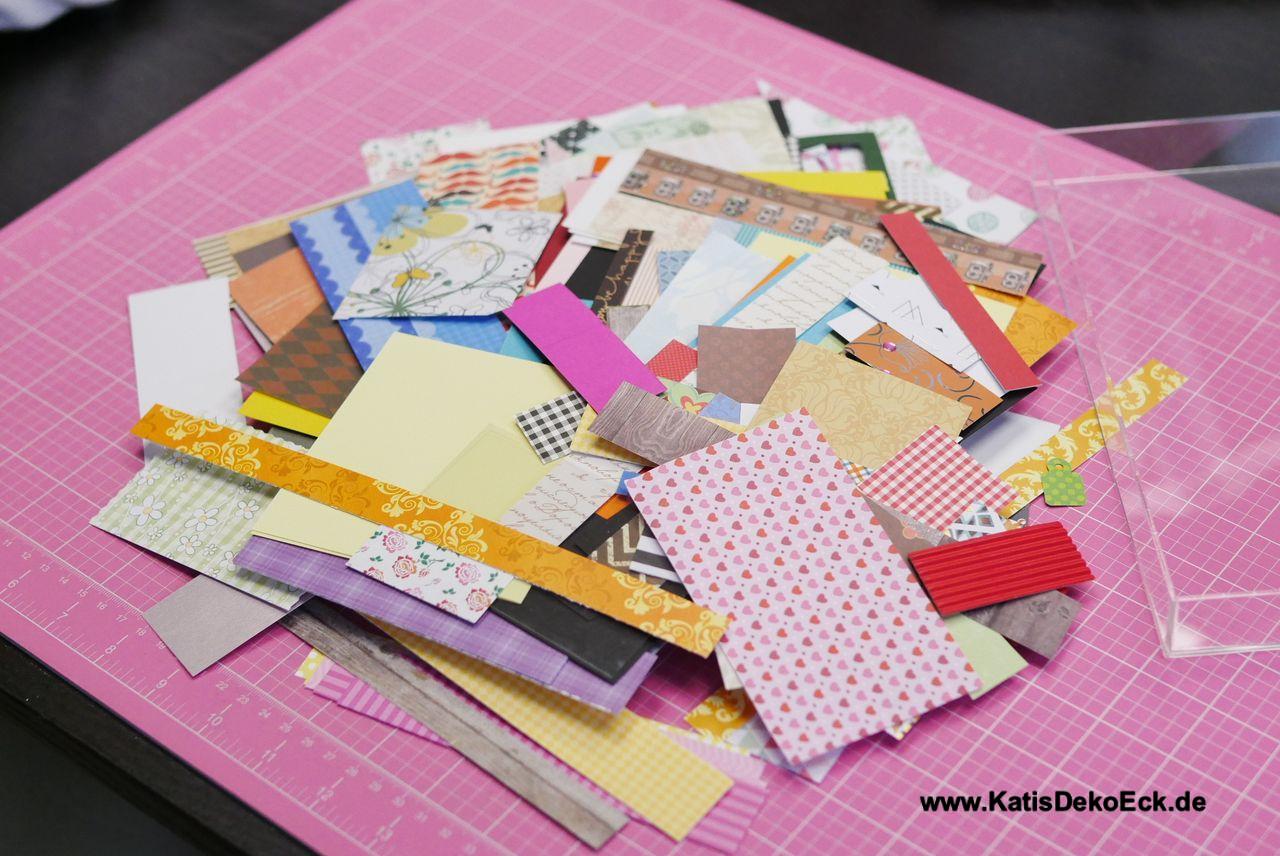
And oh well, there were some really nice and inspiring scraps in this box!…
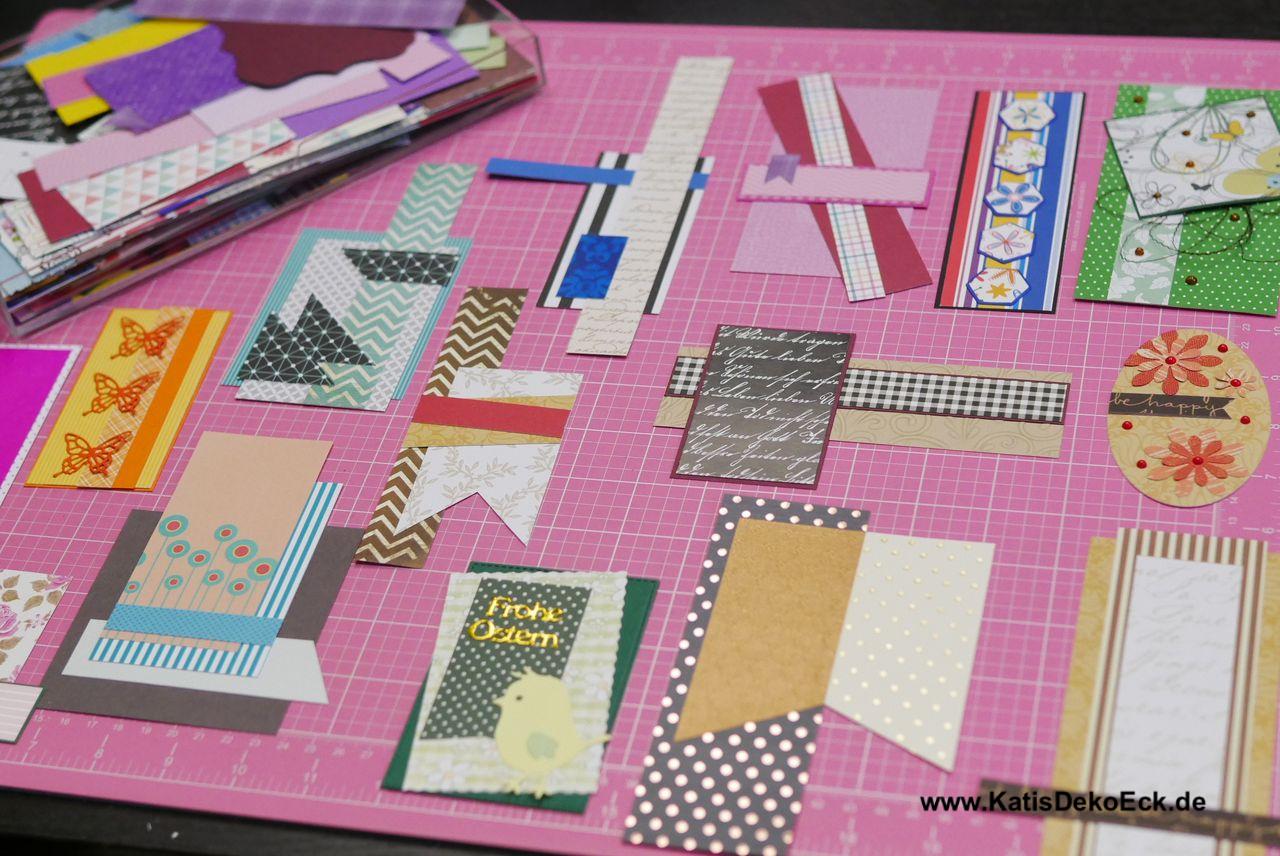
Now I started – without even thinking of cards – to combine colors, shapes and sentiments – to shift them and cut them and glue them together and build some wild constructions:
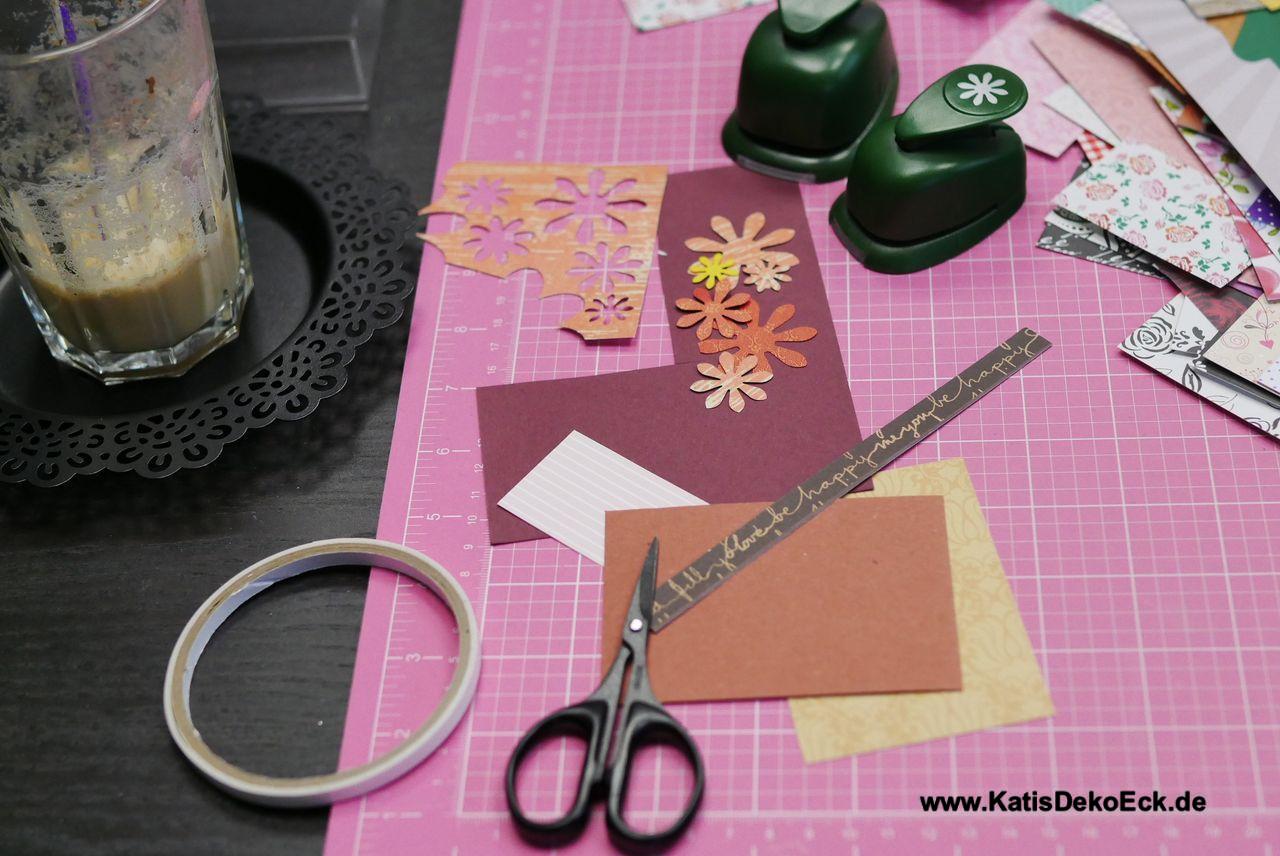

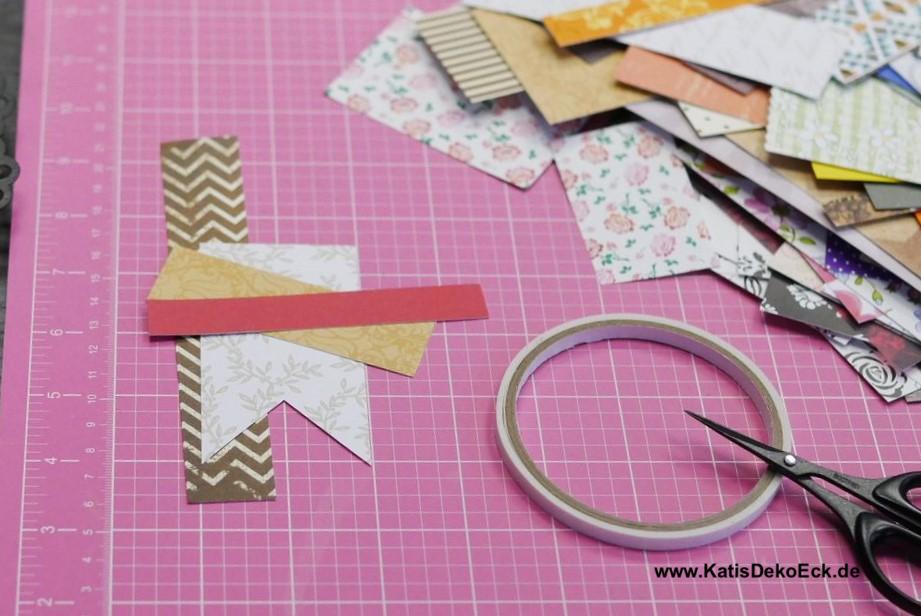
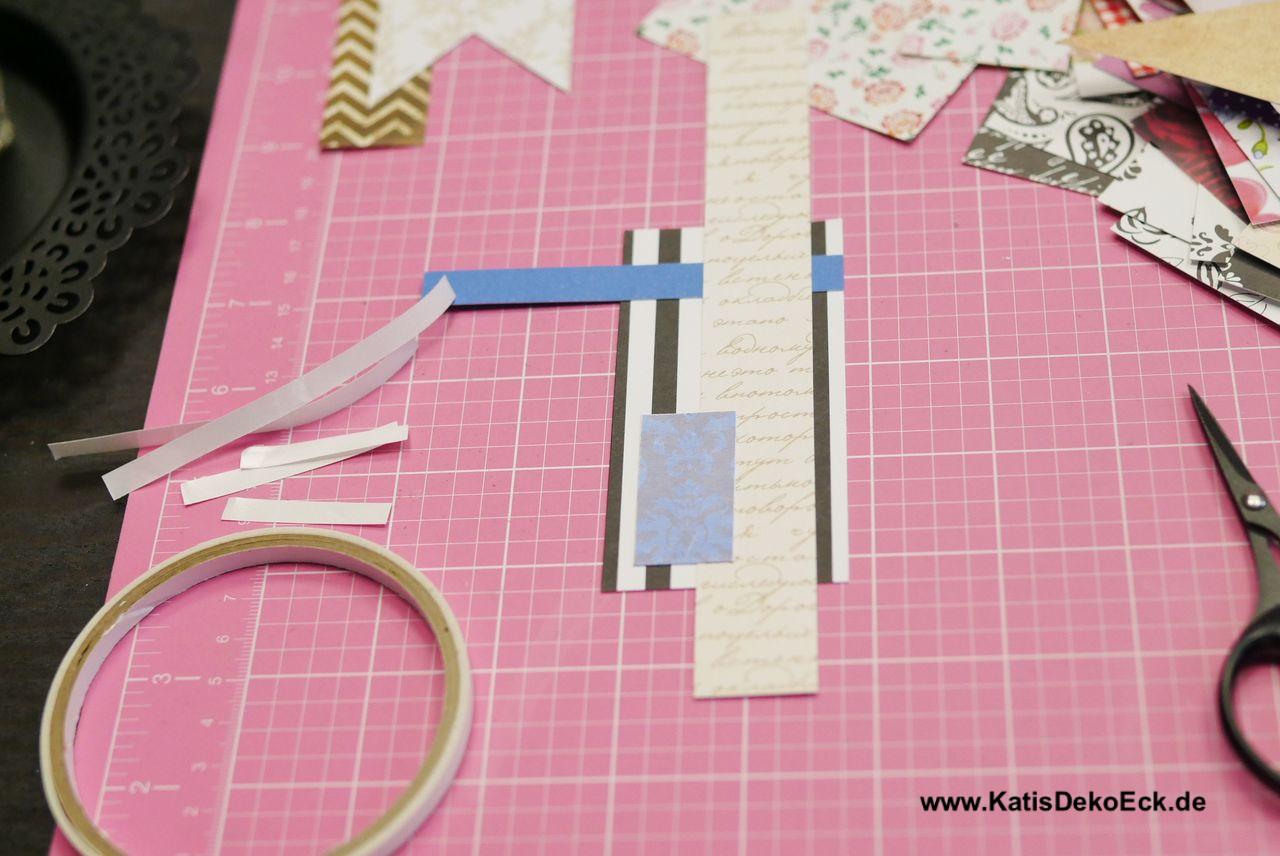
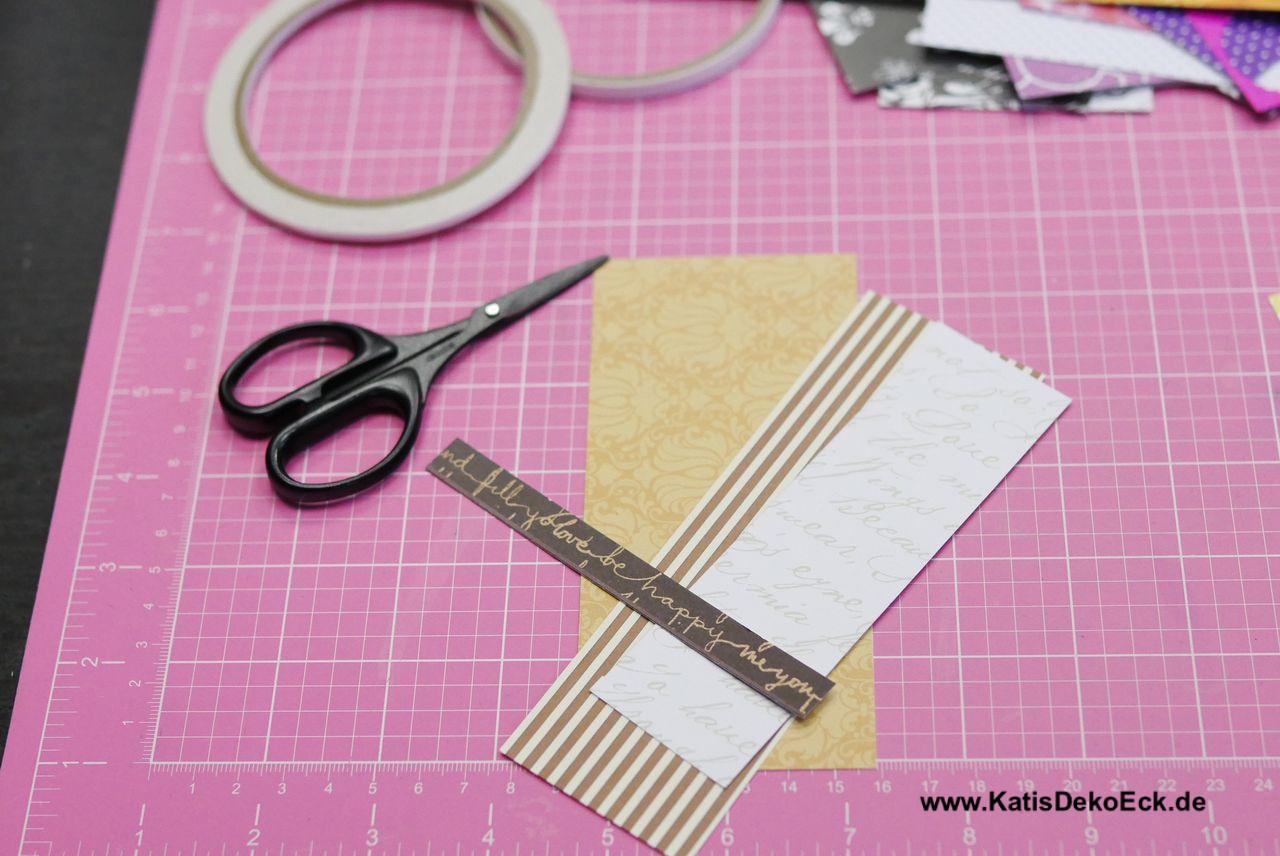
Yesss, it was real fun to dig into the pile, combine, throw back on the pile, seach anew and (re)assemble. No one there to tell what not to do. And if something turns up not looking good? Hey, these were scraps and leftovers to begin with, just throw them in the bin and don’t bother…
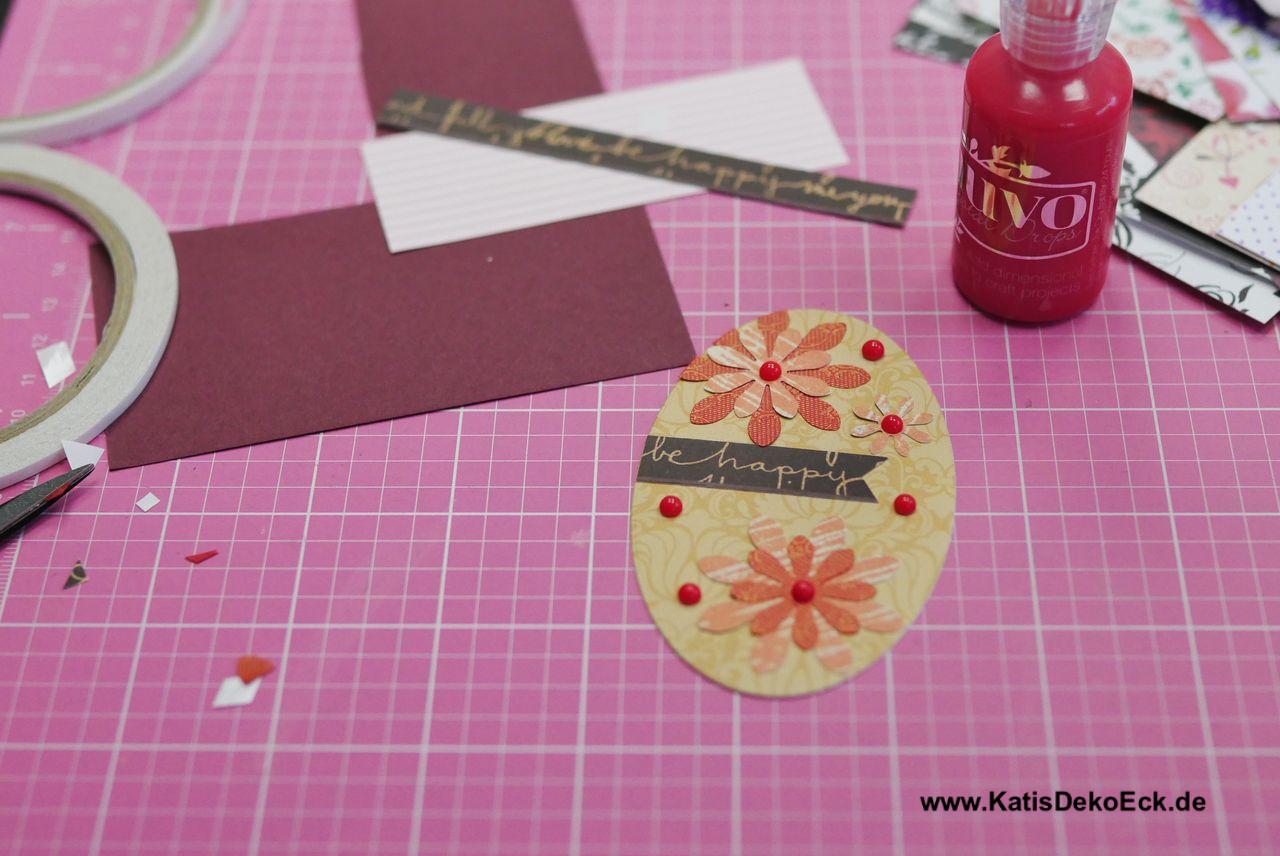
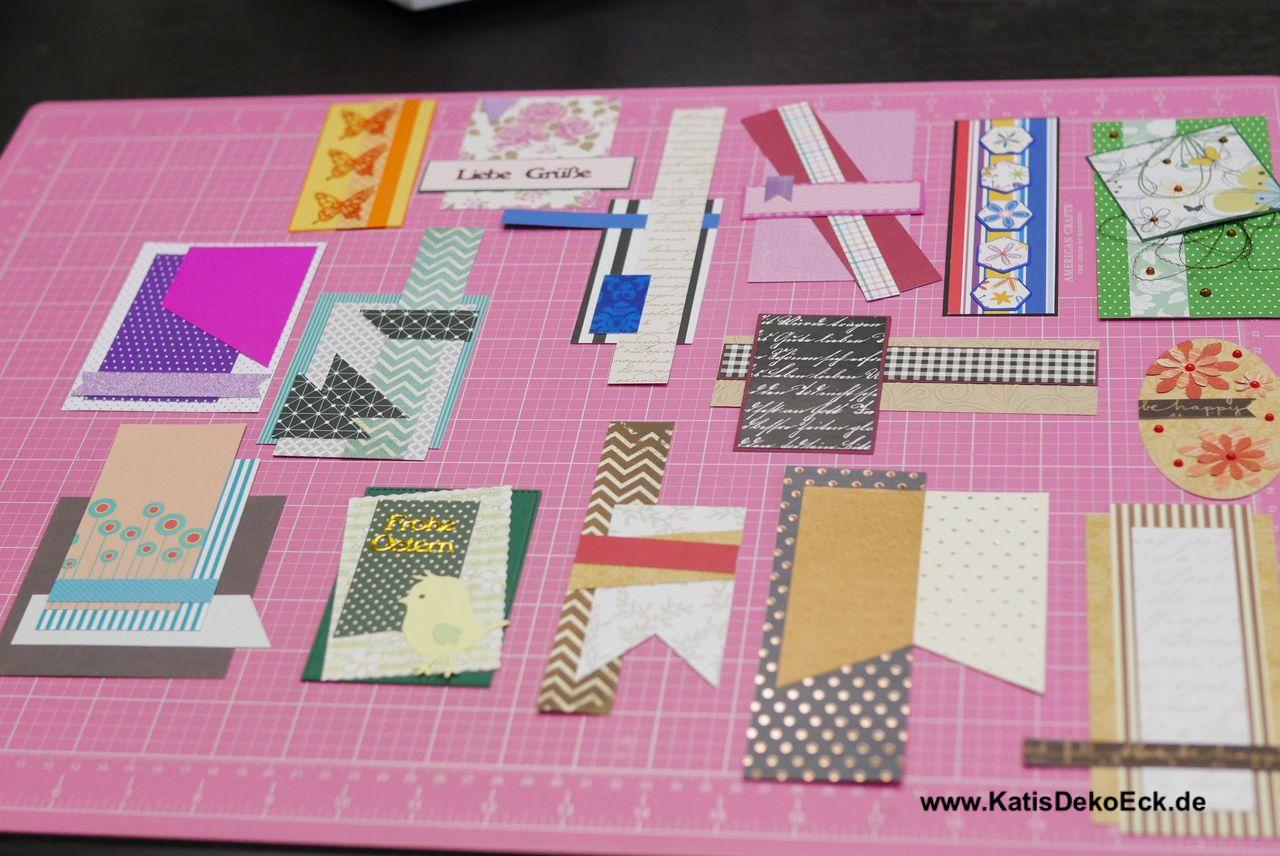
Finally there were fifteen of them!
No more than two and a half hours later I ended up with fifteen paper embellishements for greeting cards or scrapbook layouts that I really liked:
But then Mr. KatisDekoEck came and was like „And that’s gonna be … something?“
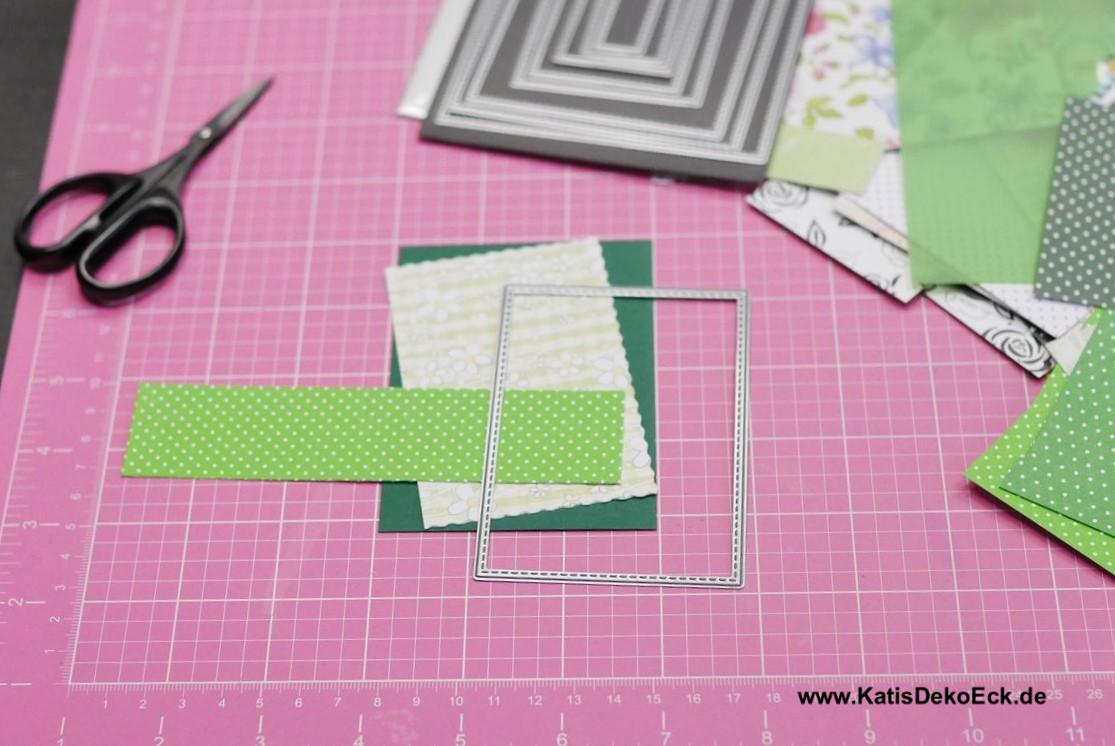
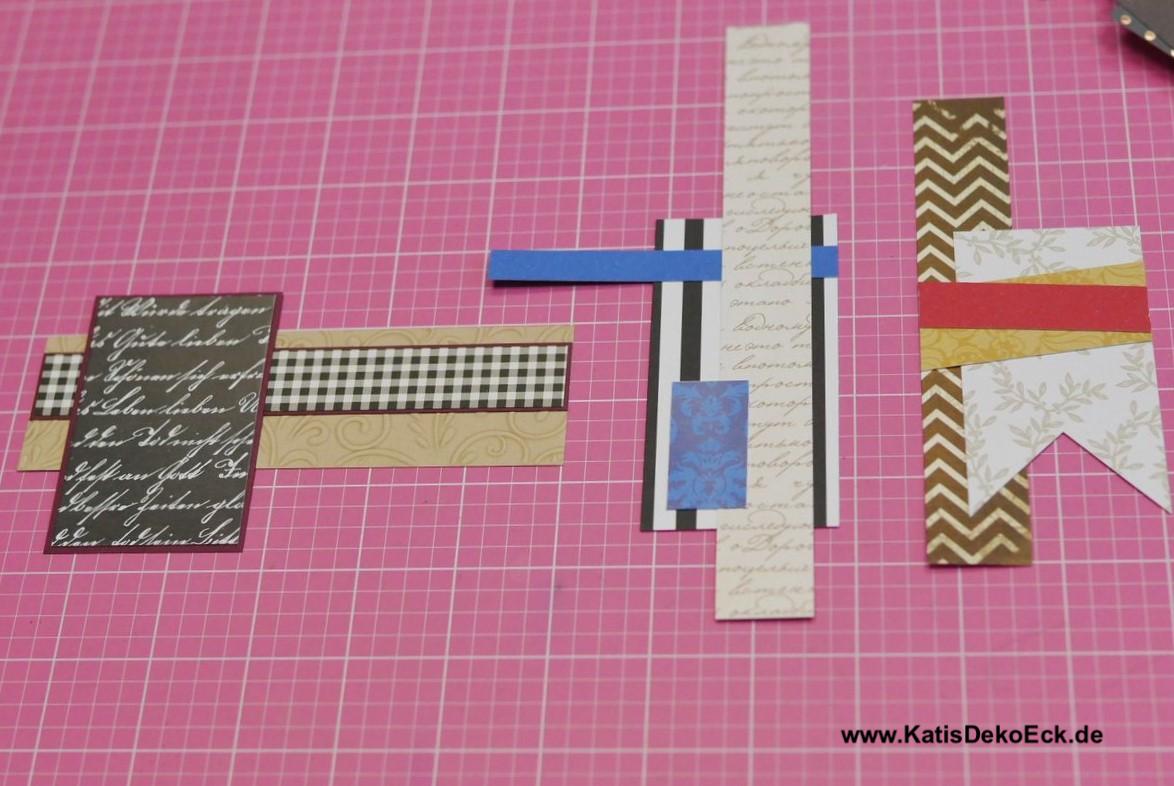
And then I was like: „Sure it does, and right now I’m gonna show you how“. So he had to choose two of them for me to prove the concept. And once I was about to do it I added another one, just because…
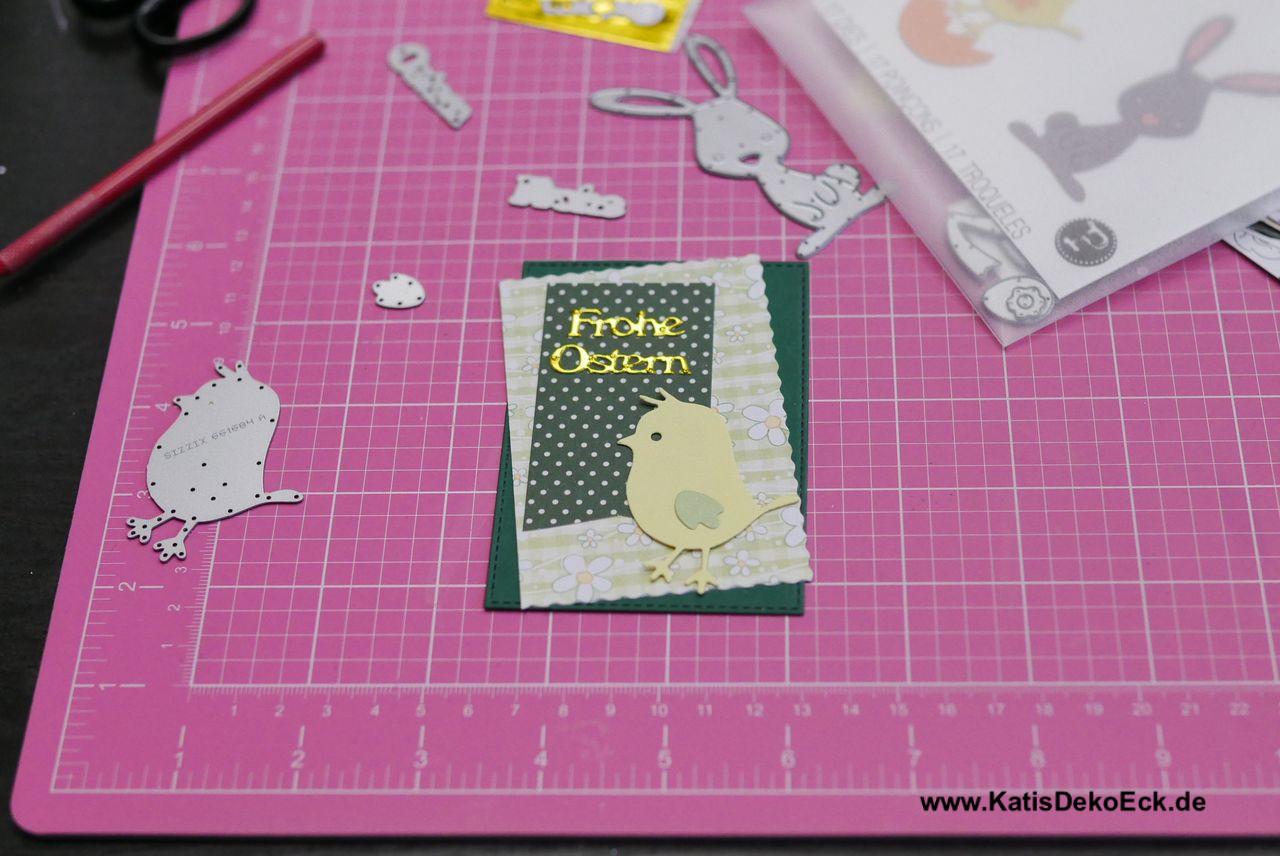
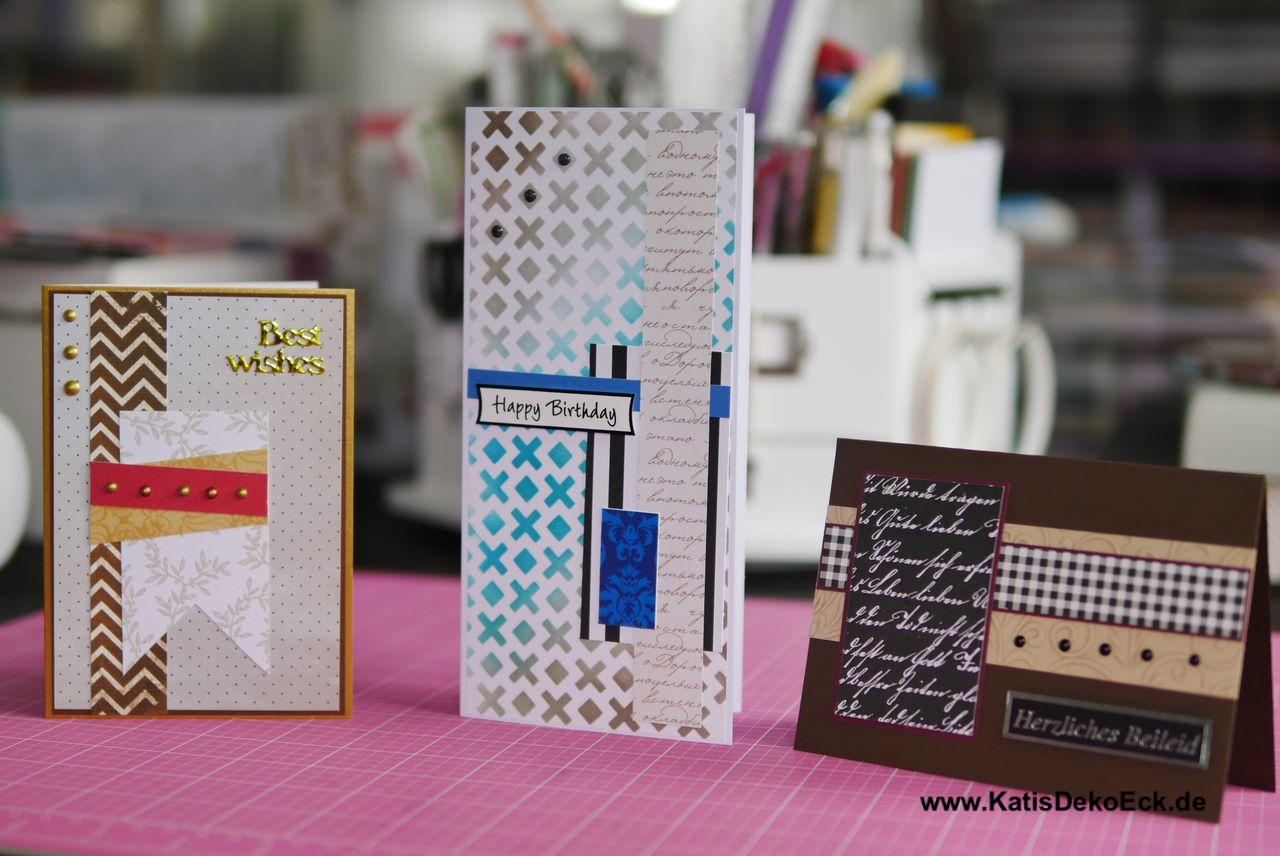
So, in less than fortyfive minutes these three here…
…ended up as greeting cards for different occasions:
But having done that I decided to call it a day, it was Saturday and life was waiting…
So, just throw back the remaining scraps into the drawer for small pieces and guess what, it closed!
And the three cards and 12 remaining embellishments were added to the stash. But hopefully not for long. As I don’t actually need them I decided to list the cards and the embellishments in my ETSY shop. So, take a look, you may buy the finished cards or the ready-to-use embellishments there directly
That saves you the work and I got the perfect excuse to make even more of them!
So, what’s next?
You better start and create some yourself and share them on Instagram, I would love to see what you come up with.
And here on the blog?
Next week Munich will host a creative fair. Of course I will go there and have a look to see what’s new and exciting, worth showing and I will share it with you. Maybe we’ll meet there?…
Eine Antwort
Mariaan
This is a brilliant idea, never thought of doing this so much for sharing