
Für eine deutsche Version dieses Artikels bitte hier klicken.
Who doesn’t know this – you got to hurry, time is running and all you need is a quick card to save your day- Here it is: the 10-minutes card as your savior.
I want to help you, and so I show you a really quick but nice card design. Ok, making this card took me a bit more than ten minutes, but that was solely due to taking pictures in between – honestly…
So, what is this about today?
Here you are, expecting nothing bad and suddenly your neighbor calls because she needs a card, urgently, like now. But not just one from your stash. No, it should be pink, and flowers, oh, and a nice greeting sentiment should also be included.
As a real crafter, few things get you to panic, but a greetingcard from the scratch – a card created in not more than 10 minutes but still having everything needed, is that possible? Yes, it is, and that’s why I call it the 10-minutes card.
How do we start?
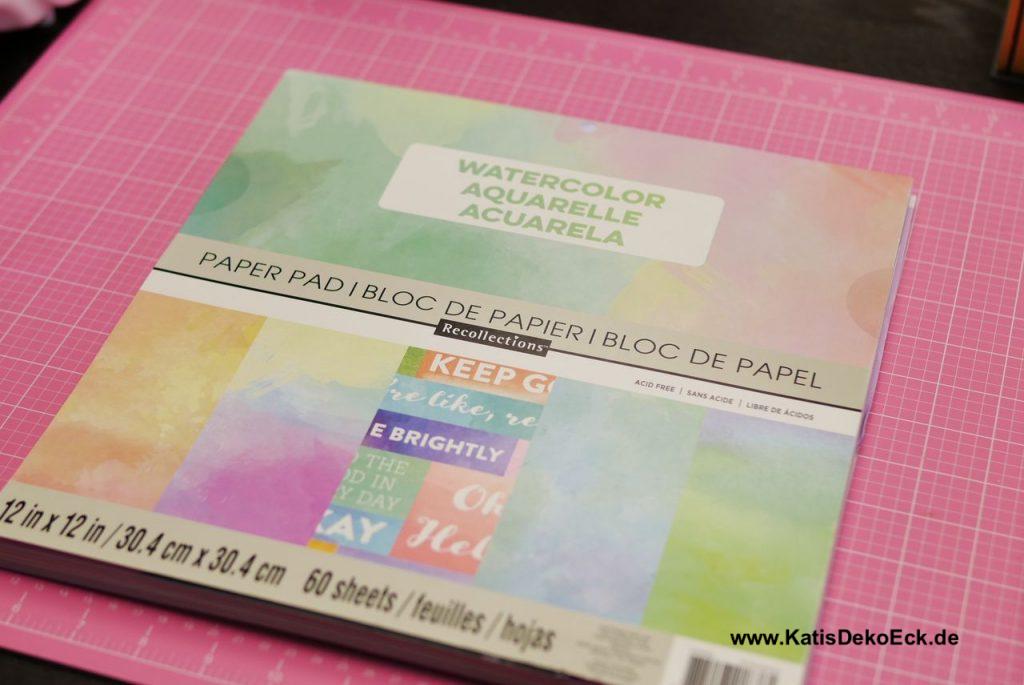
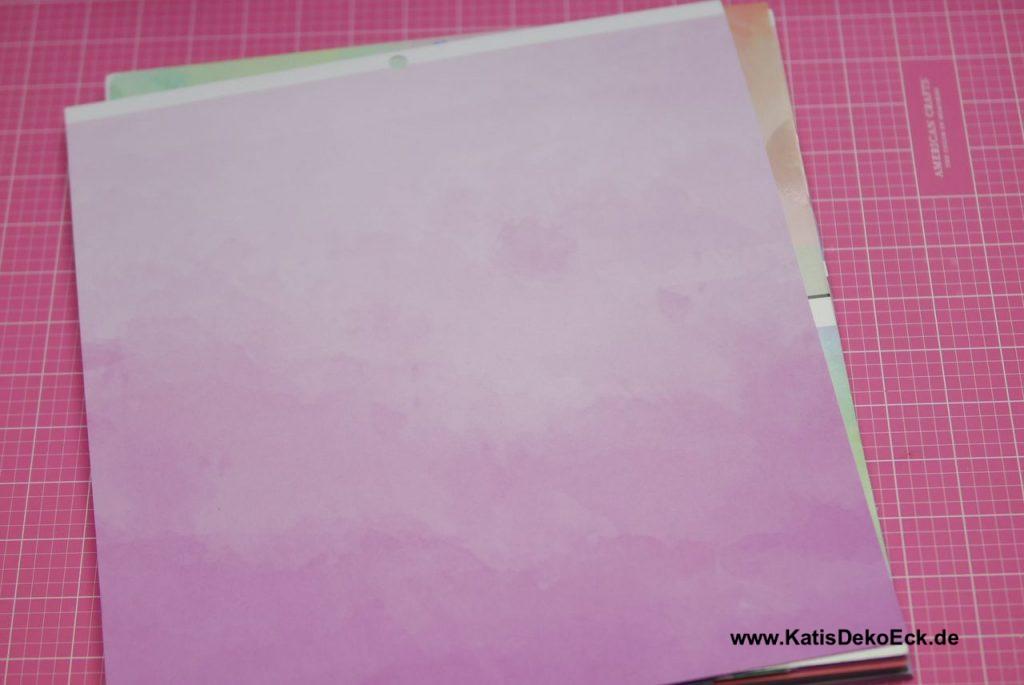
Especially when in a hurry, it is worth to collect everything you might need for your card first. In my case that was: paper (I used a paperpad I had brought from my last visit on the other side of the ocean, a wonderful paper that looks like all colors have been mashed with watercolors – you can make that yourself for sure, but not in 10 minutes)
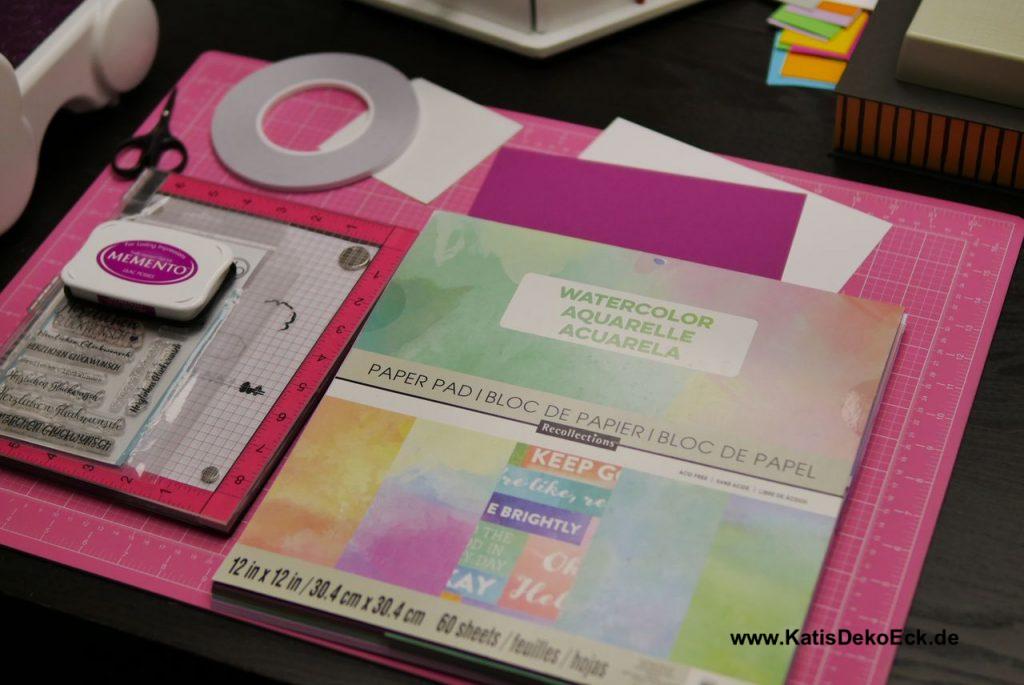
Also necessary: a precut card base (you can buy that or make it yourself, but have it ready for emergencies, because it saves your time for your 10-minutes card), adhesive (for me, as always doubesided tape), Misti or other stamping tool, white paper, bakgroundpaper, stampset, stamping inks and a few dies.
Come on, let’s do it, time is running!
Ok, I stop talking and start diecutting!
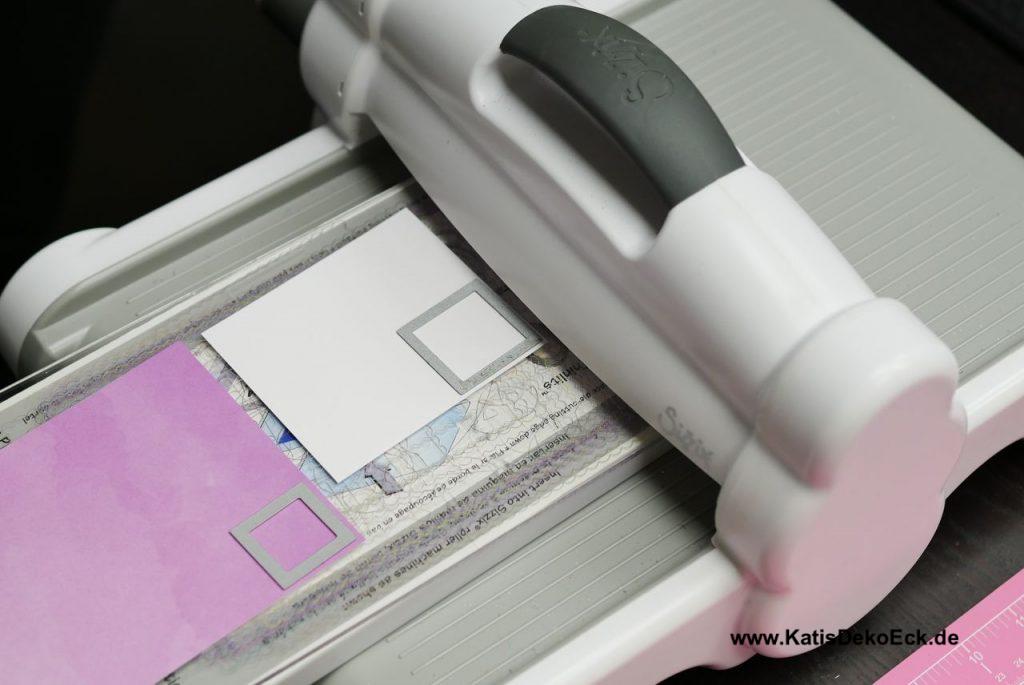
Next I choose my die for the card base. In this case I chose the largest of the stitched rectangles from the Create a Smile – Double Stitched Rectangle Set. Why this? Easy, European size! that saves a lot of time.
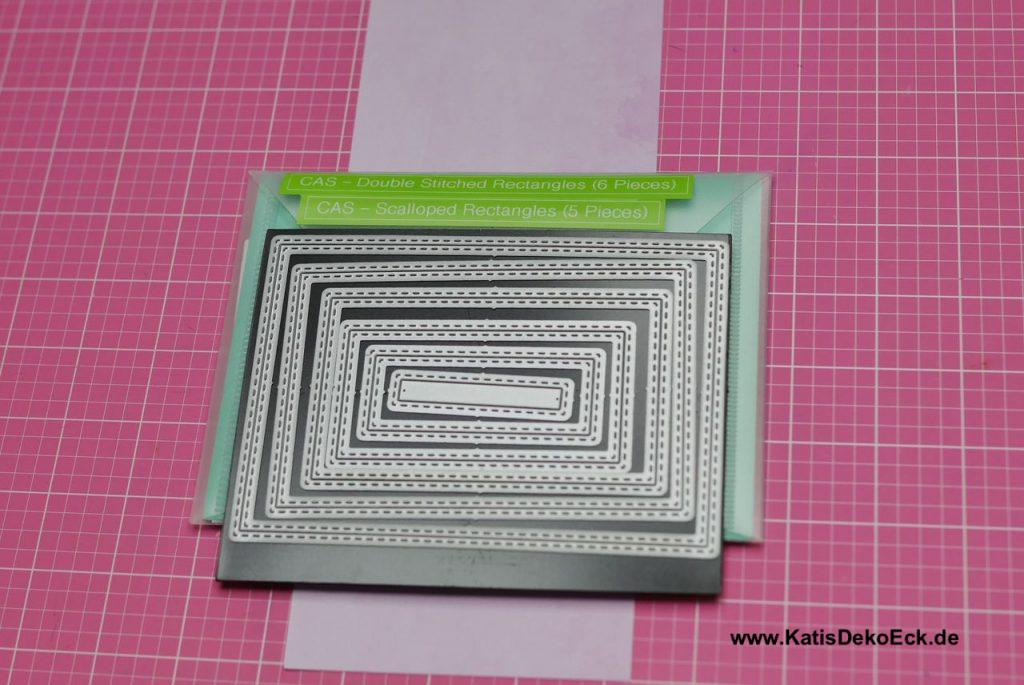
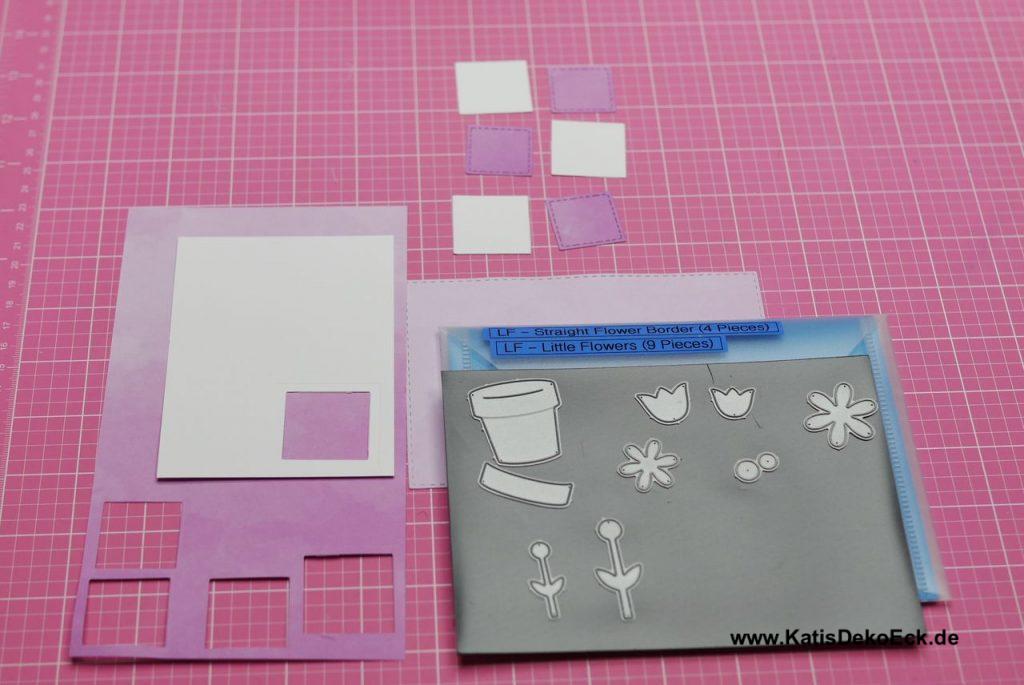
Next I chose some small square dies for my motif. In my case one with a stitched edge and one without:

And I can start diecutting my parts. The squares I always run two at a time through my machine, for a 10-minutes card you need every minute…
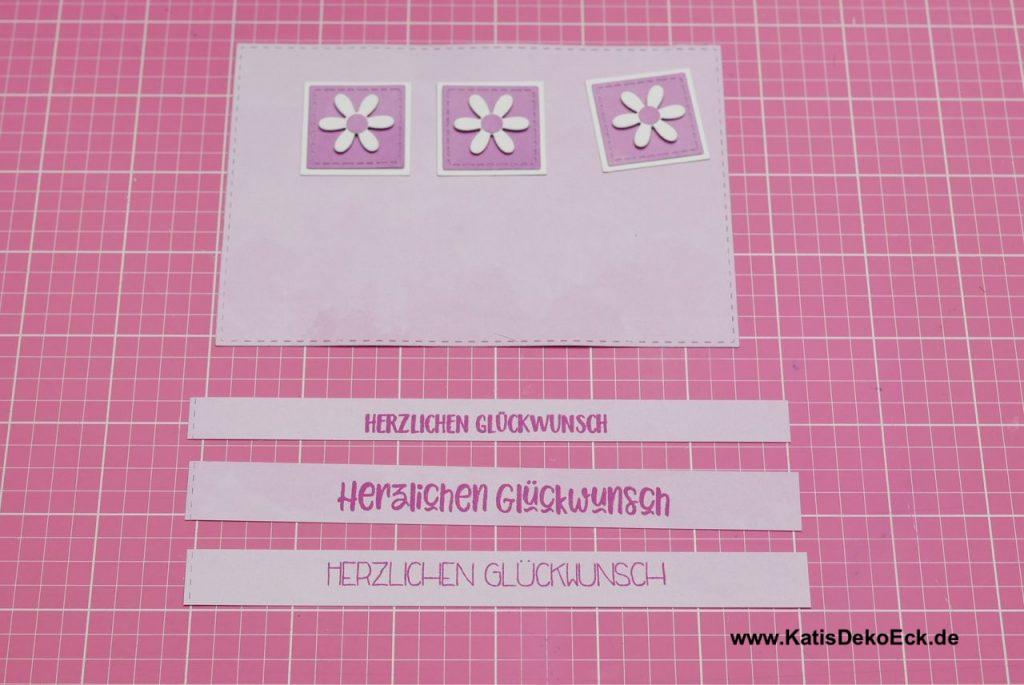
And very quickly I assemble the first parts for my card:
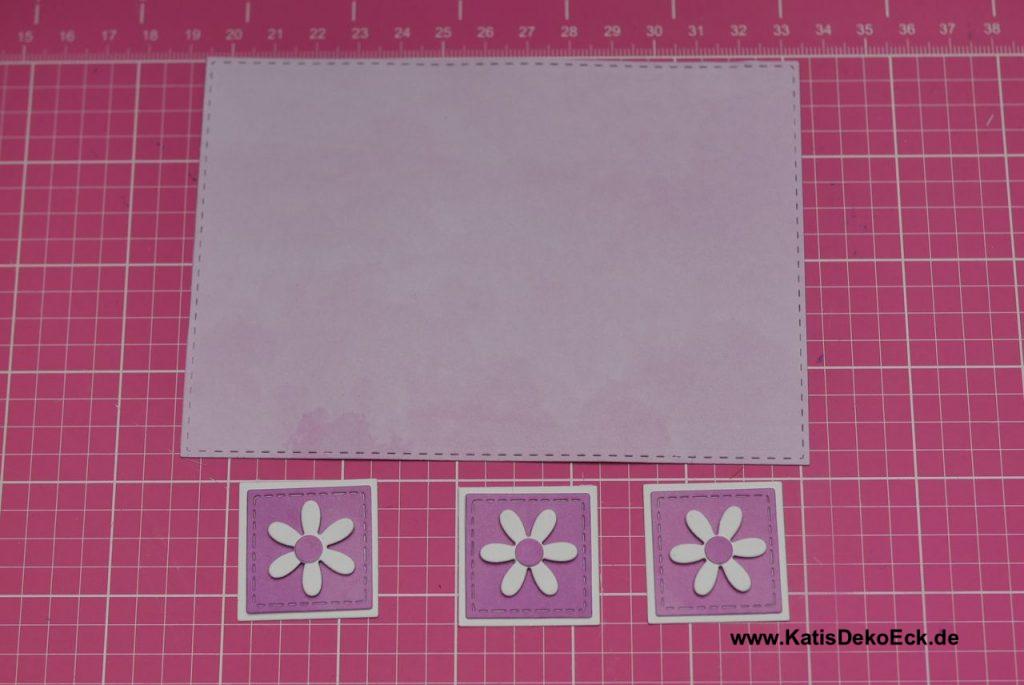
The eye-catcher
Ok, upto this point the card hits the „pink“ part completely, so now it needs some white contrasts. In the shape of the gorgeous tiny LawnFawn „Little Flowers“ dies. Just cutting the small flower three times, same with the little dot for the middle – pink scraps again:
Ok, 5 minutes are used, but there is still something missing!
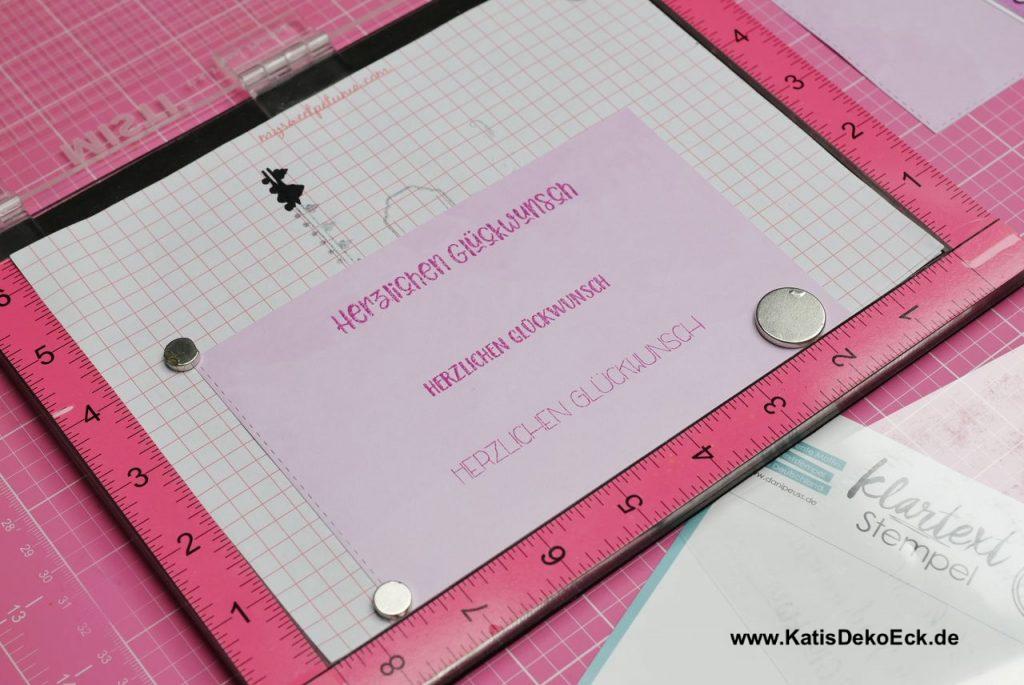
Yes, sure, don’t panic, it’s a 10-minutes card, not five! And so I still got enough time for the sentiment. Here comes another of my emergency-favorites: the stamps Klartextstempel „Herzlichen Glückwunsch“. There are so many lovely fonts in it:

And yes, now I basically got what I need
Ok, adhering: the white squares as basis, then the pink ones, then the white flowers then the pink dots, you get it…
And in the end I also choose the perfect sentiment:
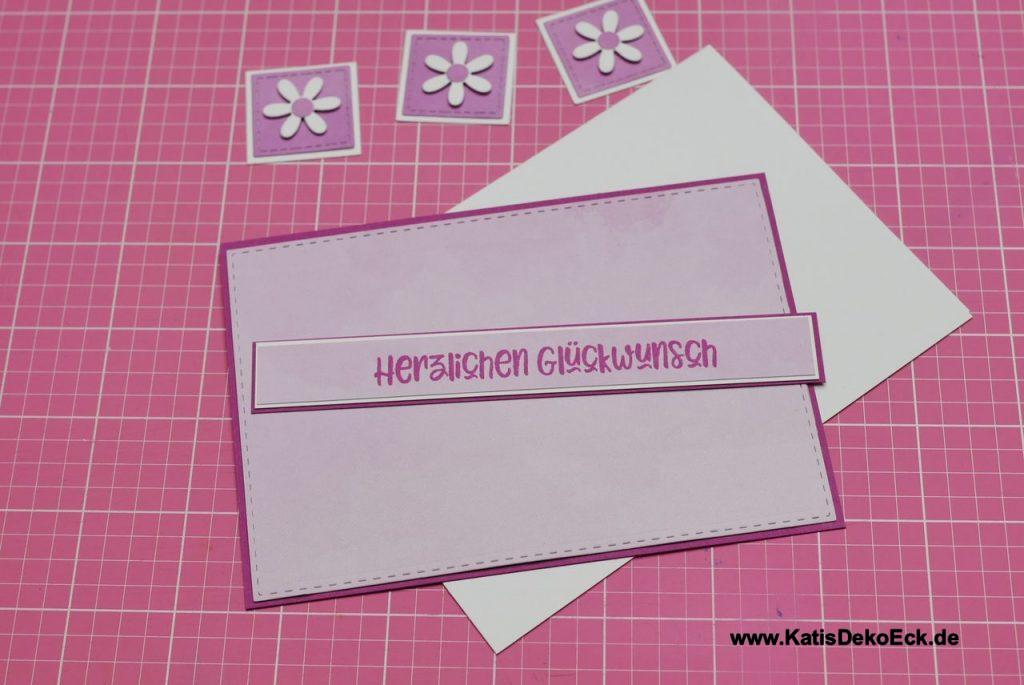
Oh, in case you are wondering, the ink color from Memento Ink is called „Lilac Posies“ and one of my go-tos…
Is that it?
Yes, we can almost call it a day. Now just gluing the whole on a prepared card base in size C6, but careful, it should be straight, even though the time is running:

And yes, here it is, the 10-minutes card. And it has really and honestly taken exactly that time.
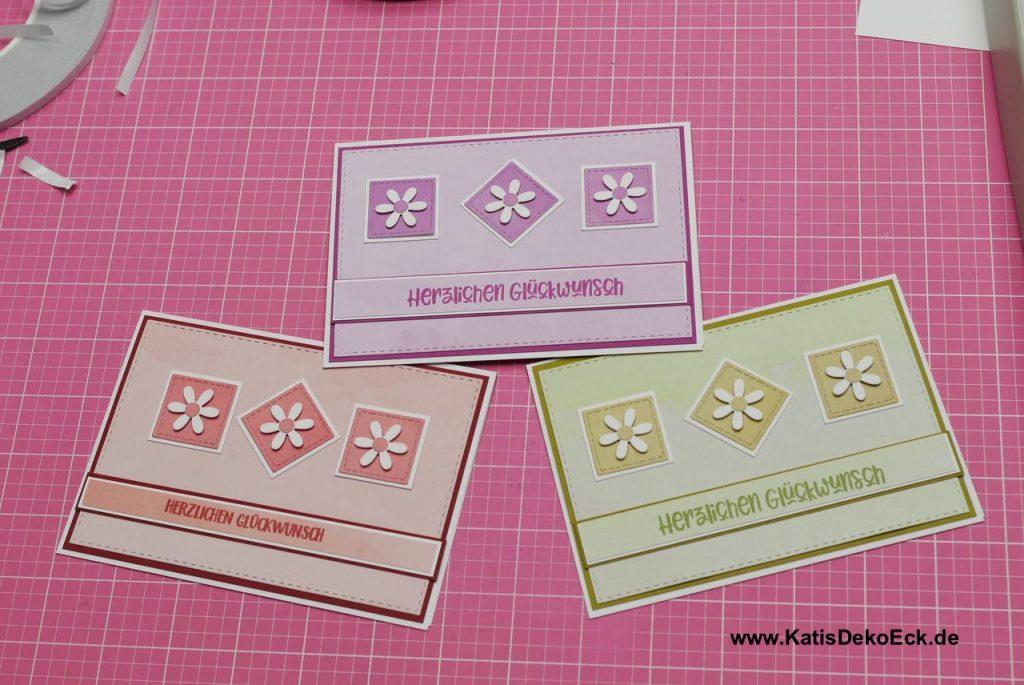
And because it went so easily and quickly, I made another and a third afterwards, just to be prepared for the next neighbor in need:
So, what’s next?
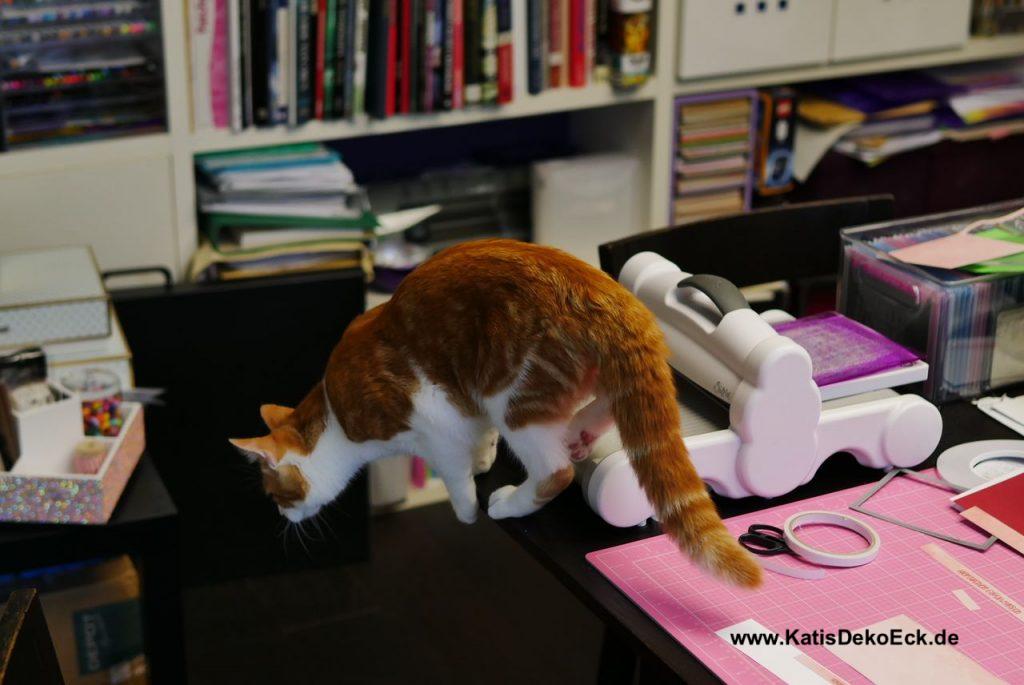
First I have to get this little mischief off my crafting table:
Then I will think about what to show you next. You can always tell me in the comments what you like to see next, tutorials? finished projects, organisation tips? Tell me!
For you: try it out. And if you don’t own a flower die, just take a balloon, a circle, a critter, a heart or whatever you find in your stash. All is permitted, as long as it is handy and easy to use…
Please remember to tag @KatisDekoEck or #KatisDekoEck if you try to follow this tutorial and create your own 10-minutes card and show it on social media, I would be delighted to see it if I could inspire you.
Happy Crafting!
Deine Gedanken zu diesem Thema